I finally got some more aluminum from Vans so I could make a reflective backing plate behind my strobes.

I've been wanting to finish my brakes so I can periodically press them and keep an eye out for leaks. There are 23 places the brakes can leak. No kidding, but in reality there are two systems with 11 connections each with 1 common connection to the brake reservior. (23 Total)
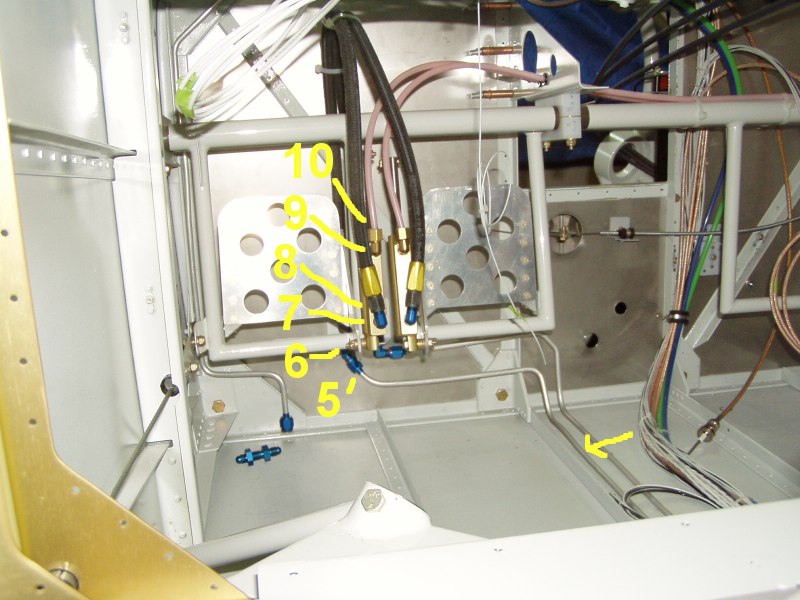
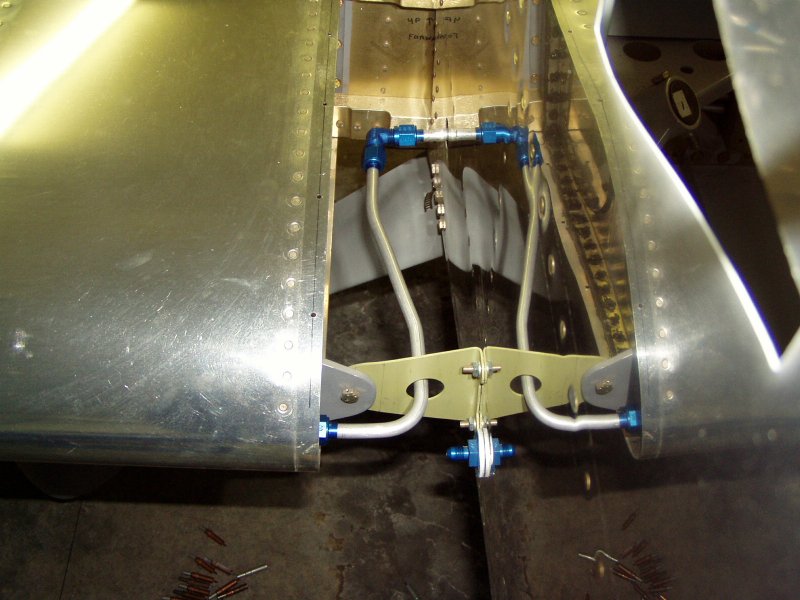
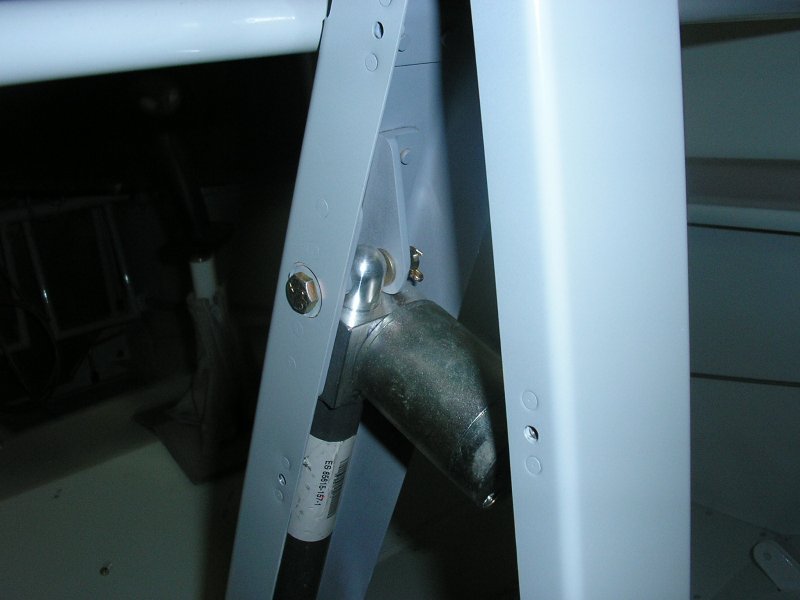
Here's what I'm talking about with the connections numbered. The brake line starts out at the caliper, wraps around and heads up the gear leg.
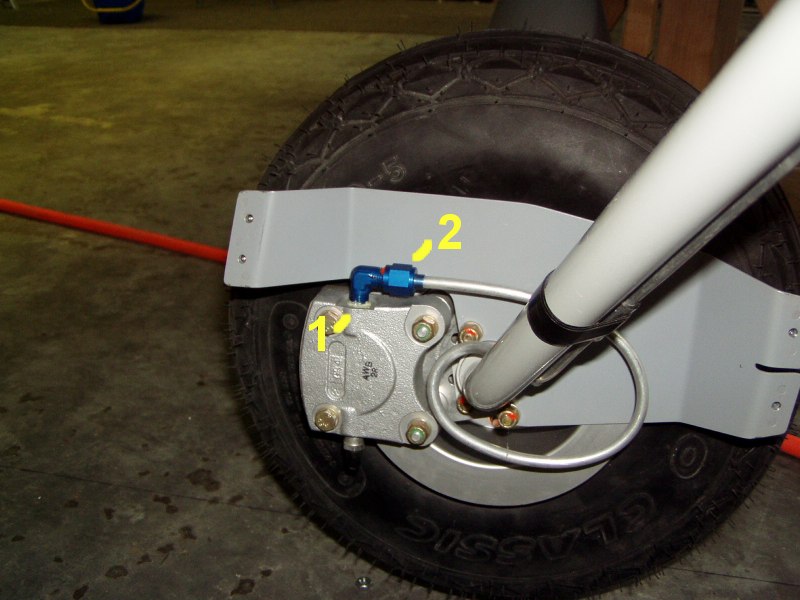
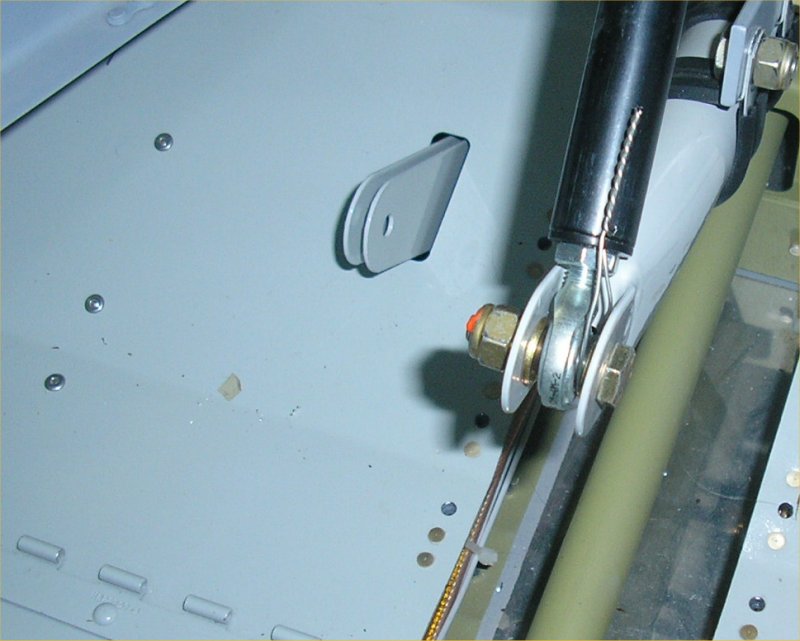
At the top of the gear leg it connects to a 45deg connector to get inside the fuselage.
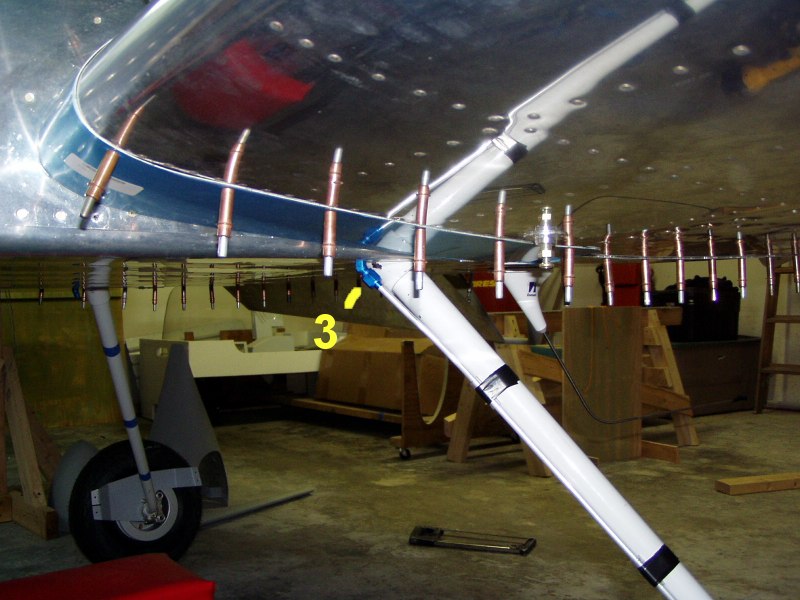
Once inside the fuselage there's another connector, then it heads towards the center console area.
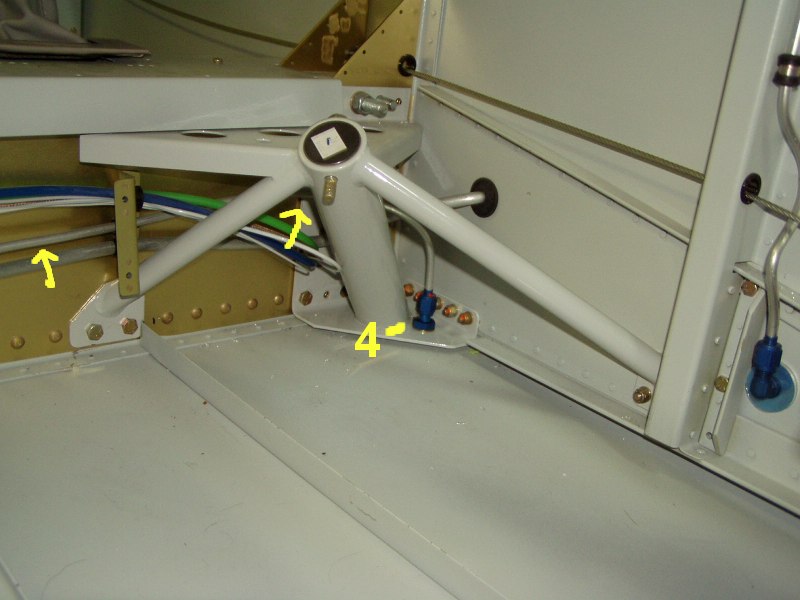
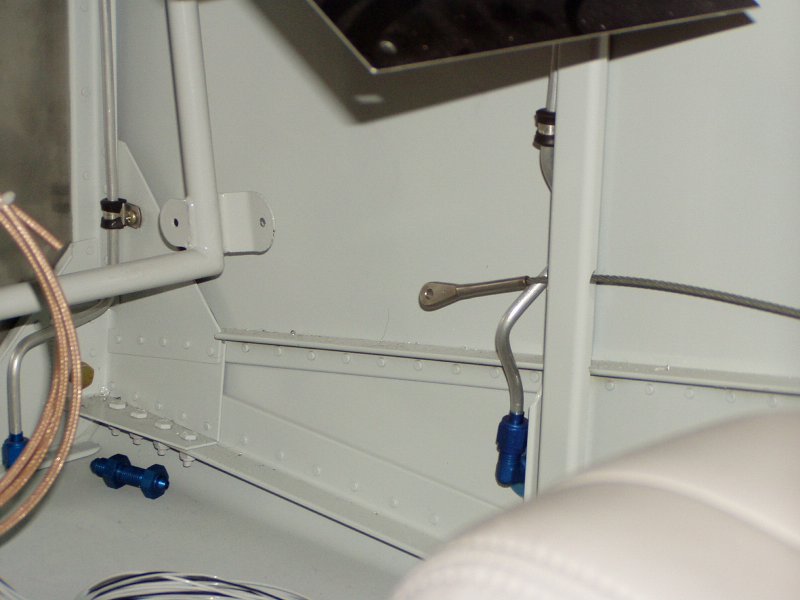
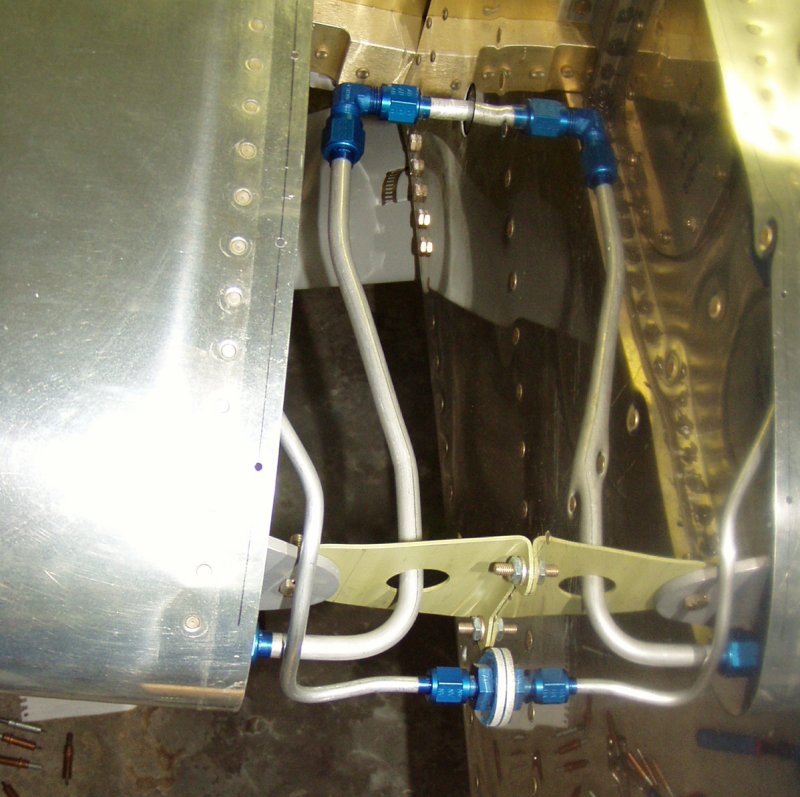
It is then runs towards the fire wall
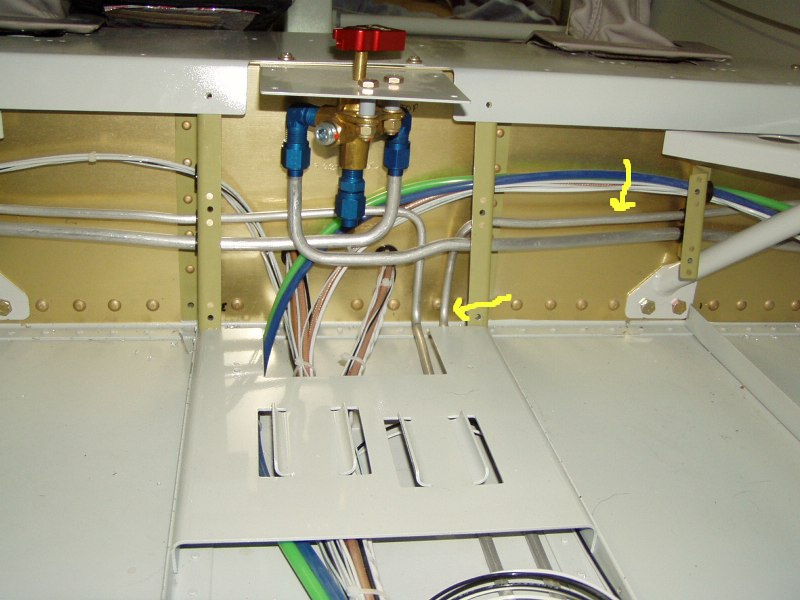
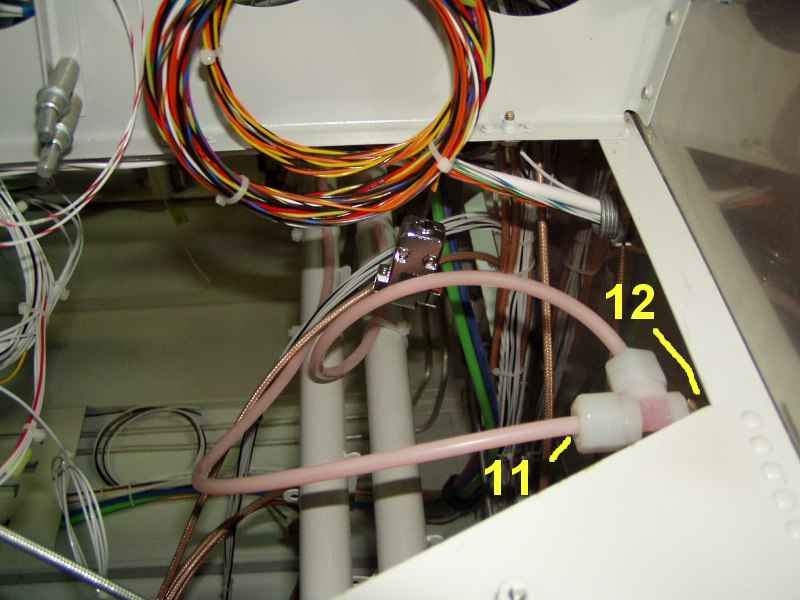
Once at the firewall it turns and and connects with the black flexible line that runs over the pedals into the bottom of the left master cylinder. Then flexible plastic tubing heads out of the top of the left master cylinder to a 2-way connector behind the reservoir.
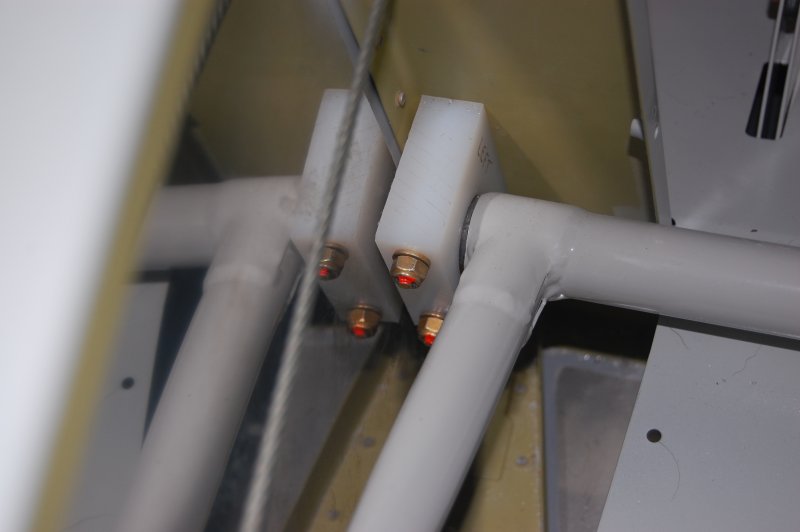
Here is the 2-way connector
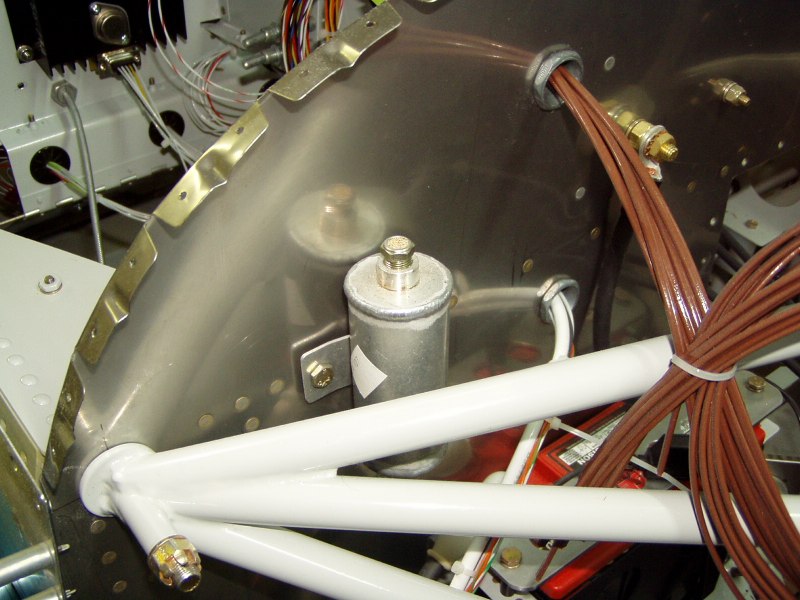
And finally the brake reservoir
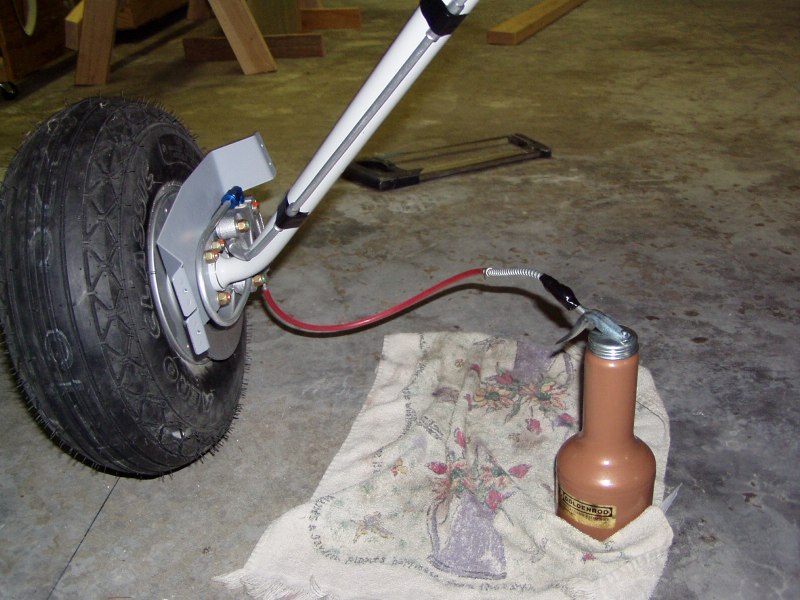
So how on earth do you bleed such a gaggle? You don't really. The easiest way is just connect a tube to the bleed valve and pump the fluid up from the bottom. When it reaches the reservoir, you done. Tighten the bleed valve and move to the other side. It's actually very easy and there is no mess.
Best of all, I have no leaks! I checked after filling both sides, then got in the plane and pressed the brakes quite a few times. At least at this point, nothing is leaking!
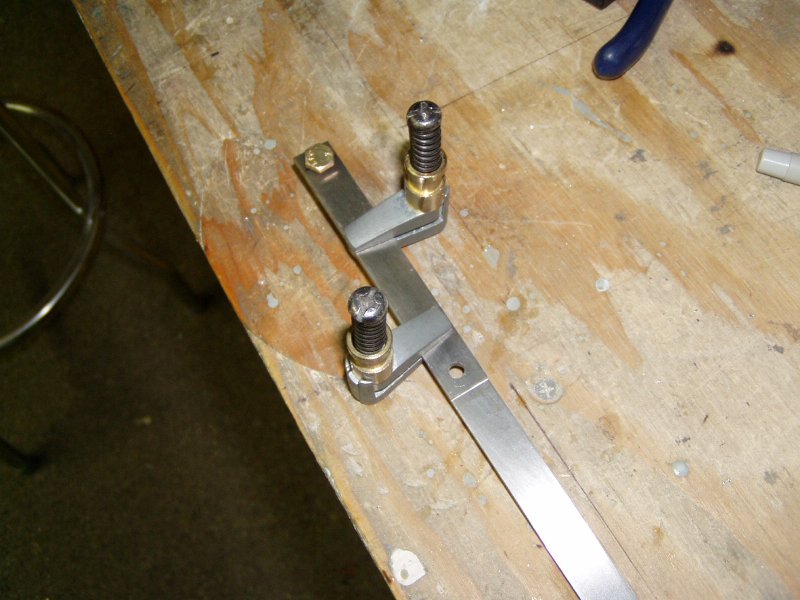
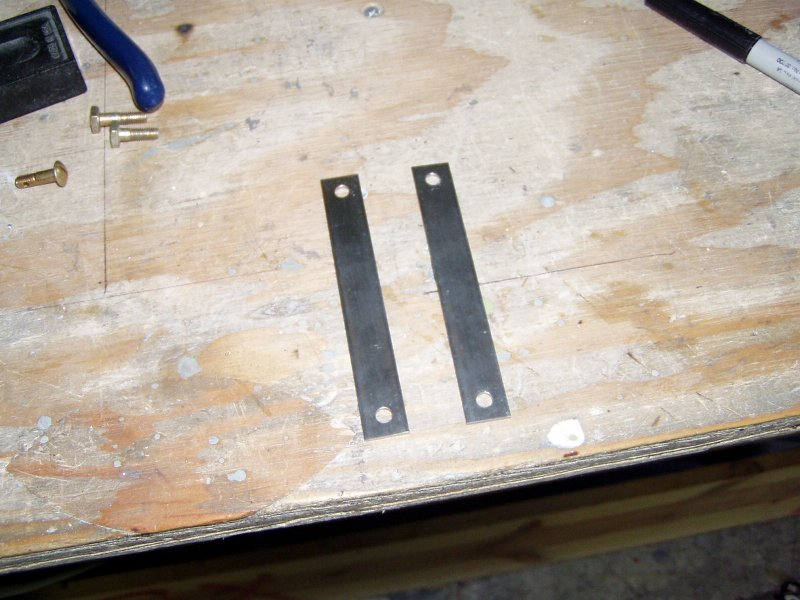
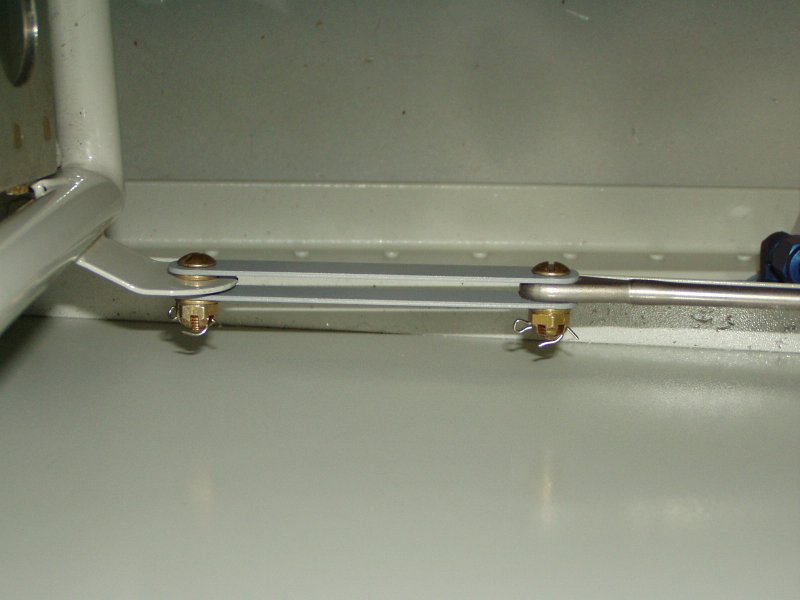
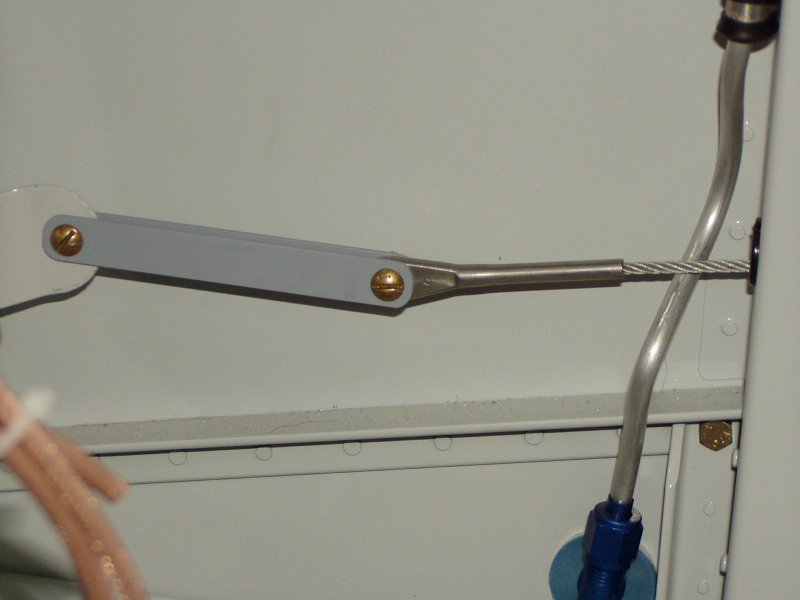
Making the rudder cable attach links for between the pedals and cable

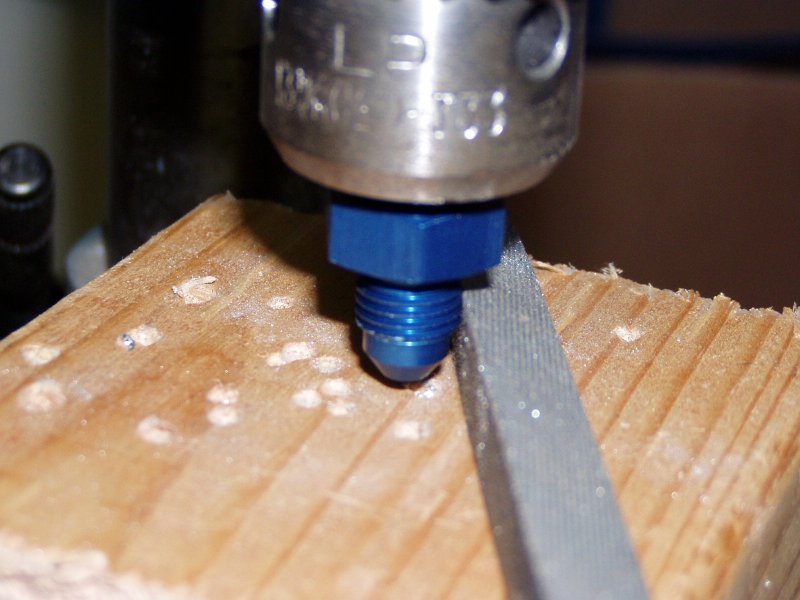
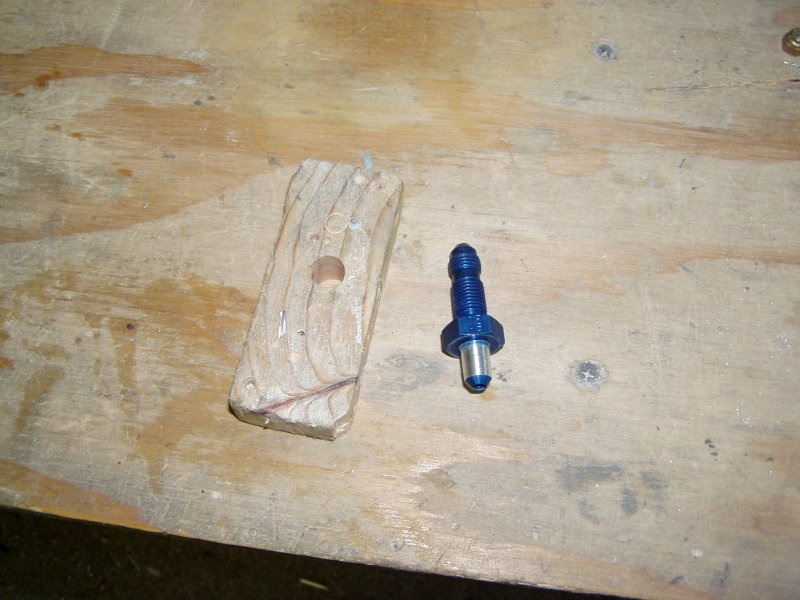
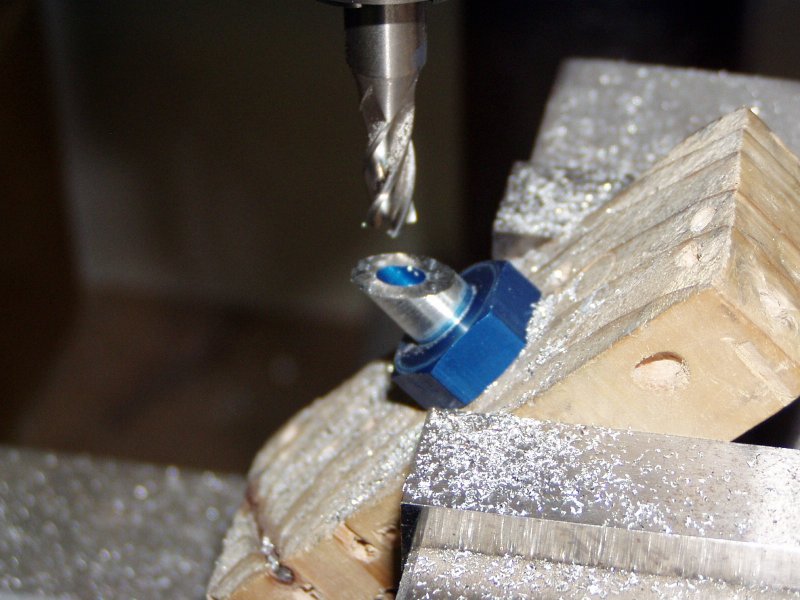
The fuel vents are made out of an aluminum coupler.
First you have to file off the threads
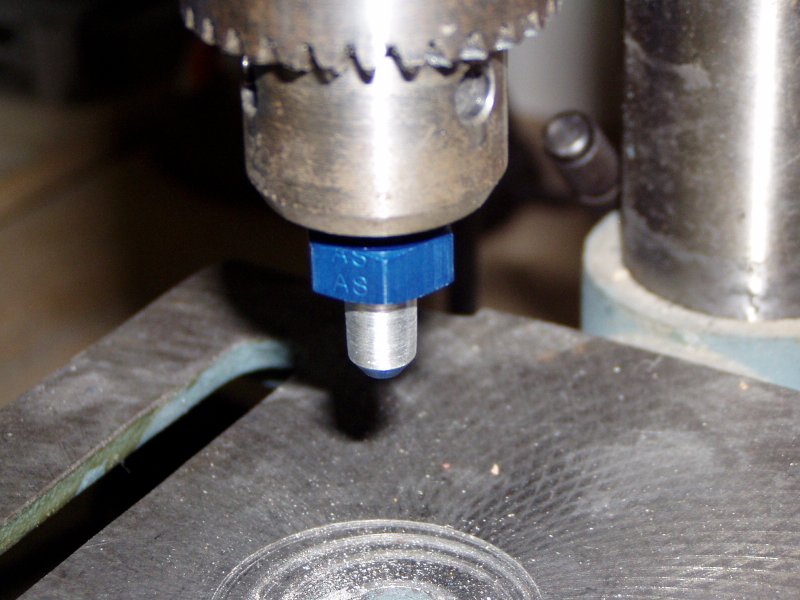
Then I drilled a hole in this block so I could clamp it in the vise
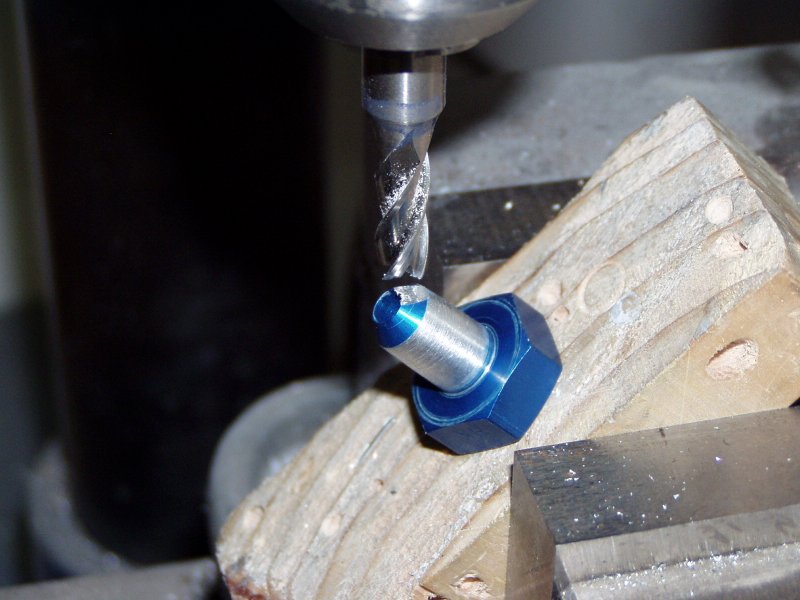
Setting the block to 45 degrees
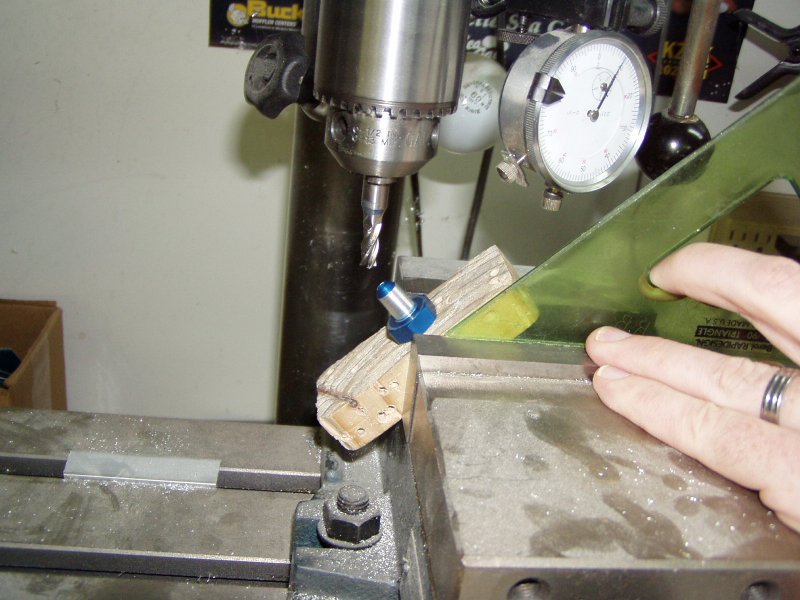
Taking off about 5 thousands at a time
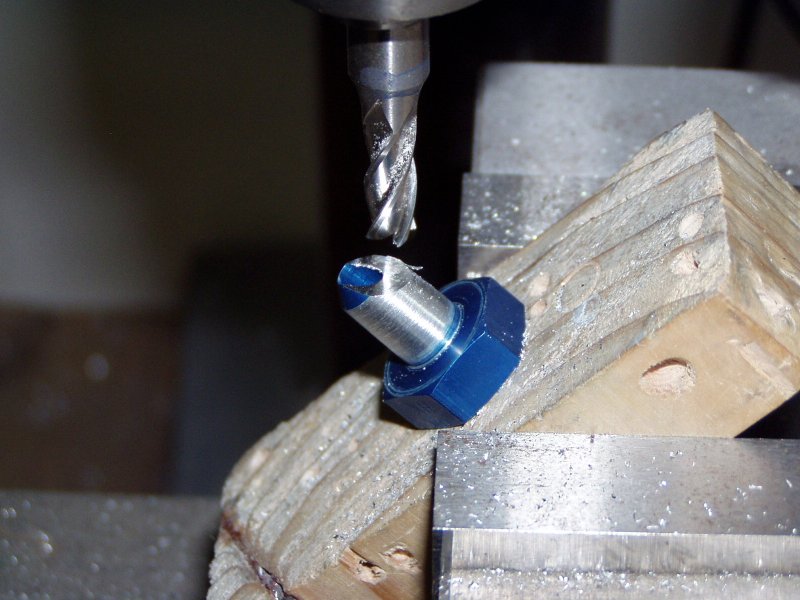
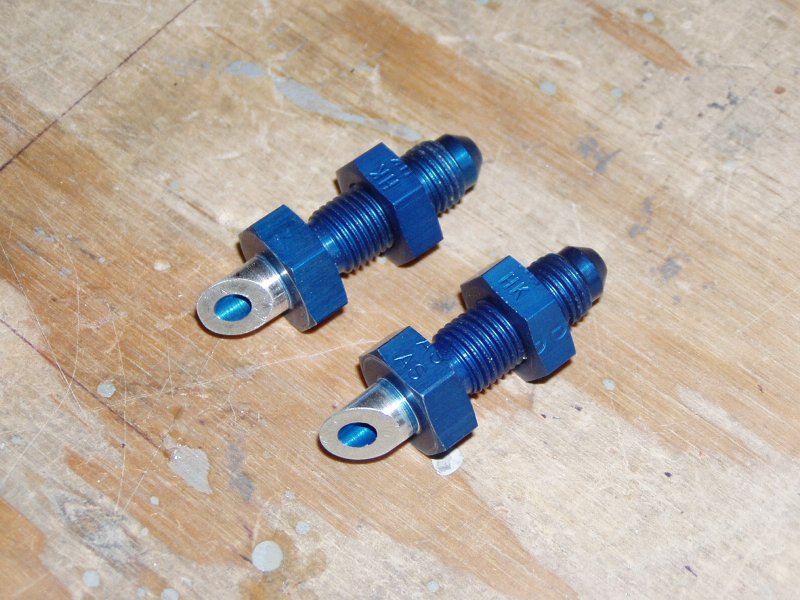
And finally
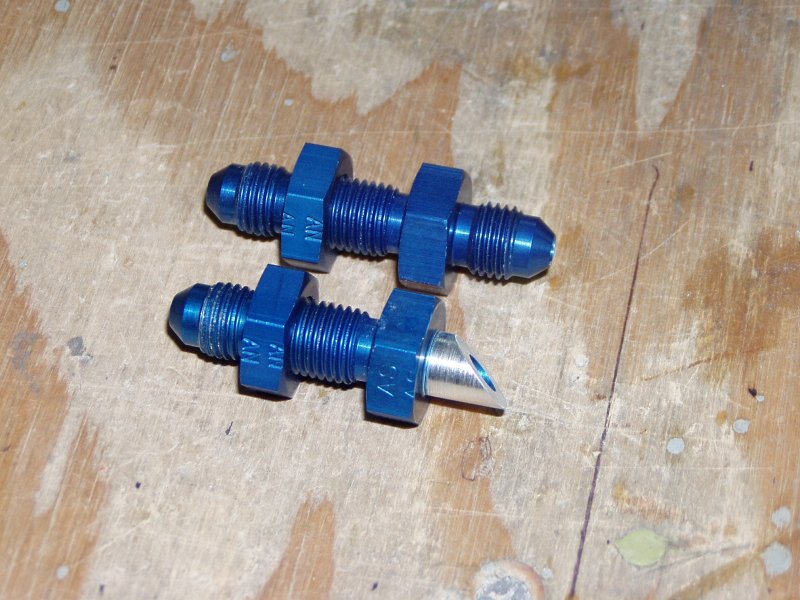
Both done now. I can't actually put them in because the front of the plane where the go has jackstands under it right now.
Needed to make the fuel tank attach line for the right wing. Since this wing has and aerobatic "flop" tube, the line has to run to the leading edge, and then connect to the tank fitting.
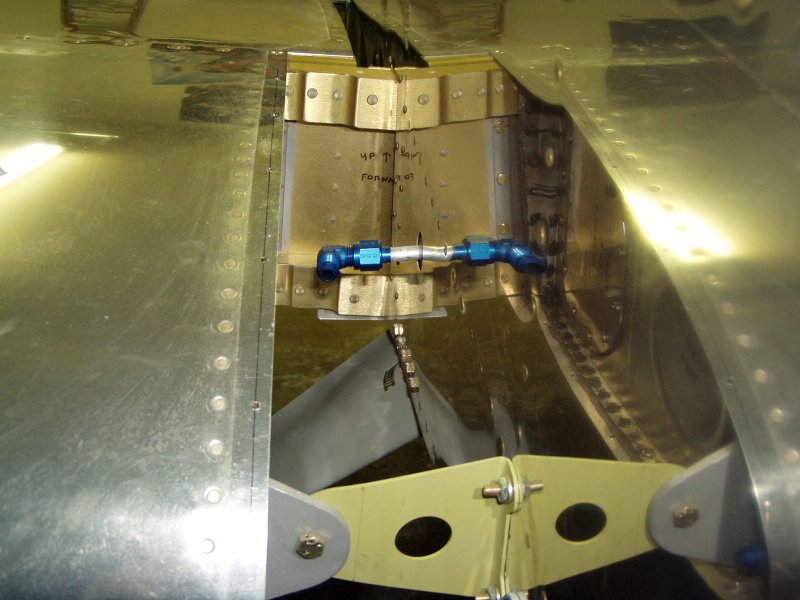
You can see the tank fitting in the reflection
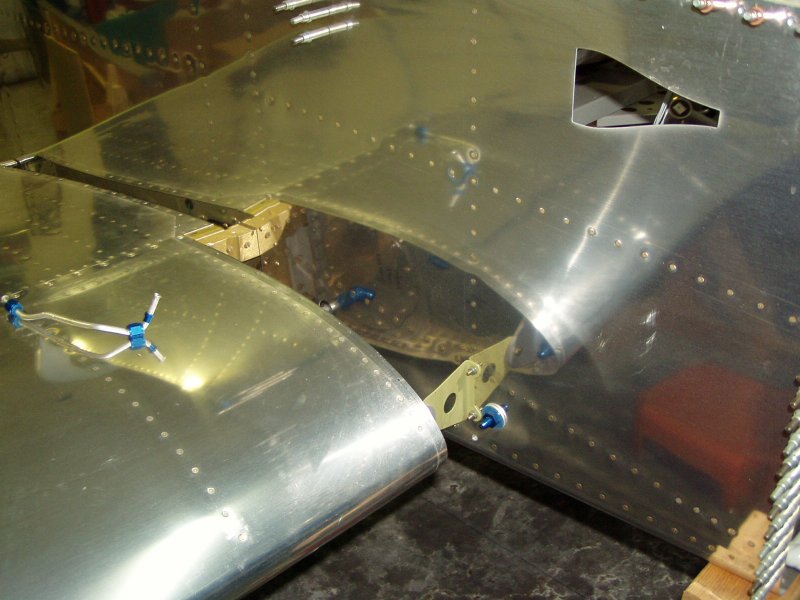
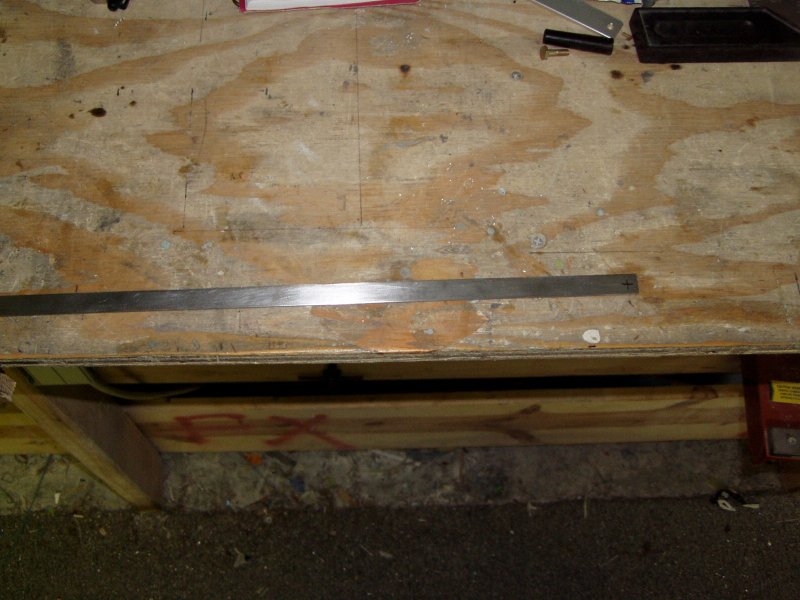
The tubing
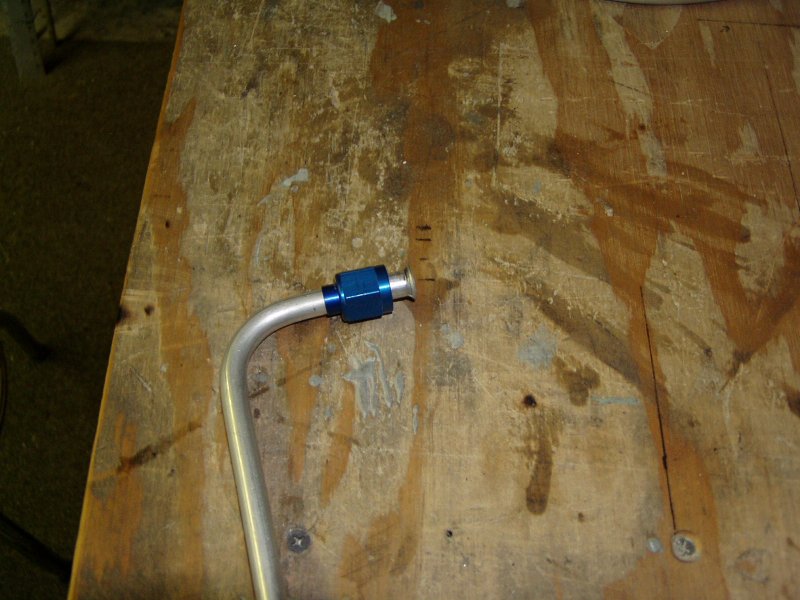
You gotta start somewhere, so I bent the 90.
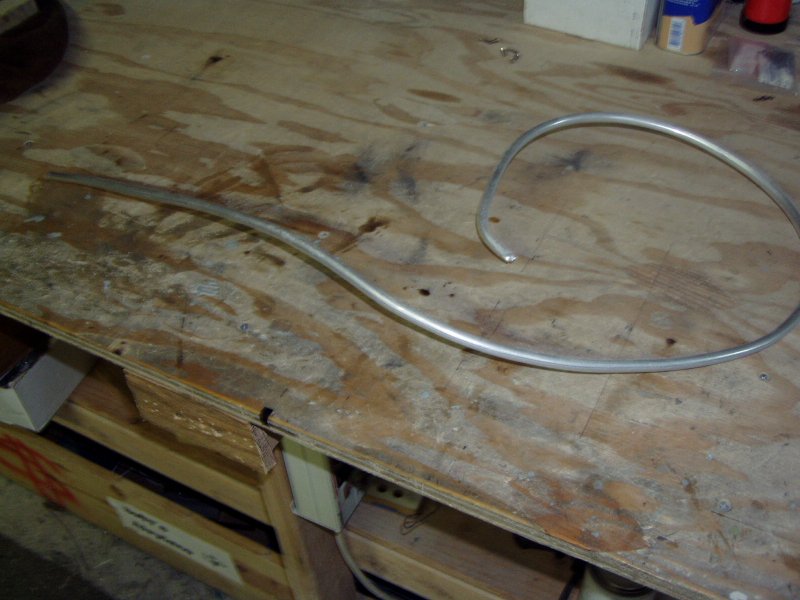
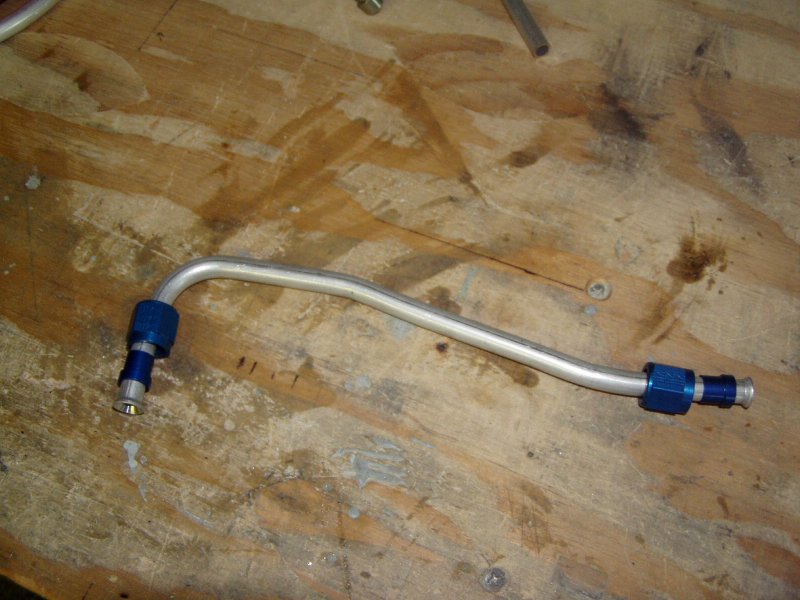
After a lot of measuring, fiddling, and bending, here it is.
Installed
And now the fuel tank vent line
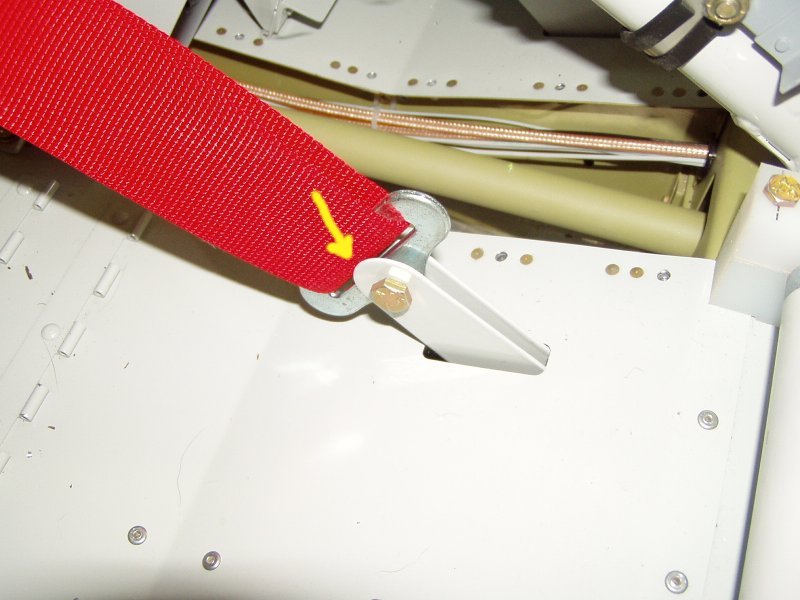
One of the things I've been meaning to do is fix my seatbelts. I don't like the way the belt material rubs on the bracket so I decided to send them back to Crow and get different end brackets sewn on. They only charged me like $20 for all 4 lap belts so it was well worth it and one less thing I have to take care of or worry about.
Before
After
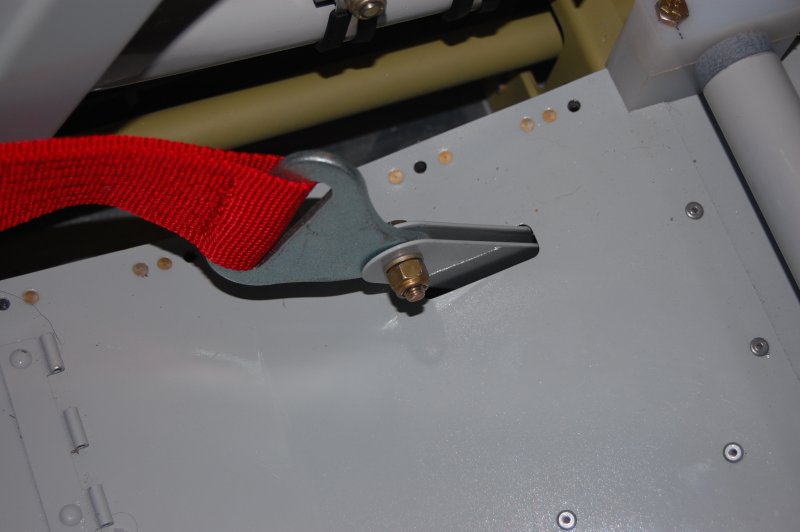
I also chose brackets that were angled to help direct the belt around the seat.
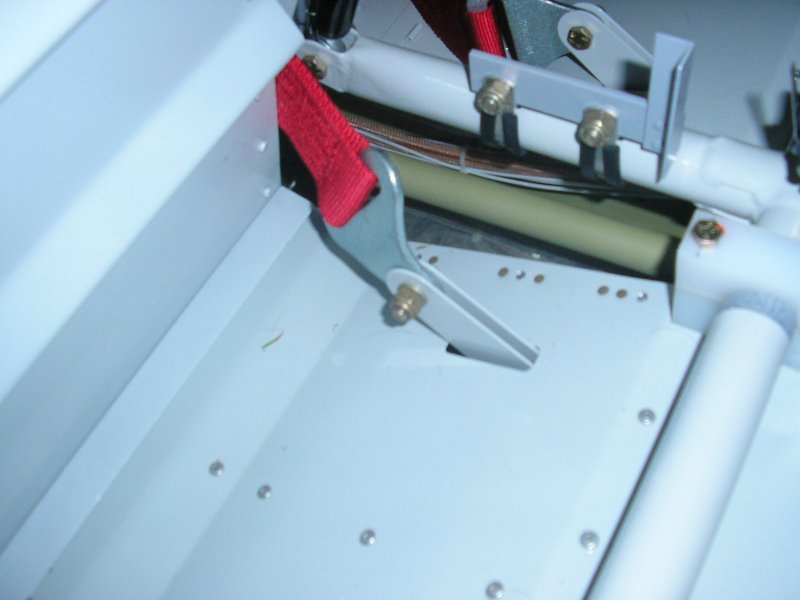
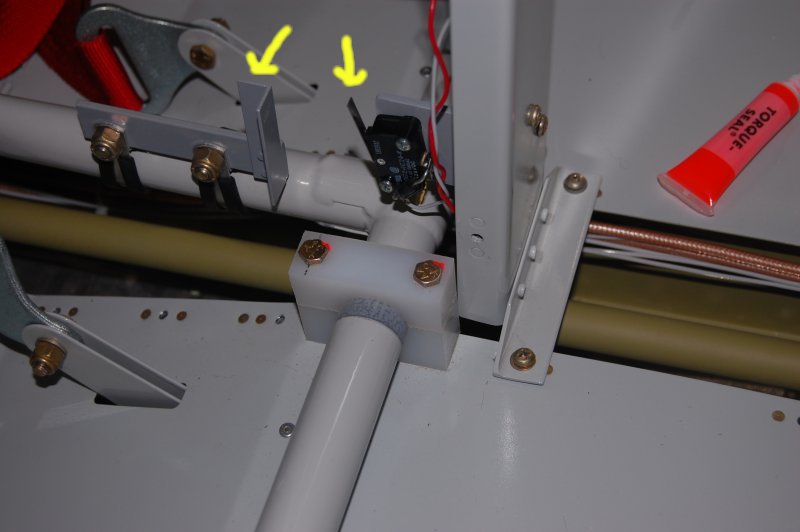
Here is my home made flap limit switch.
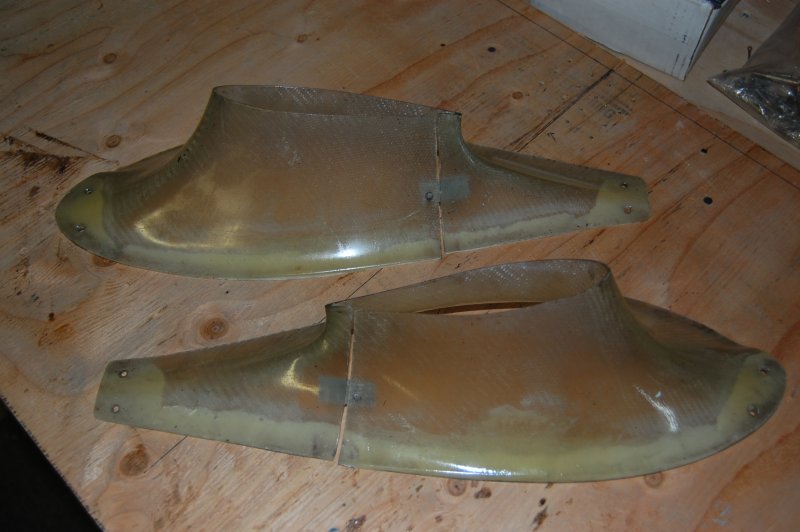
Got the gear leg intersection fairings fitting real nice, installed nutplates inside the fuselage, and machine screwed them on.
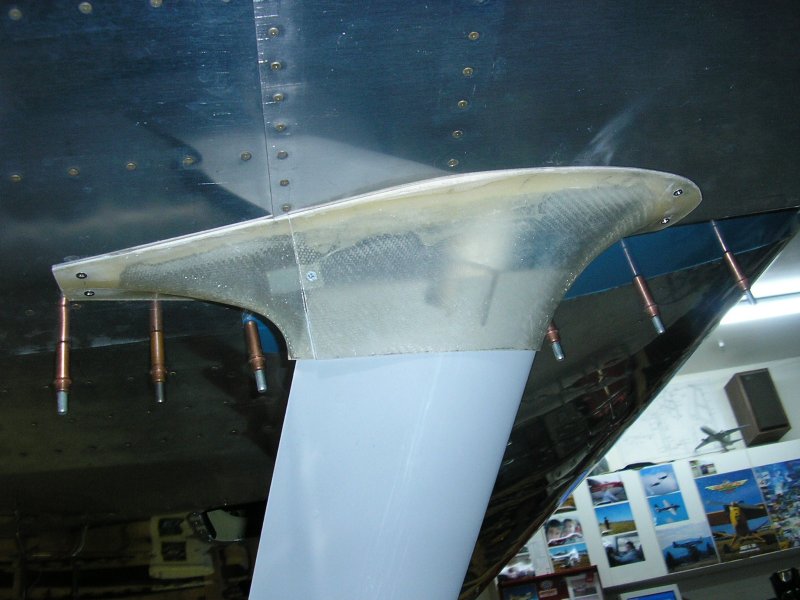
Ready for prep
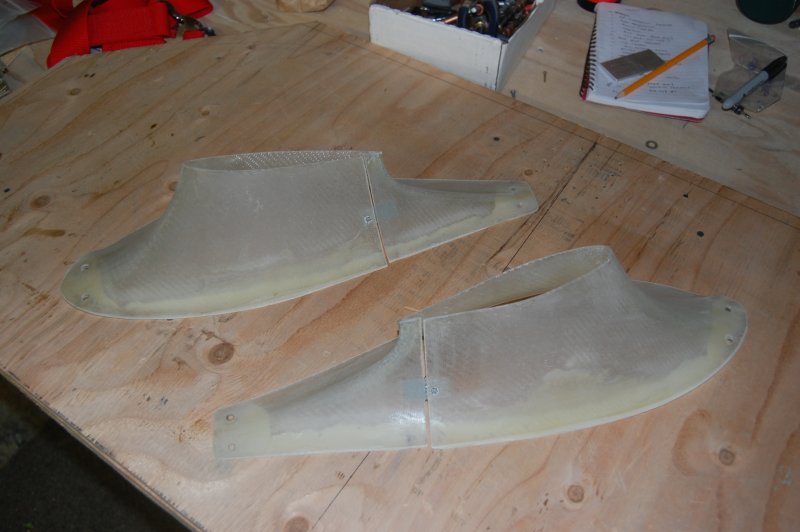
Here they are after 3 squeegied layers of fiberglass resin at 75 minute intervals to fill any pinholes. I will primer them soon.
Torqued and safety wired the flap jack screw
Attached and cotter pinned the top of the motor assembly
Torqued the nylon blocks
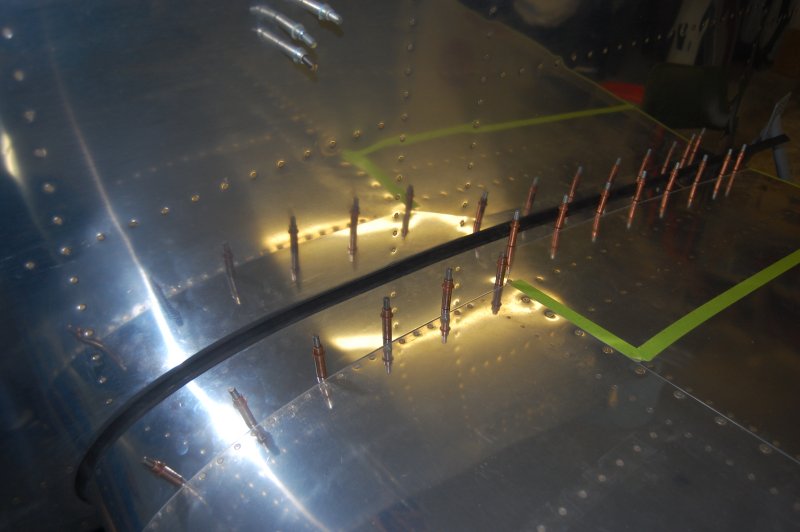
Marked the wing root fairings and trimmed them for the rubber seal
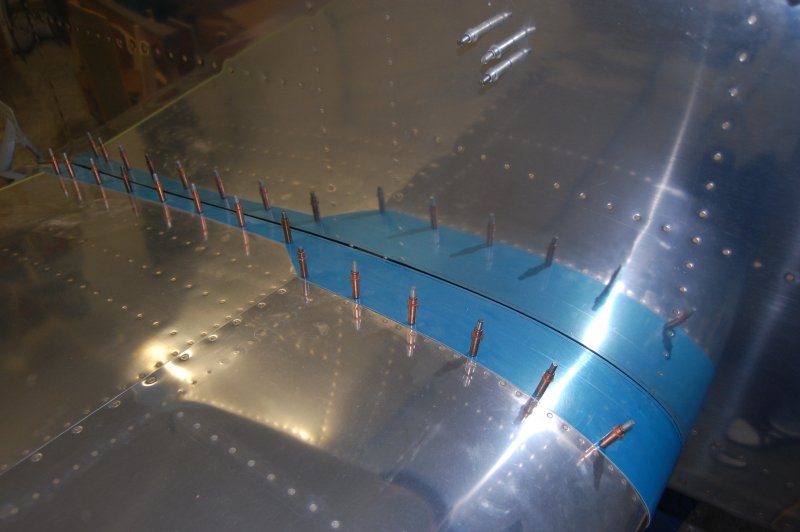
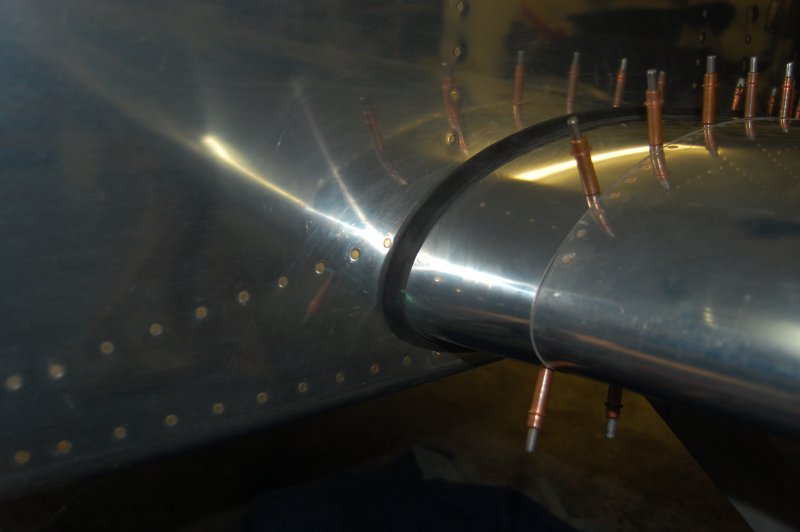
Rubber seal installed. Nice!
If it seems like I'm jumping all over, I am. :) Tons of little things to work on.
Back