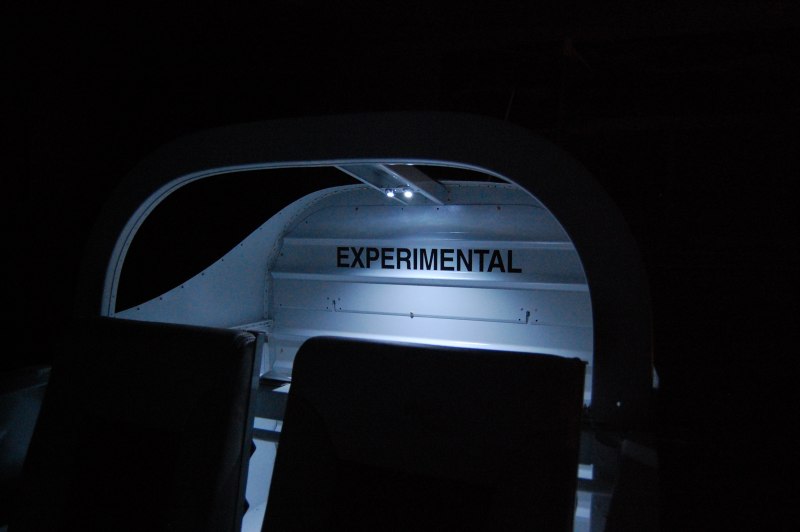
Made a bracket for my baggage area dome light.
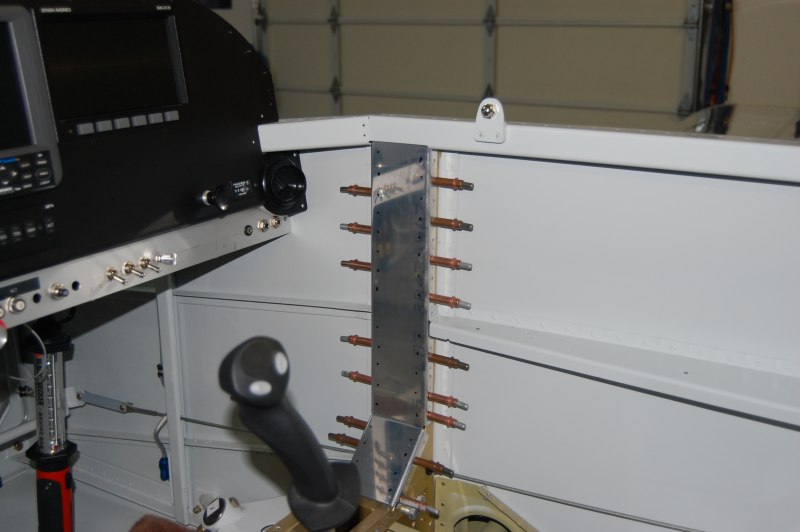
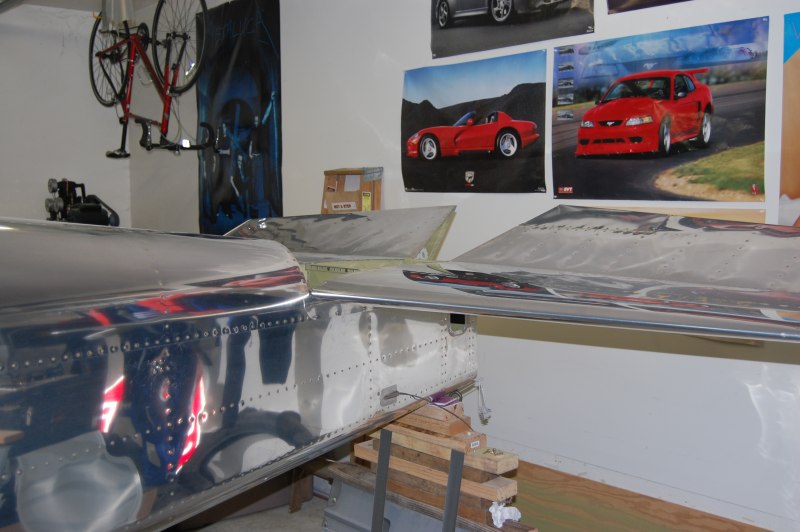
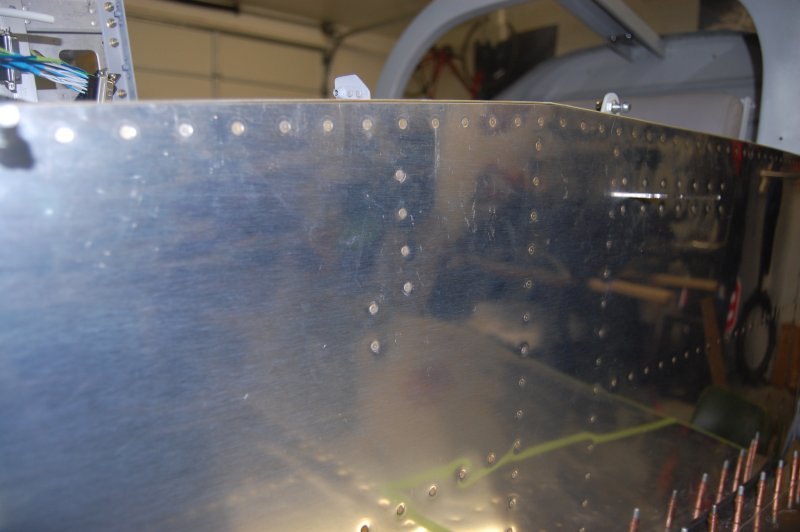
Fit and match drilled side covers. I won't put them on though until the wings are installed the last time.
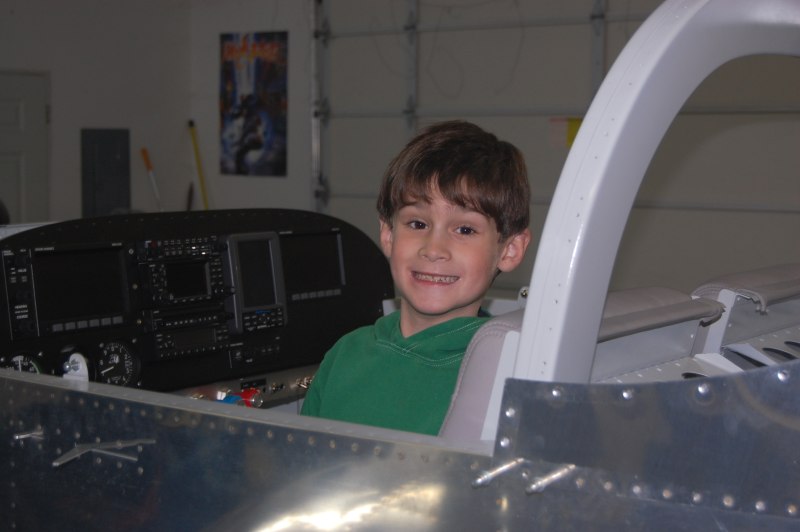
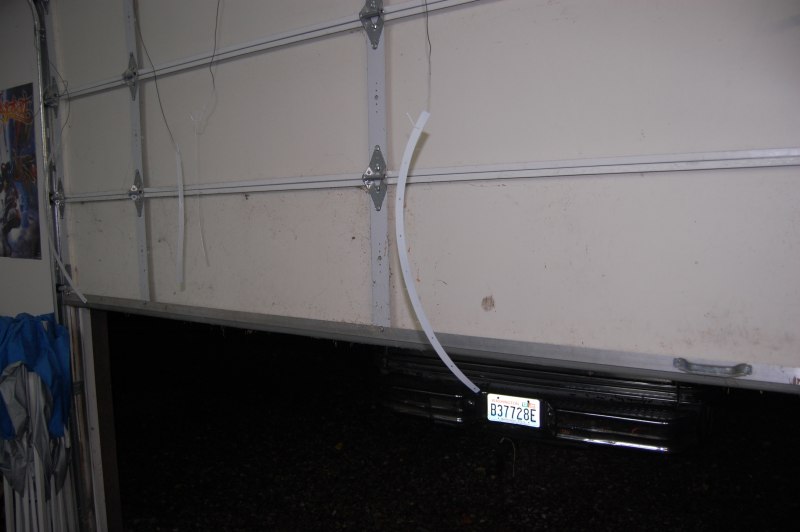
A Sunday morning visitor!!! Haven't had one of those in a long time.
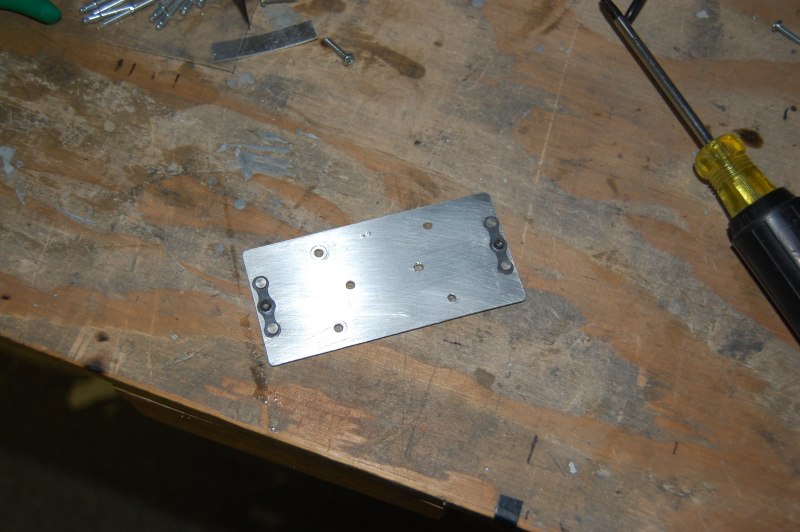
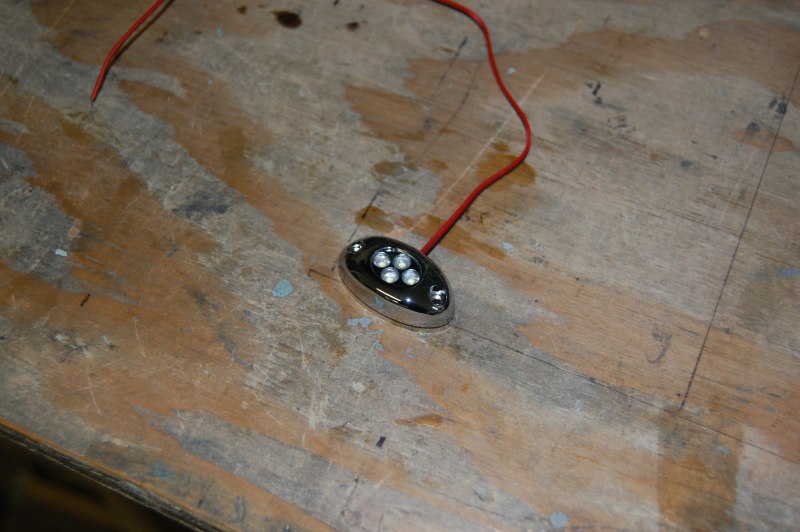
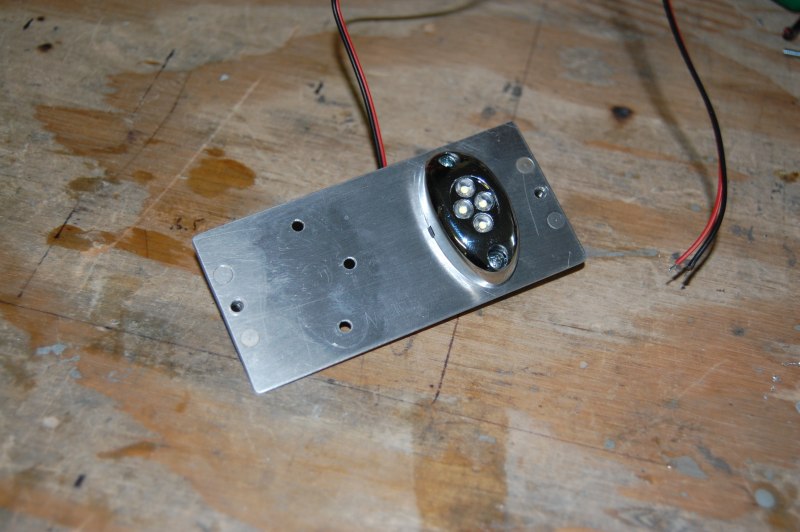
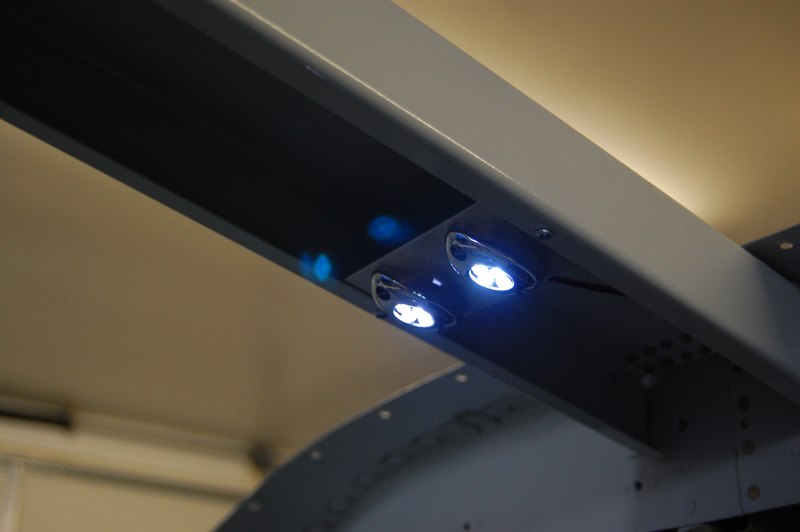
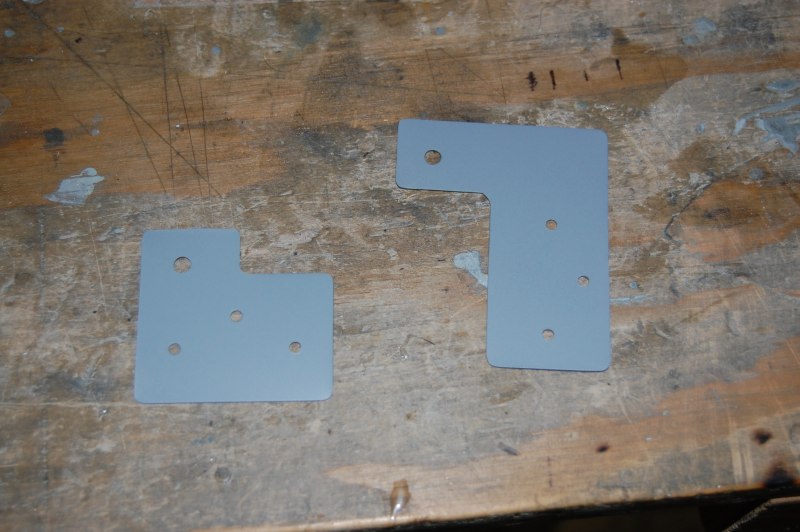
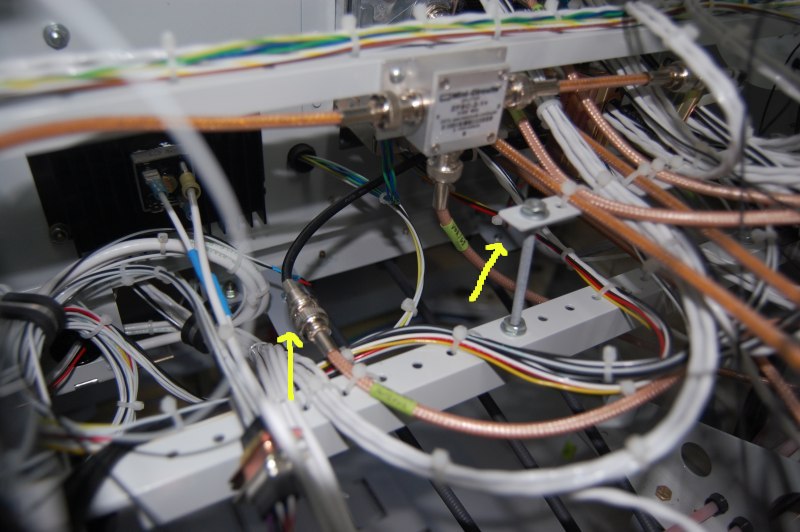
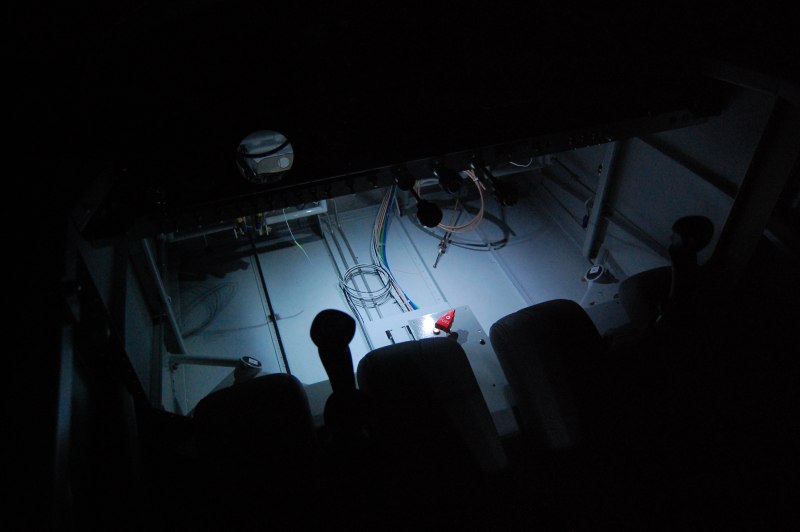
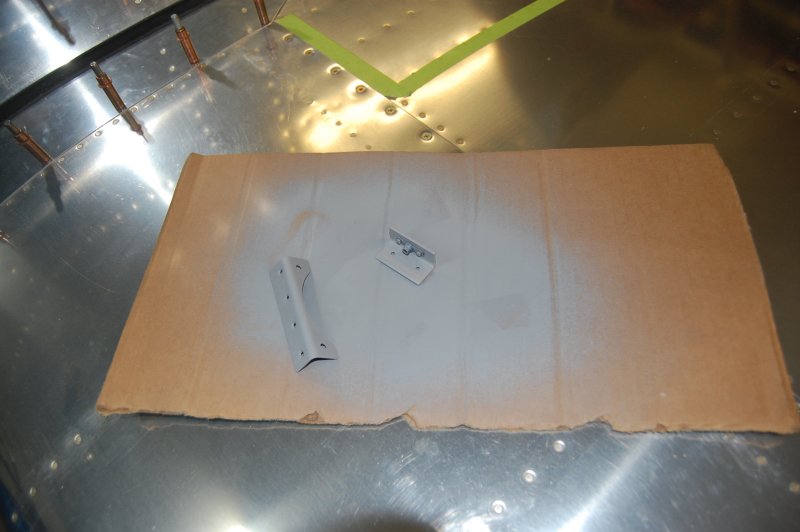
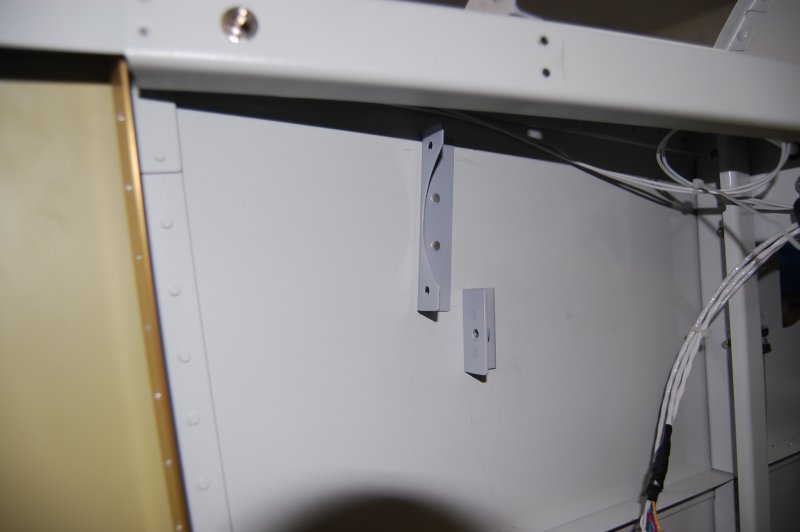
Made these brackets for mounting LED lights under the dash
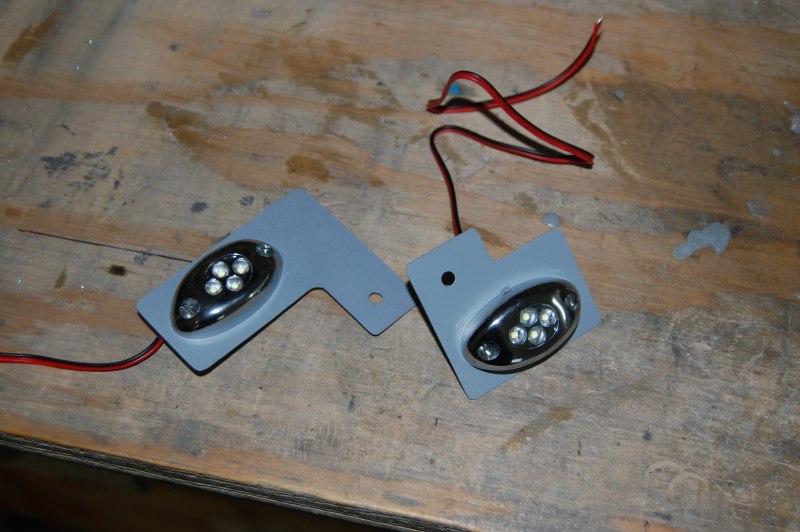
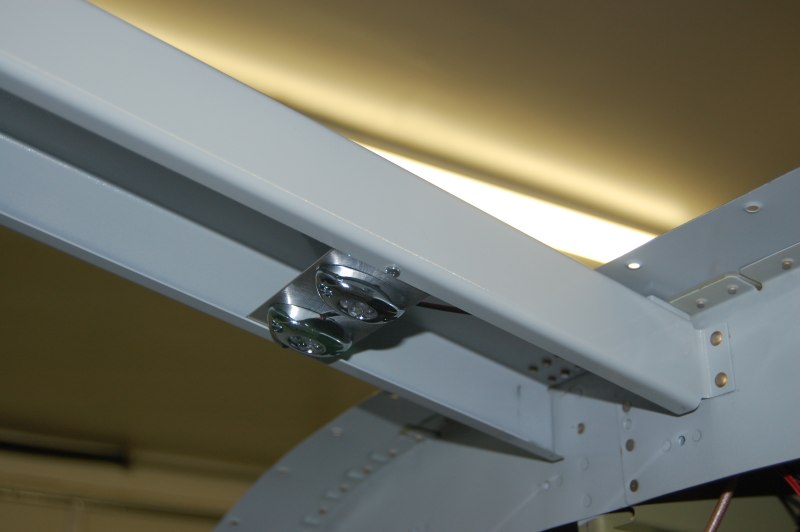
Tough to see, but here they are with the LEDs facing down
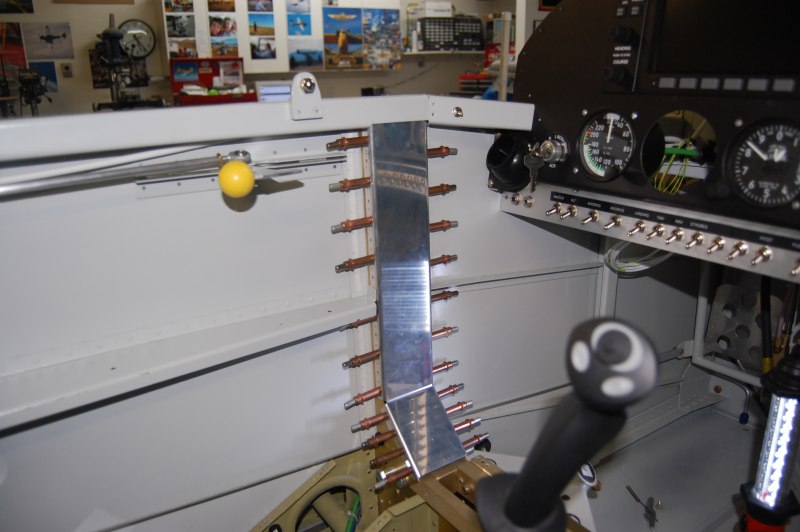
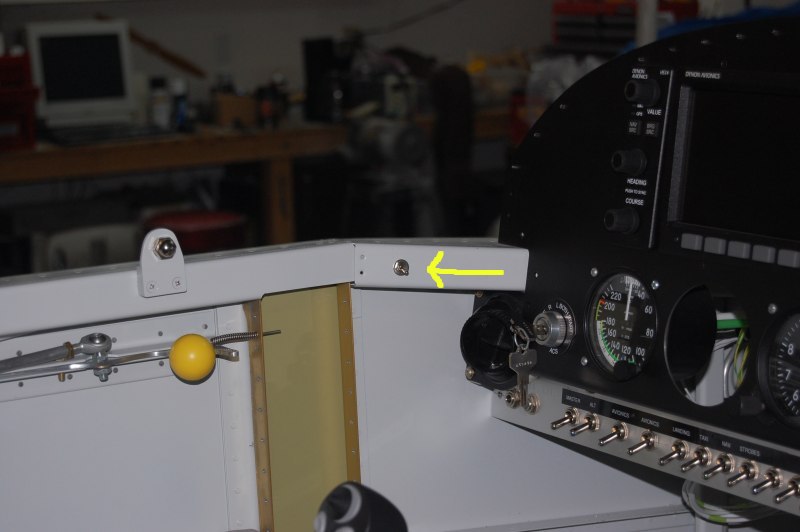
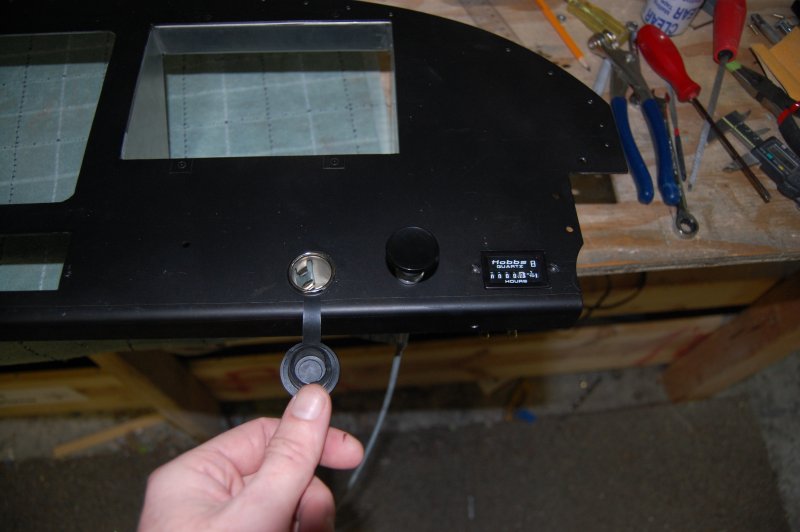
I mounted a switch on the side rail that is very easy to reach from the outside when you open the canopy.
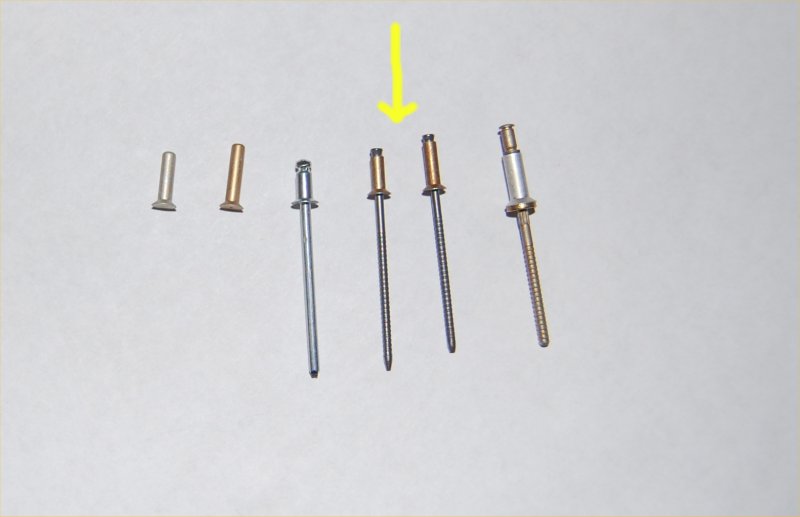
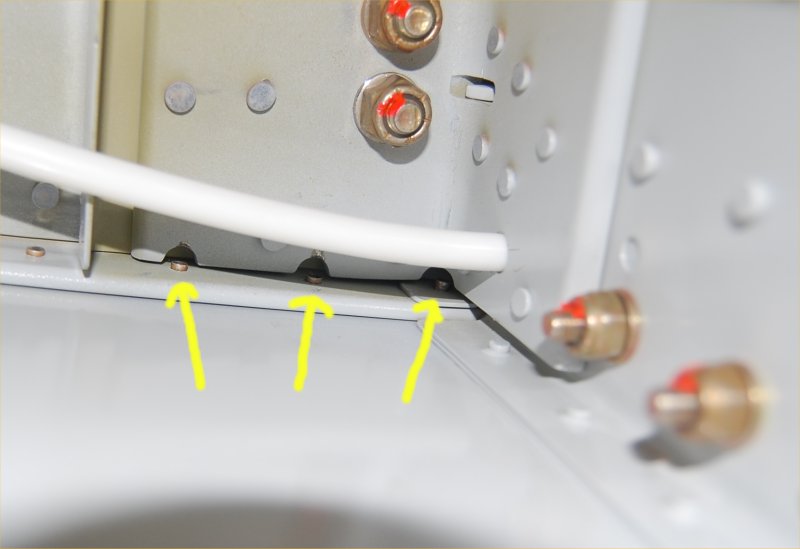
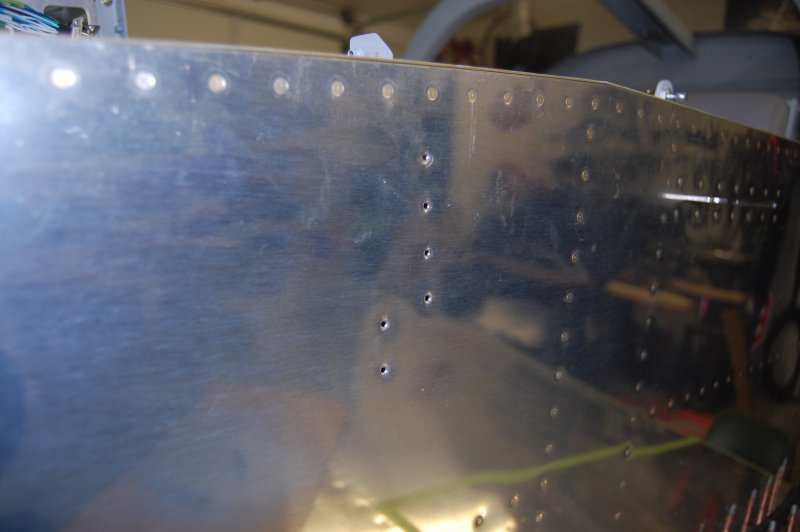
Had to order several of each of these two blind rivets for the front of the rear window skin.

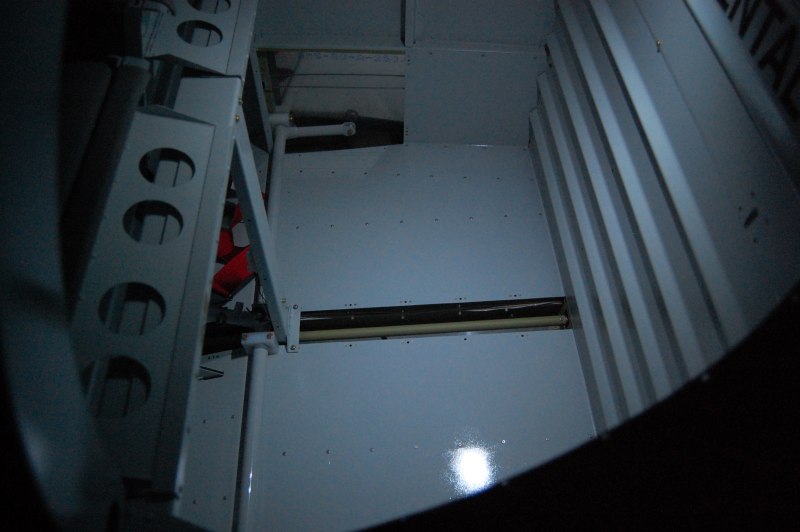
Here's the inside
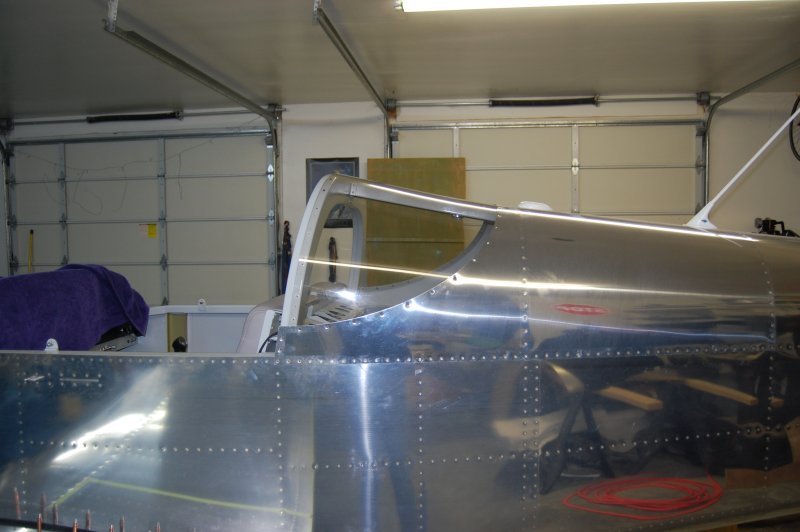
Slid in the back window again to double check the fit now that everything is riveted.
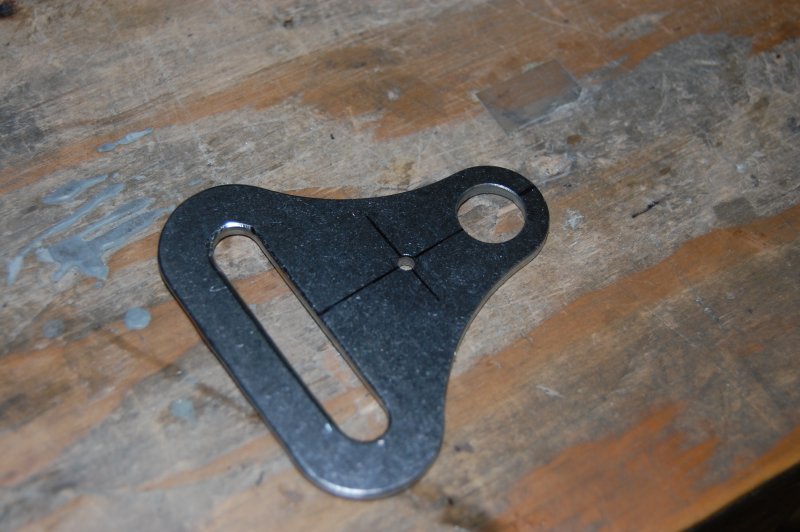
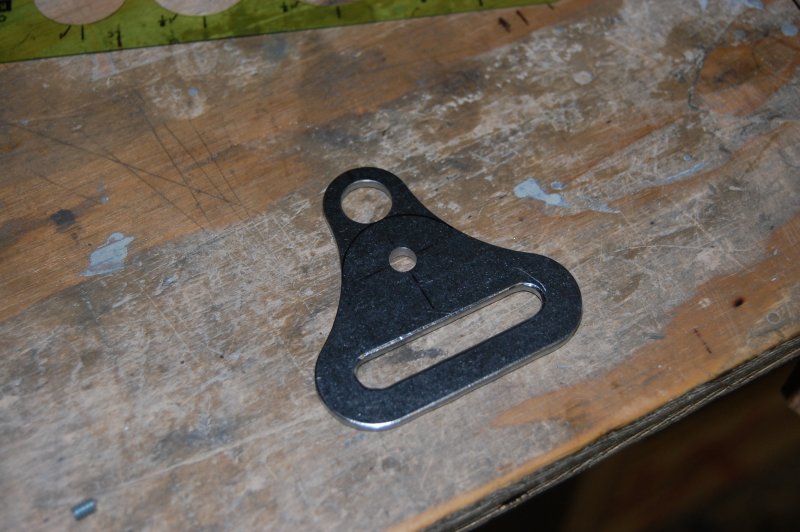
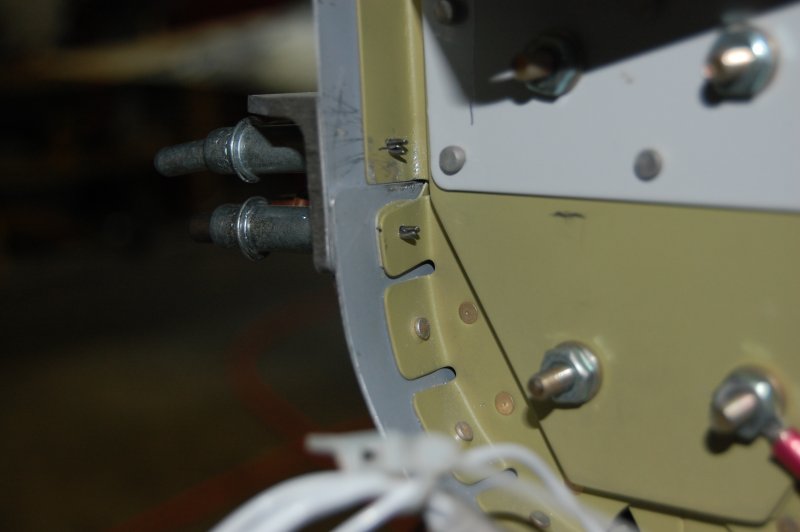
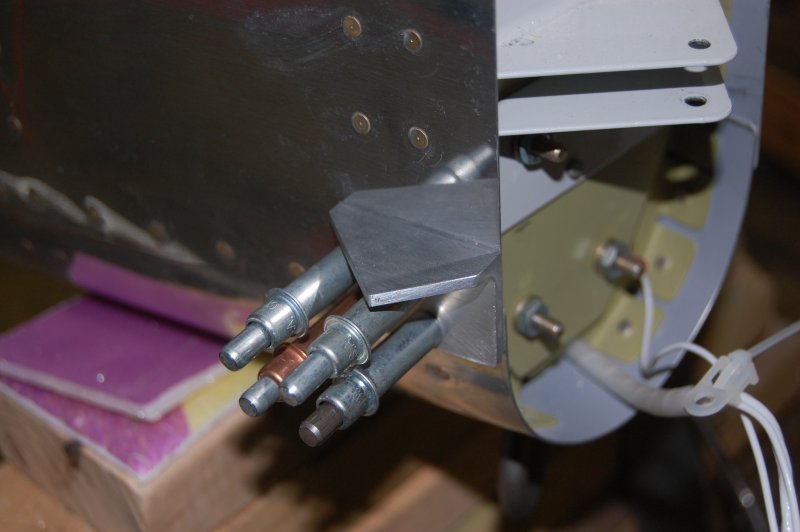
These latest crotch brackets I got from Crow needed some work. First they were too thick so I had my friend Don surface grind them. Then I had to adjust the length so that the belt ends up in the right spot between the ribs.
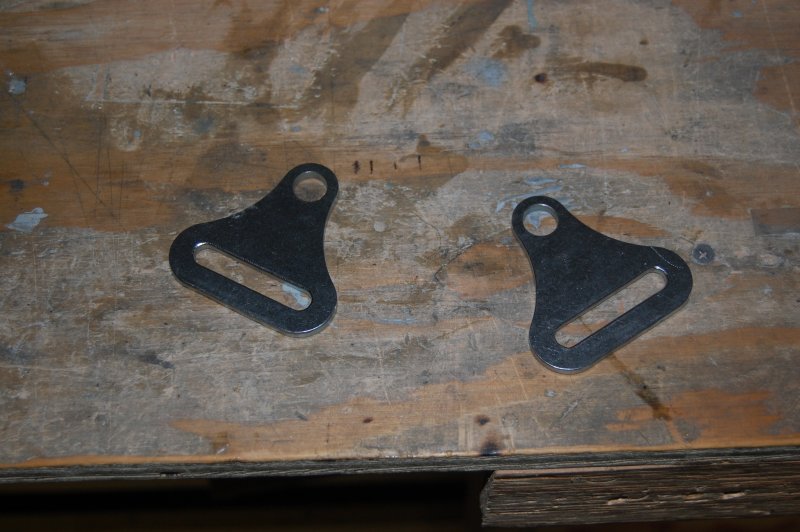
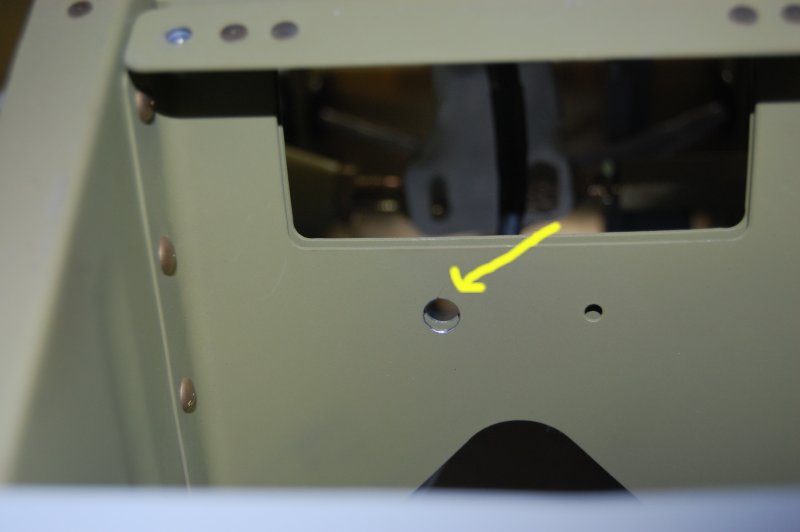
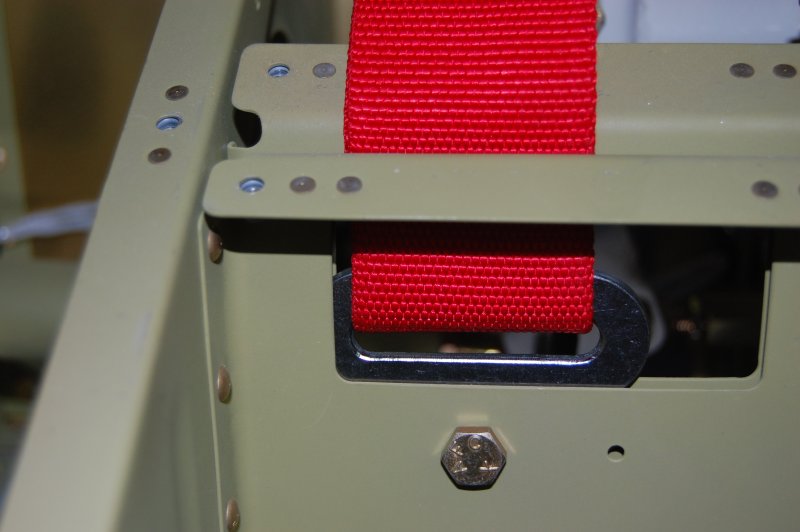
Here is where they mount
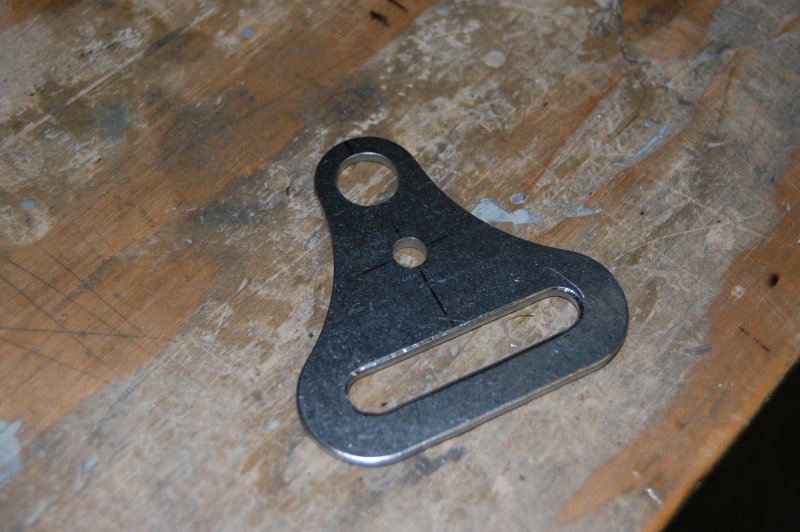
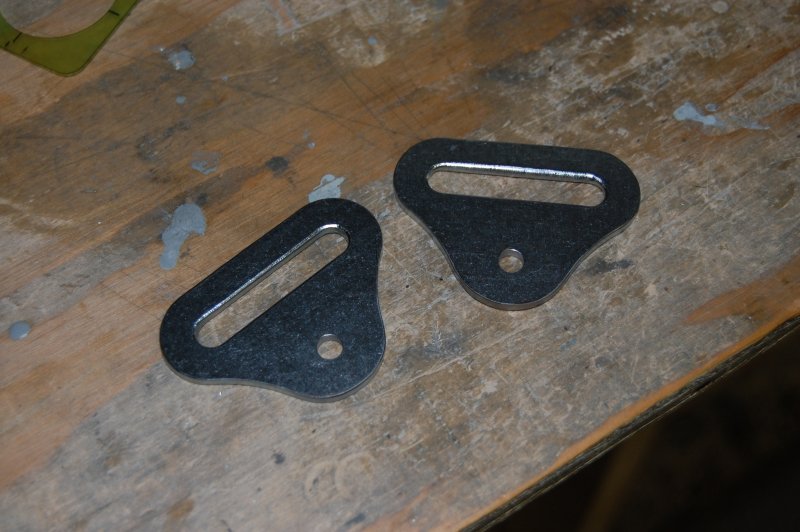
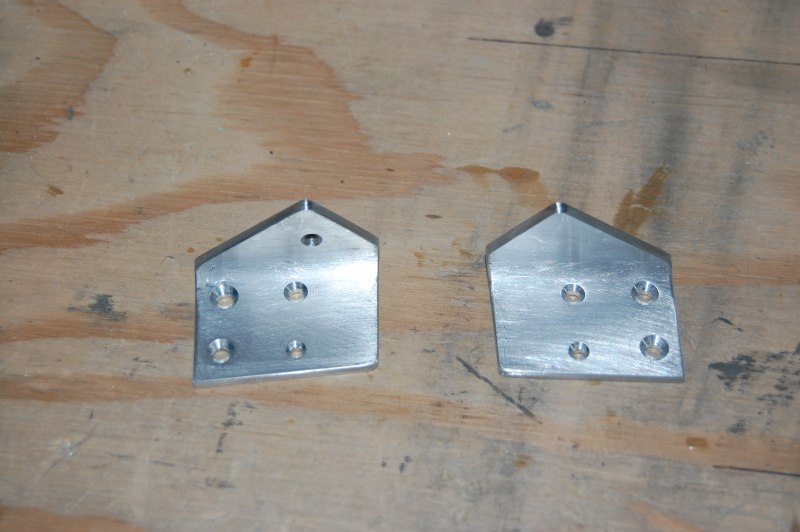
Complete but will need to prime them.
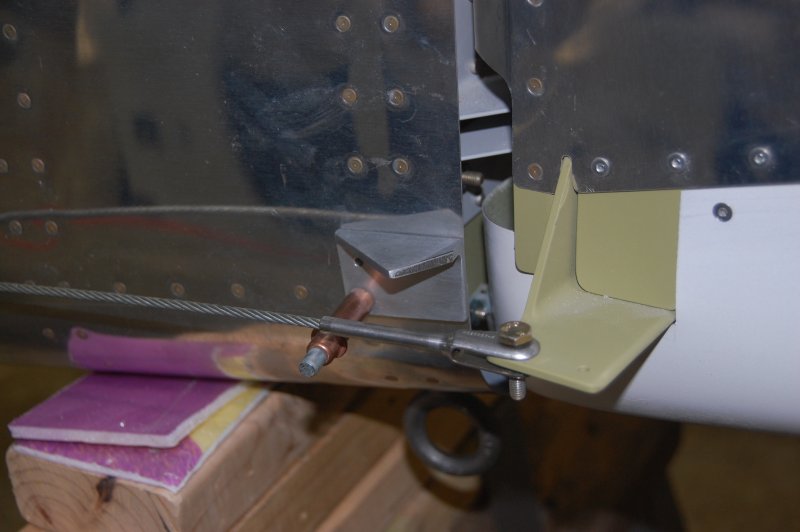
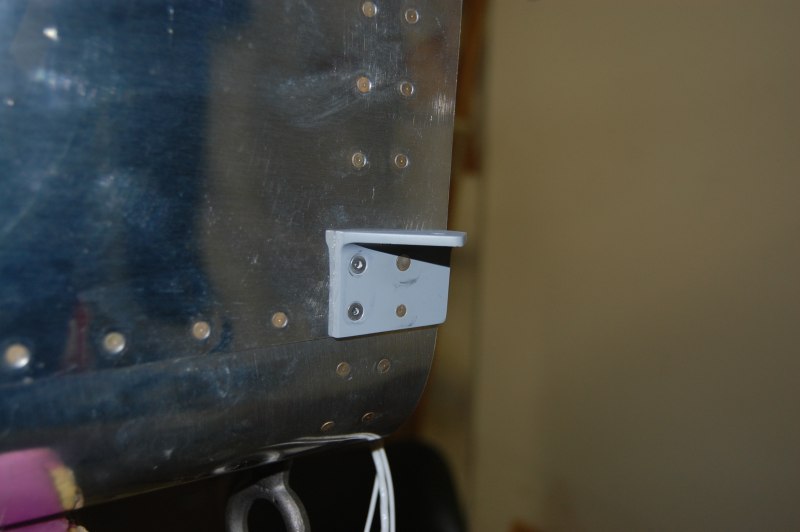
I made these rudder stops a long time ago and now that everyting is together I've decided to redo them. Van's calls out the hole locations but with all the material here and tight edge distance requirements, I though I could do bettter.
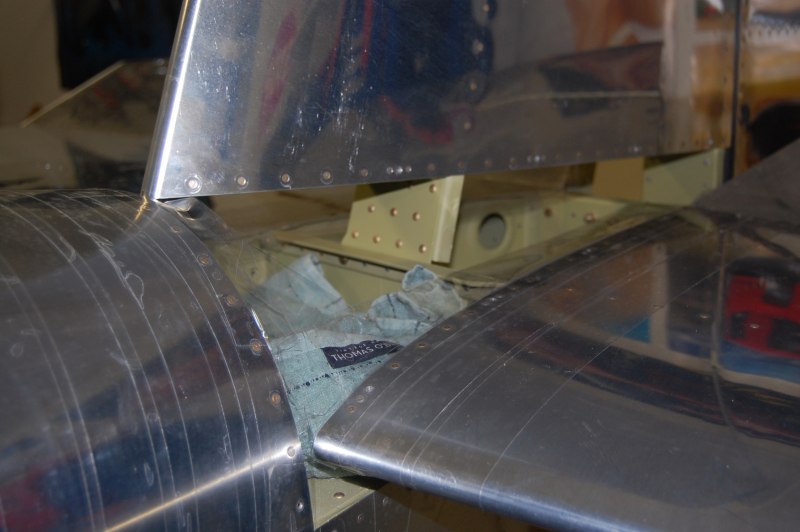
The flange of the rear bulkhead on each side needs to be filed down a little to clear the bottom skin.
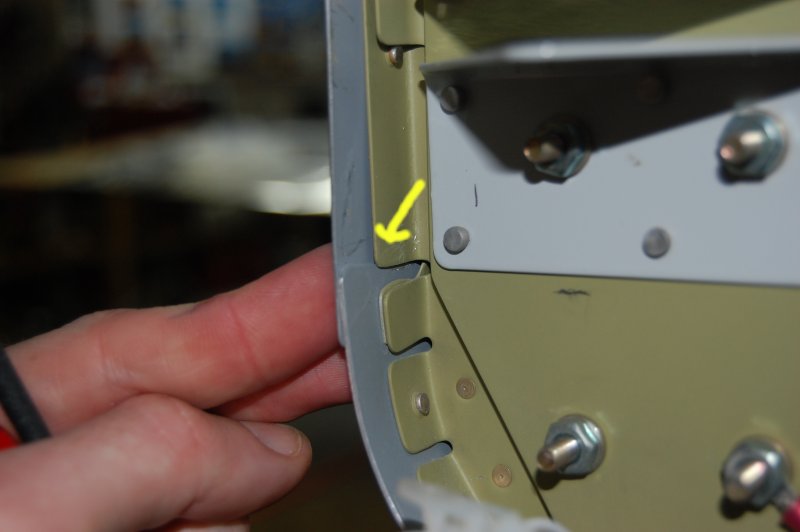
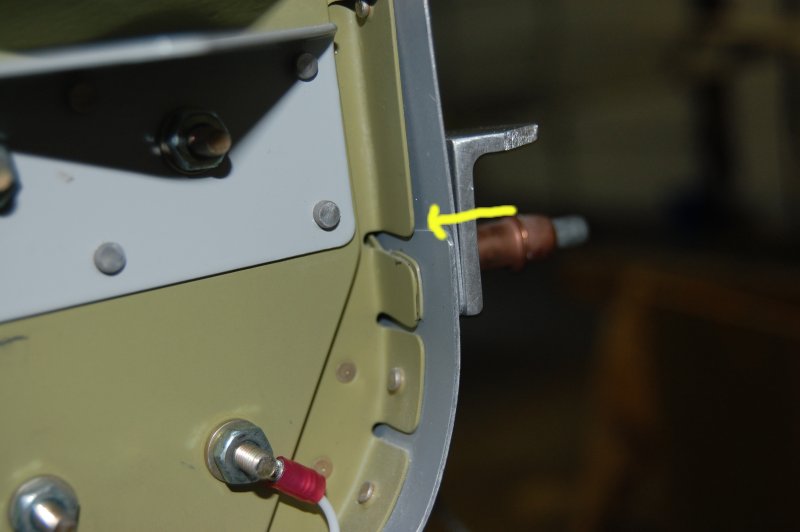
Not as easy as if it wasn't installed, but not too bad with a little patience.
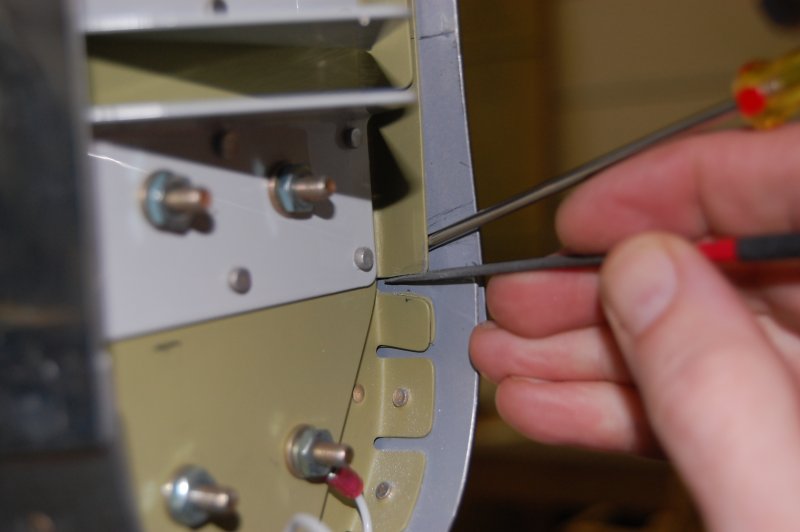
Now drilled.
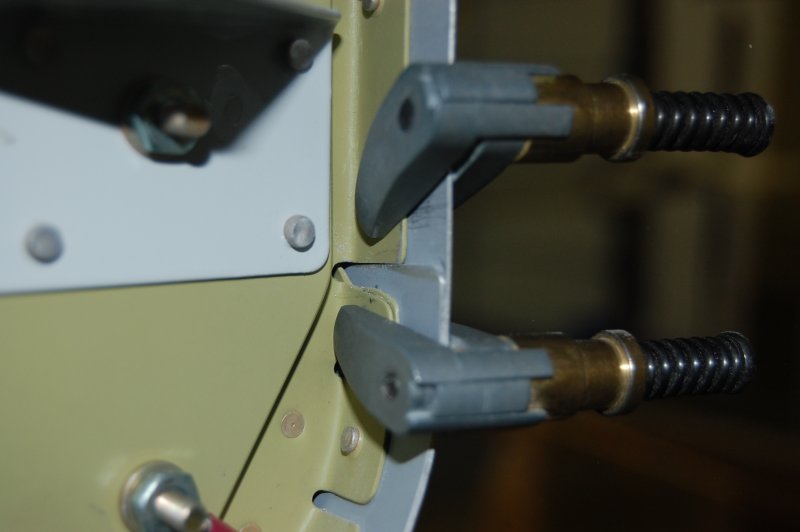
Ready to rivet
Had to remove the HS to rivet them
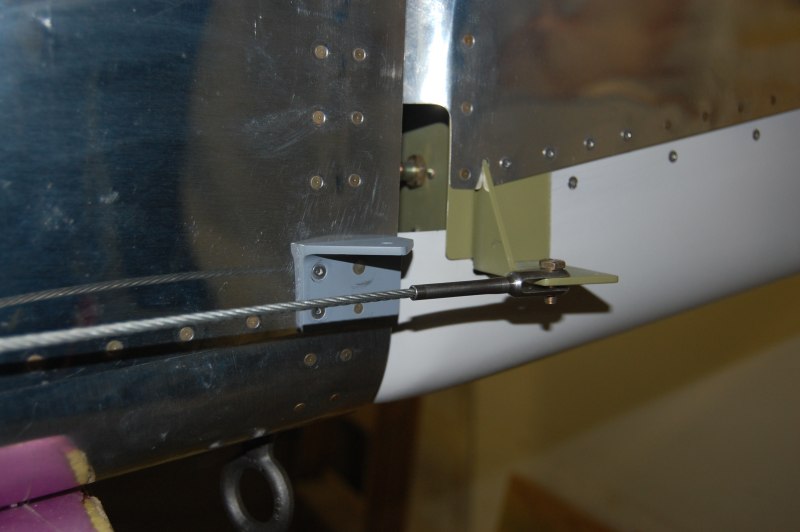
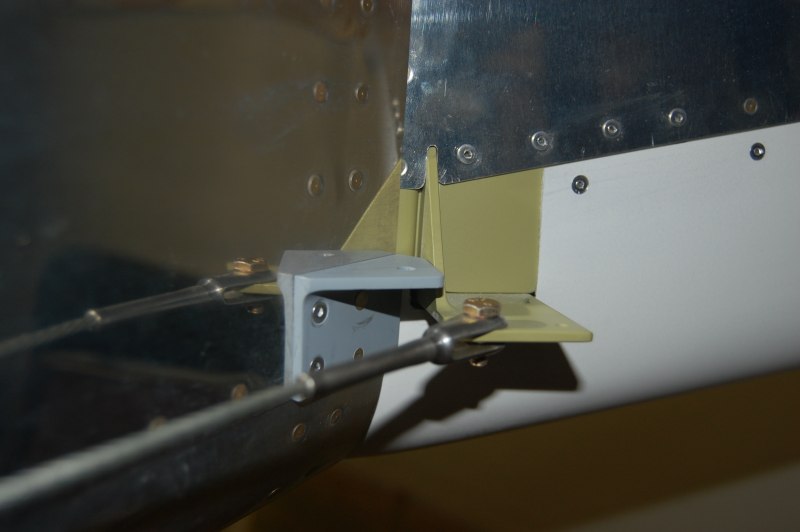
Rudder hitting the stop
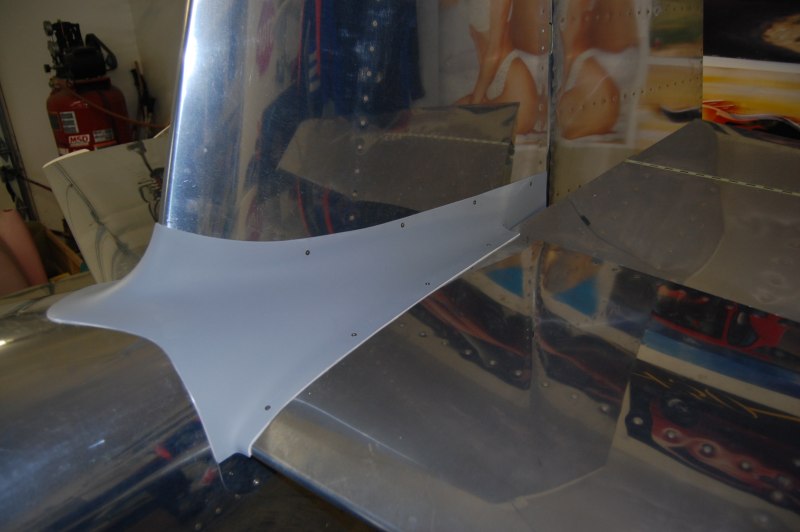
I decided to glass under my empenange fairing to better the fit so first I taped everything off with clear packing tape
Then mixed up a batch of resin with microballoons
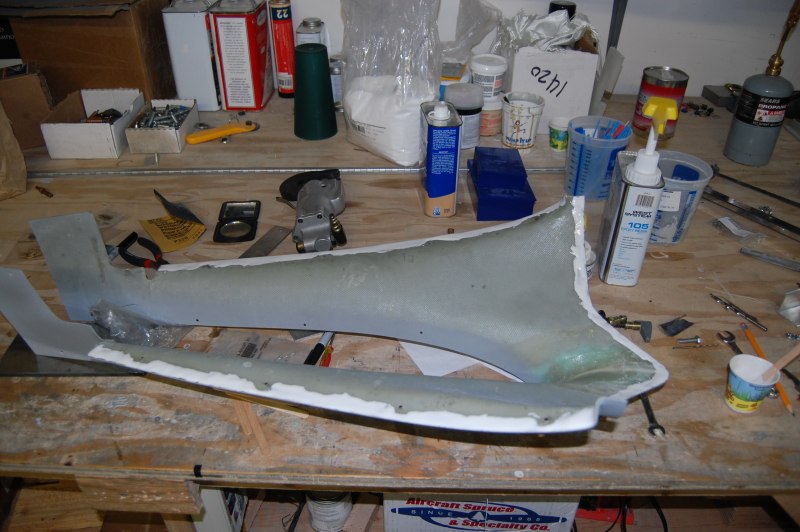
Then screwed it down and let it cure overnight
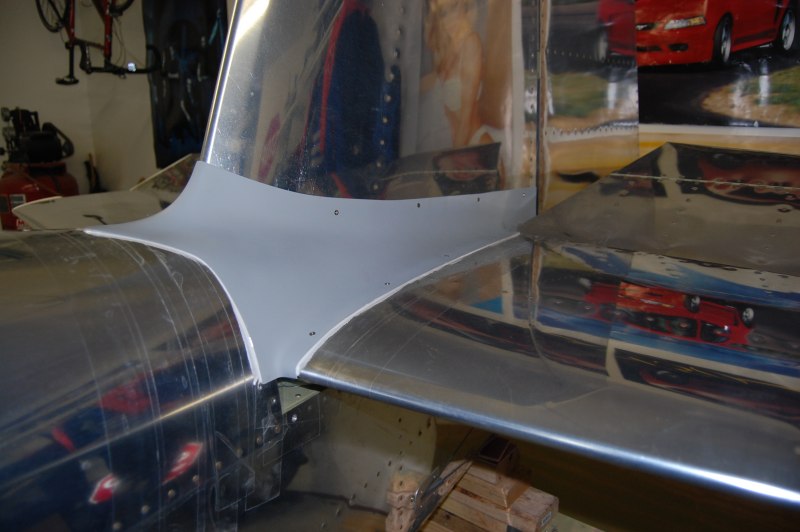
After a little sanding it looks great!
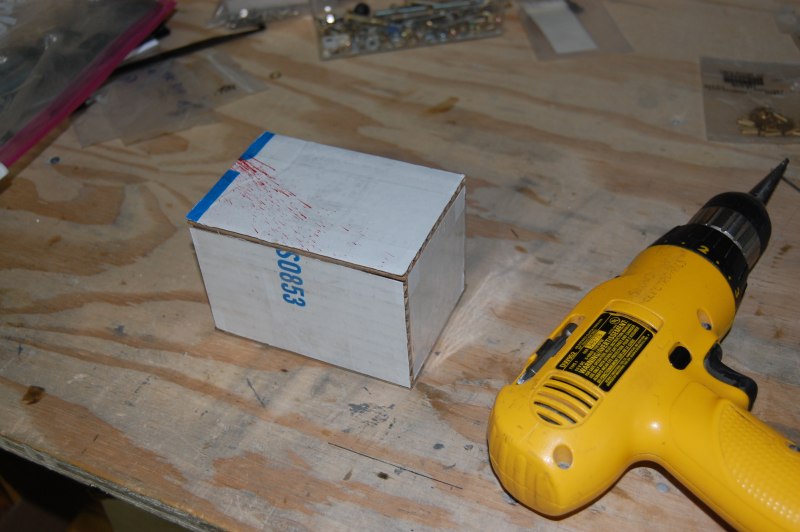
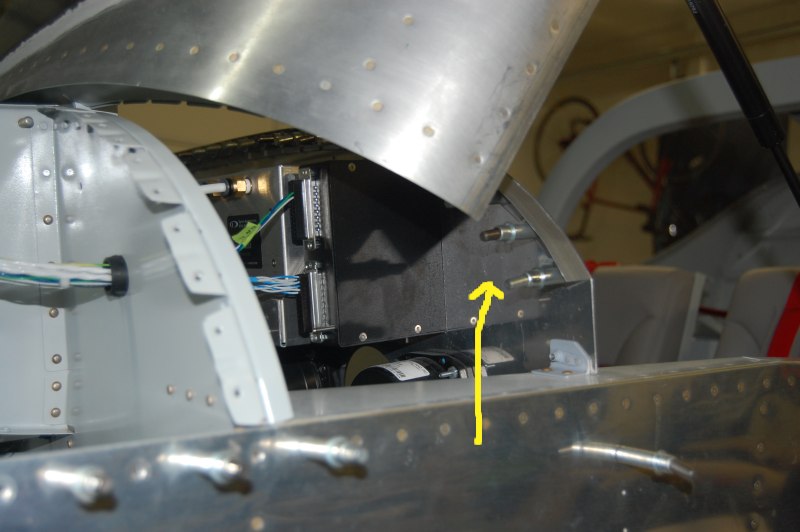
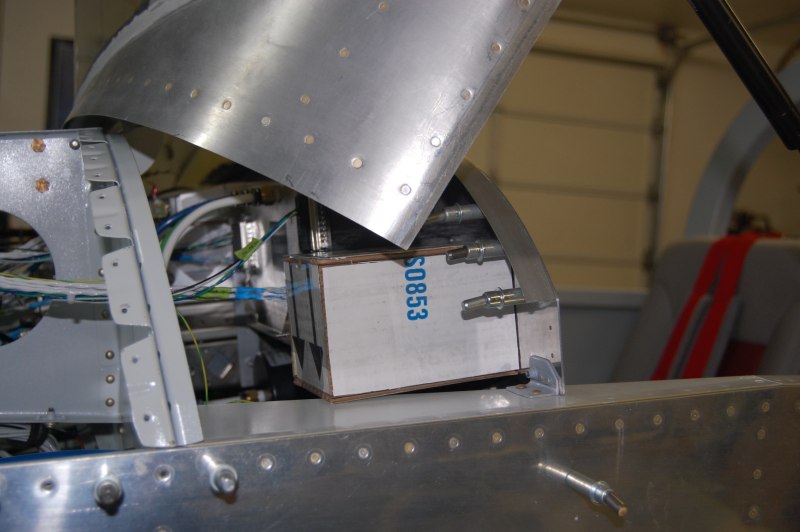
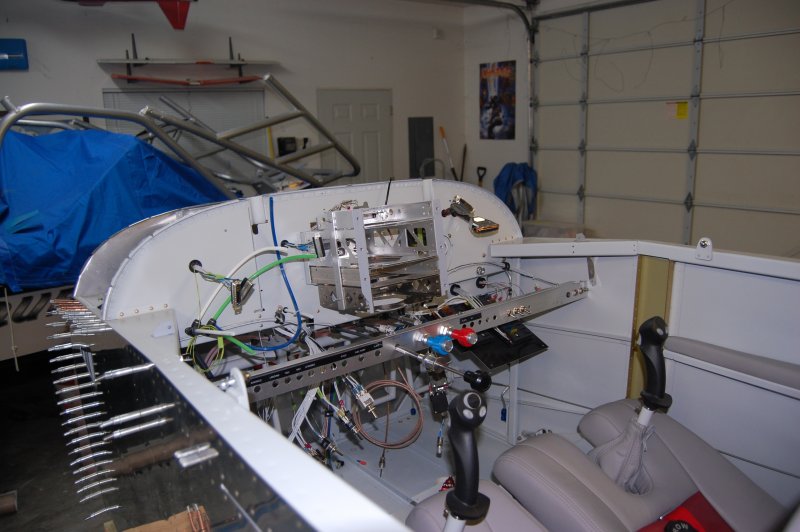
This box doesn't look like much but it took a little to build. It is the exact size of a Garmin Indicator that I'm planning on installing in my panel. I wanted to make sure it fit without buying one. This box is exactly 3.25" X 3.25" X 4.75".
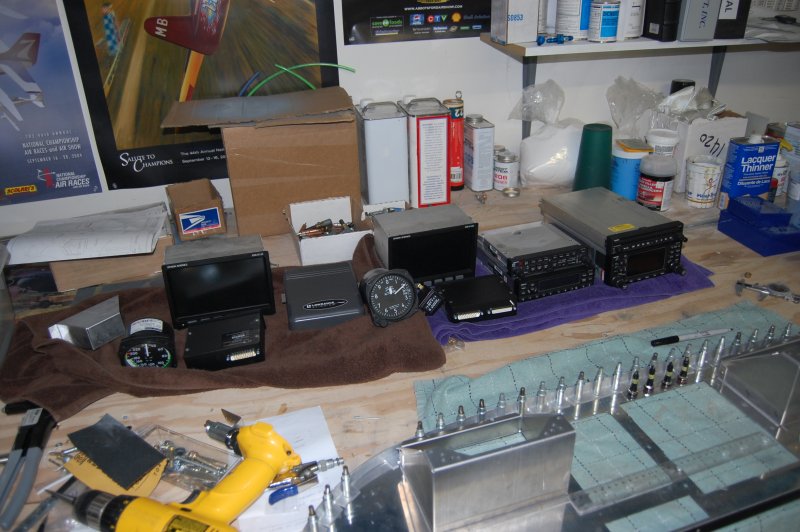
Here is what the real indicator looks like. (It's only $1,890.00)

Anyway here is where I want it
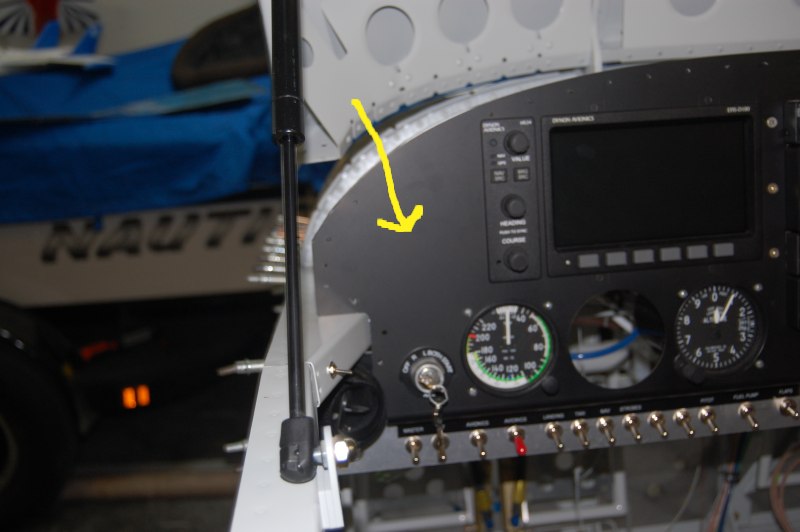
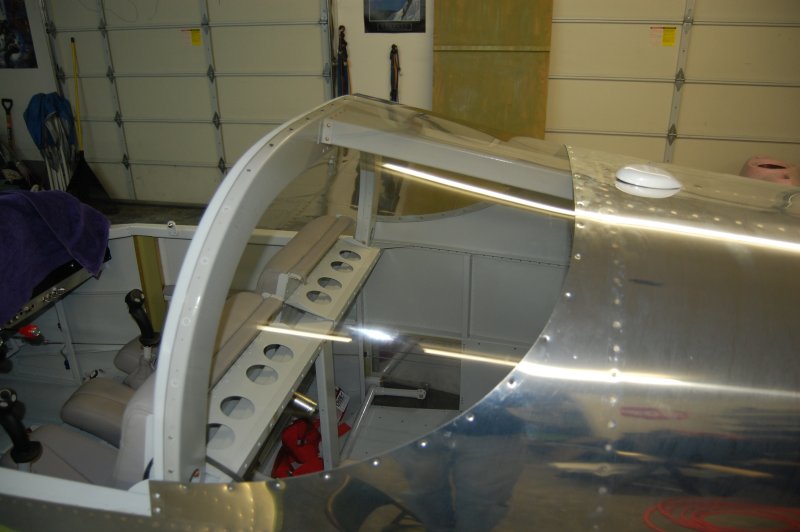
I reintalled the canopy to make sure it clears and it does.
Time to take everything apart, again. This should be the last time.
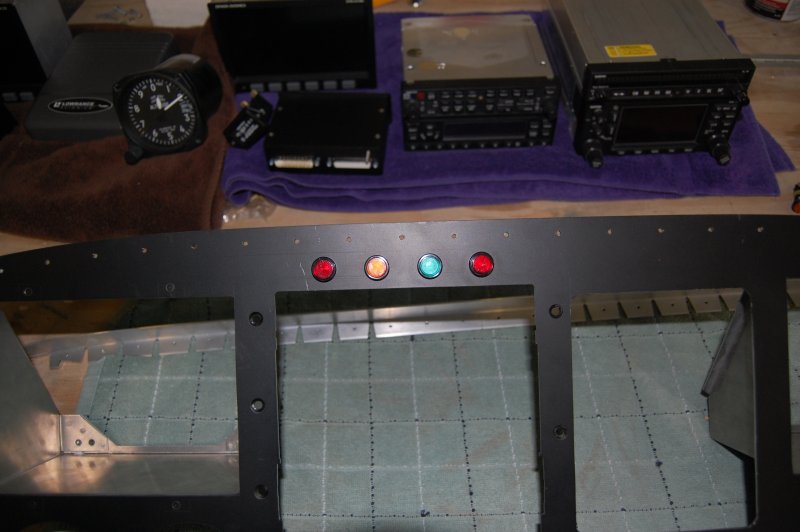
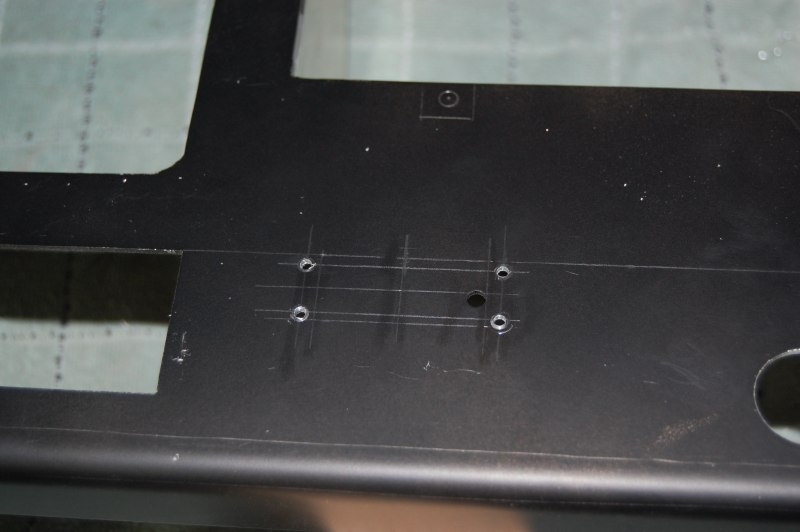
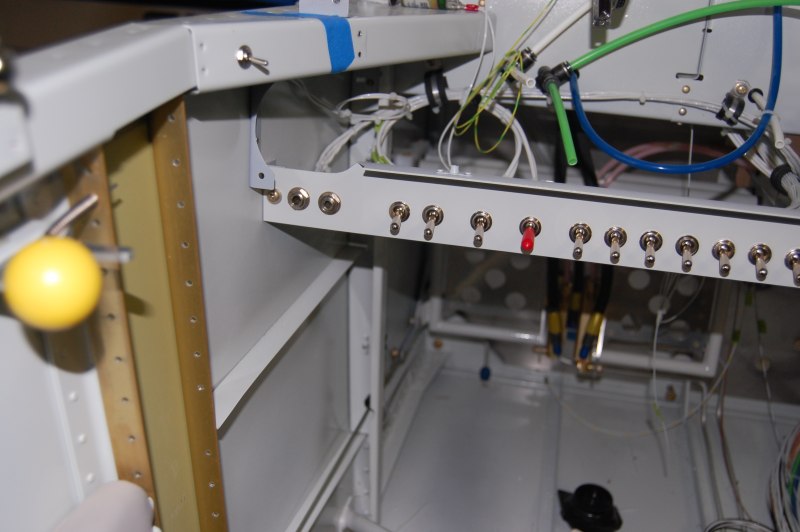
Holes for "Idiot" lights
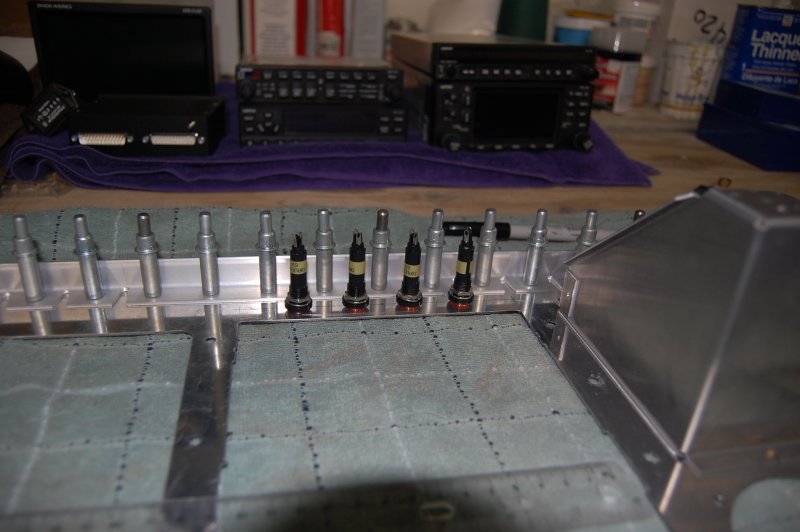
These will be,
Oil Pressure
High Voltage
Fuel Boost Pump On
Engine (This light will come on anytime the Dynon engine monitor sees a problem.)
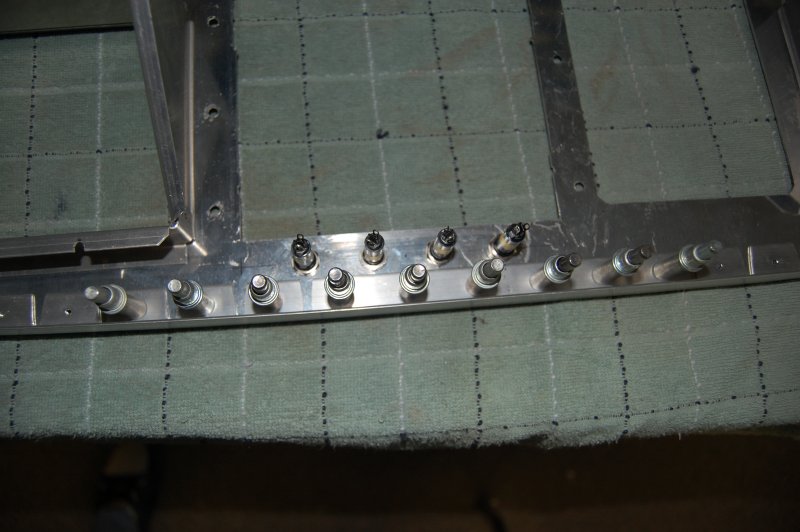
Hole for Aux Power Jack (Cig Lighter)

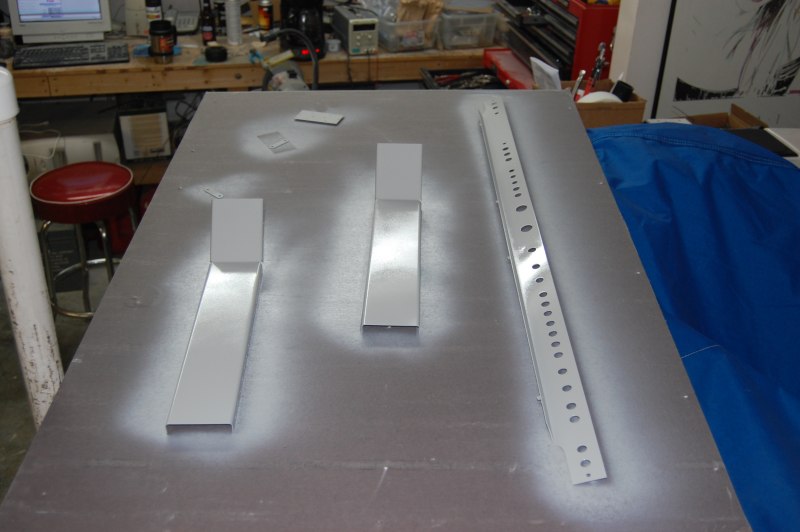
Primed the switch panel and vent brackets
Dimpled
And riveted
Painted rear window inside strips
also side covers and switch panel
Just about full grown
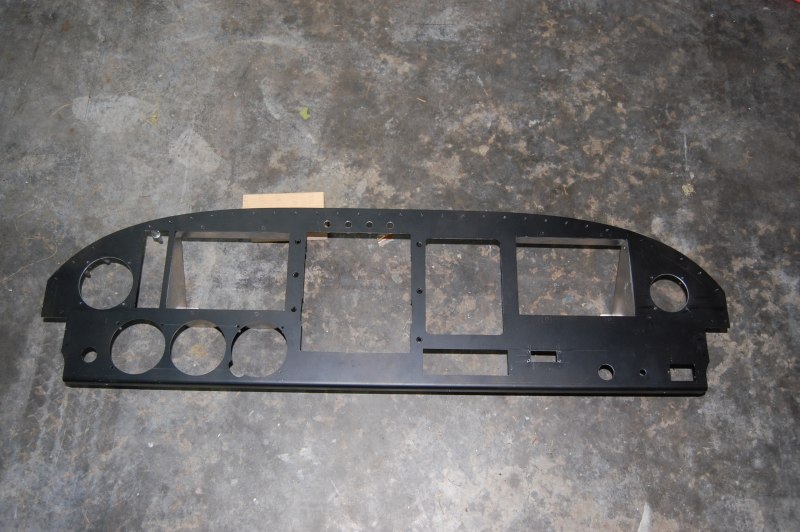
This cutout is for the ELT control panel
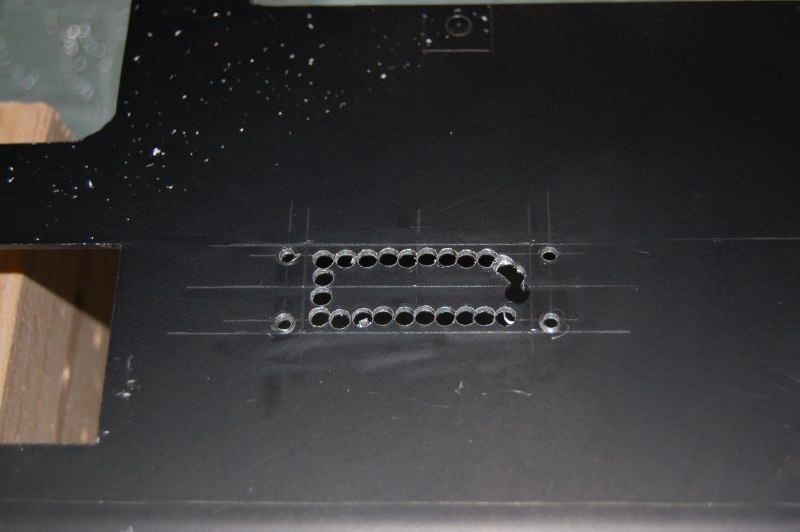
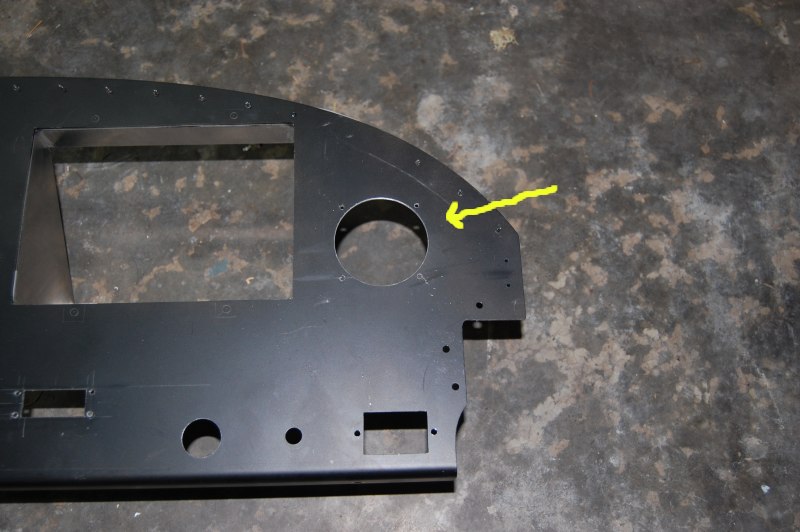
Cut hole for Garmin CDI
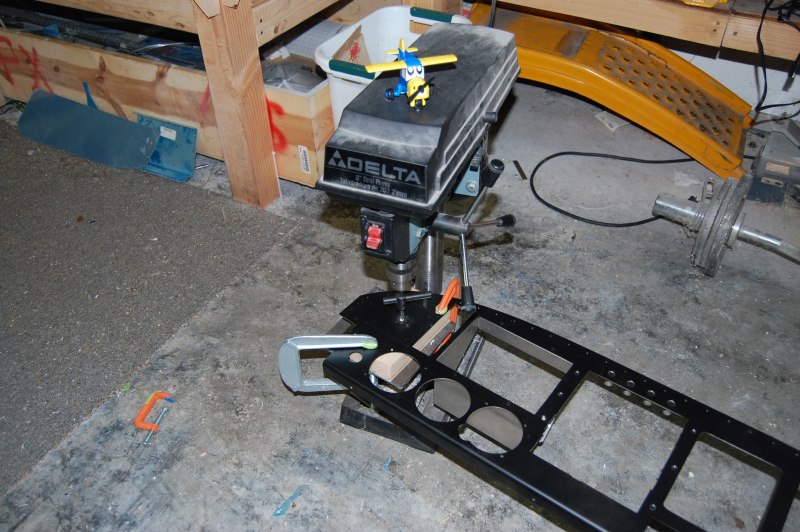
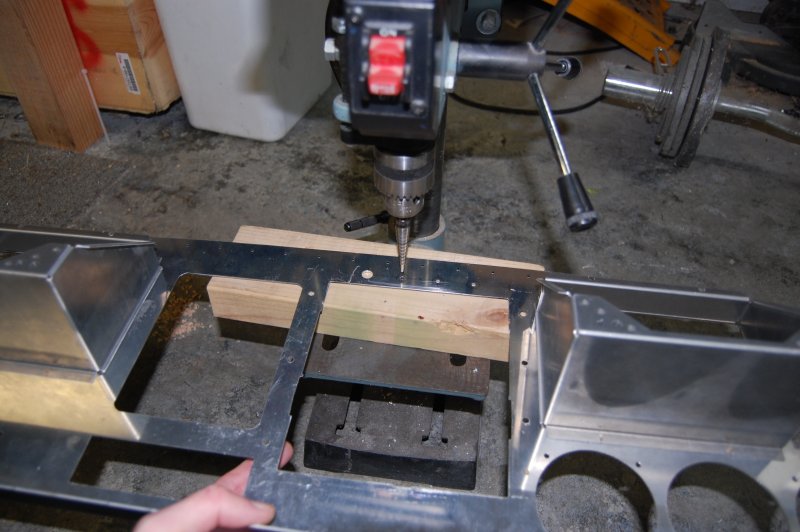
The kids decided to throw this out, so I dug it out of the garbage and glued it to the top of the drillpress. Sweet!
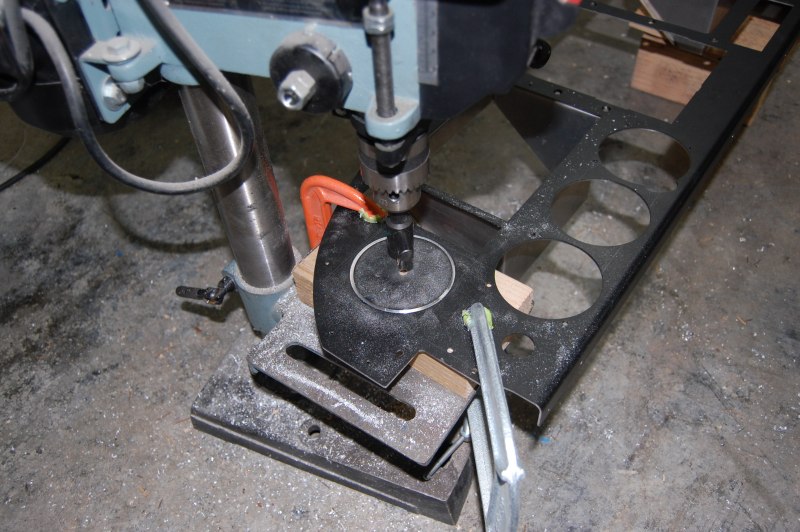
Cut hole for vertical compass card
I think that's it!
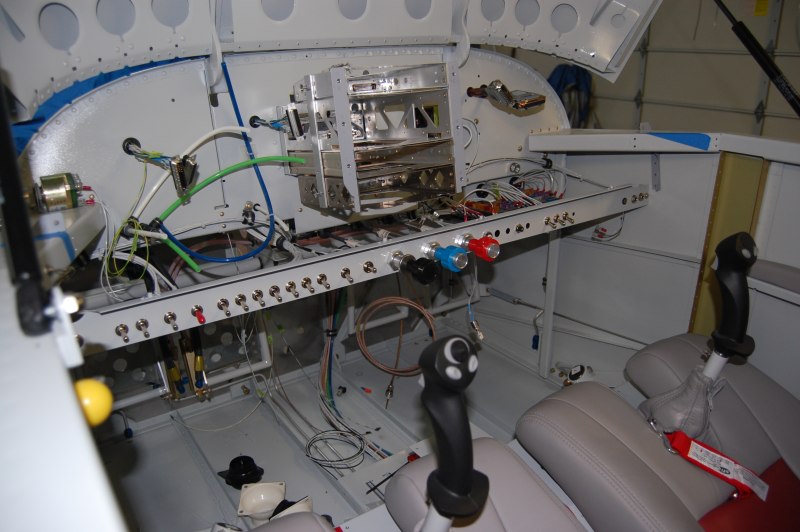
Installed switch panel for good.
Back