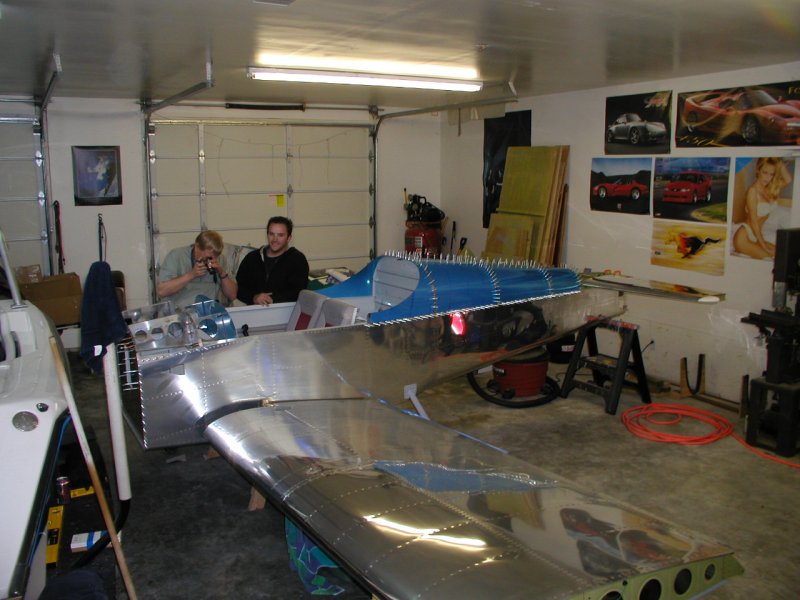
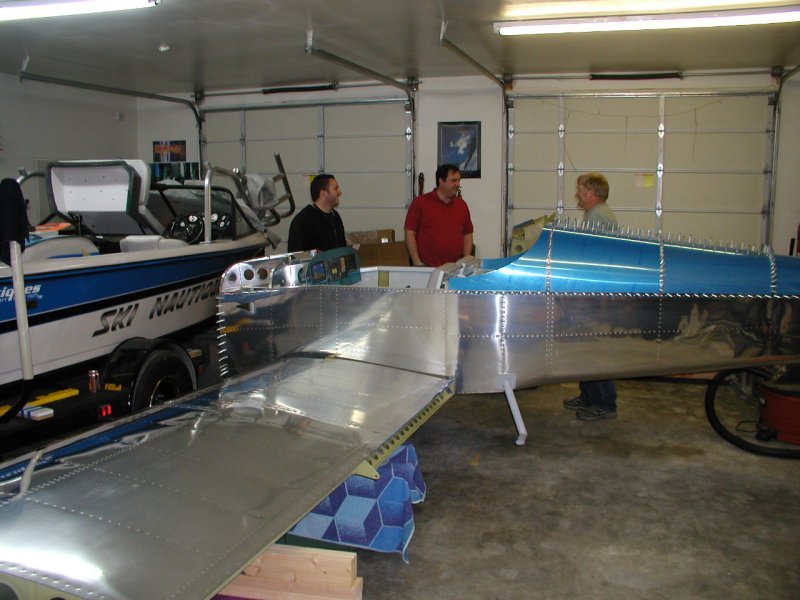
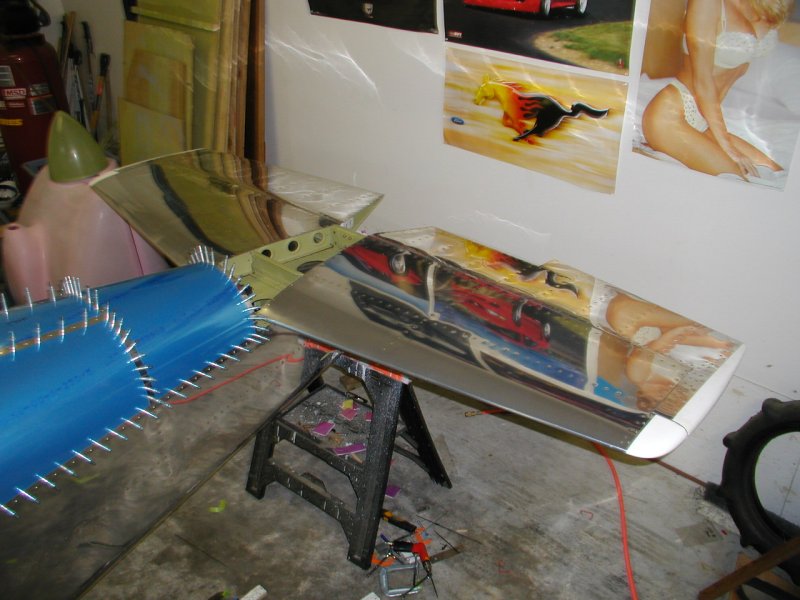
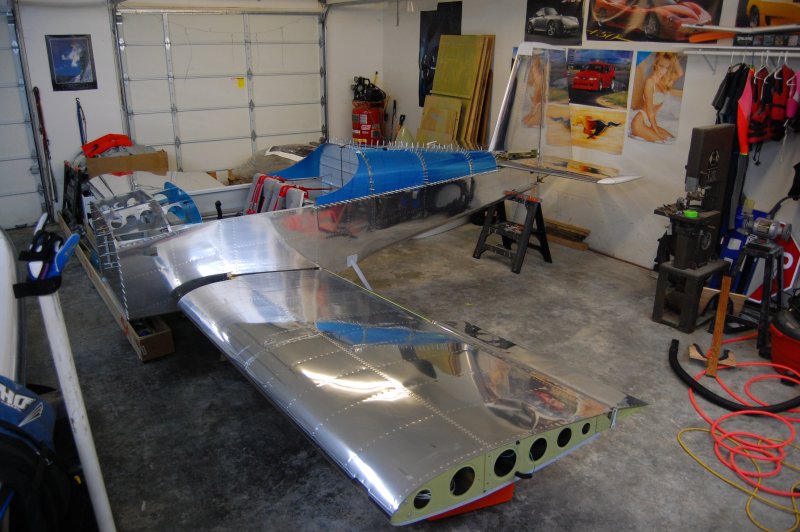
Today 5/4/08 Robert, Nick, and Brice helped me mount my wings.
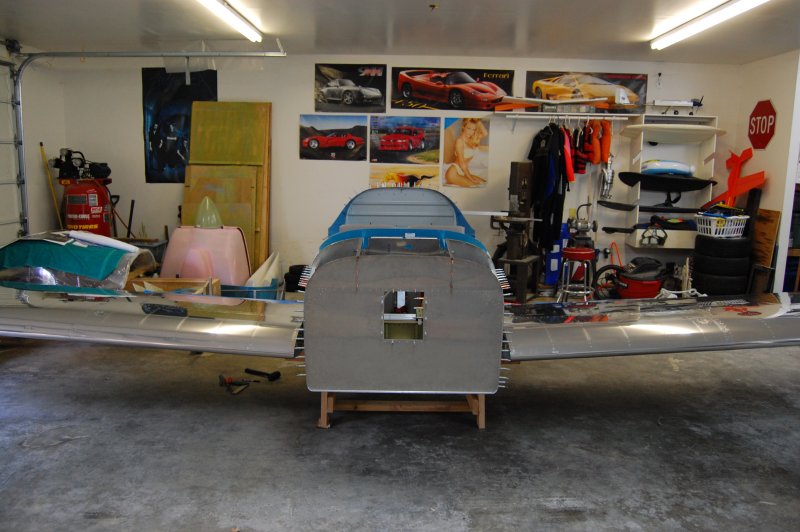
After everyone left and for the next week or so I spent a lot of time measuring, plumbbobbing, and leveling. I couldn't quite get the right wing sweep to be perpendicular to the plane so I had to file the rear spar a little to let the back of the wing go on the right amount. After sliding the wing on and off numerous times I got it perfect. Luckily for me I was able to slide it on and off myself because I only had to slide it enough to expose the rear spar. The main spar goes into the fuselage quite a bit, so that never had to come all the way out.
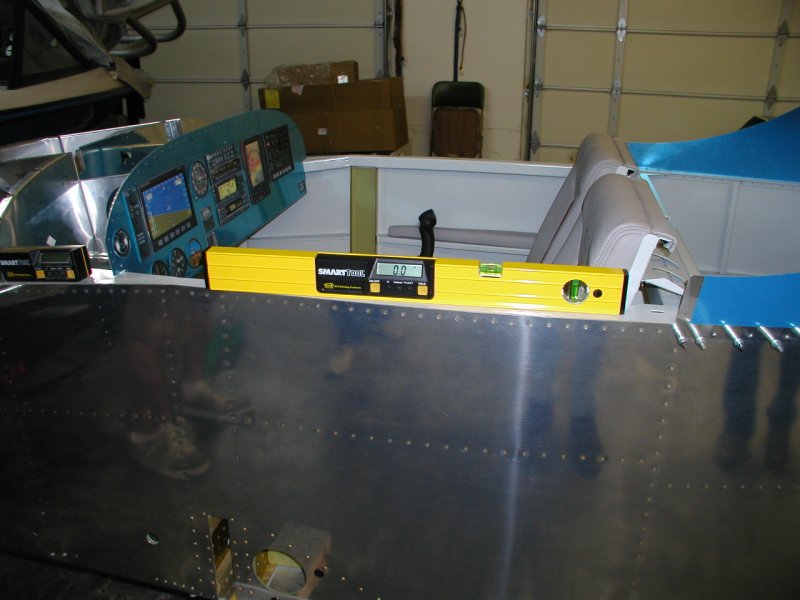
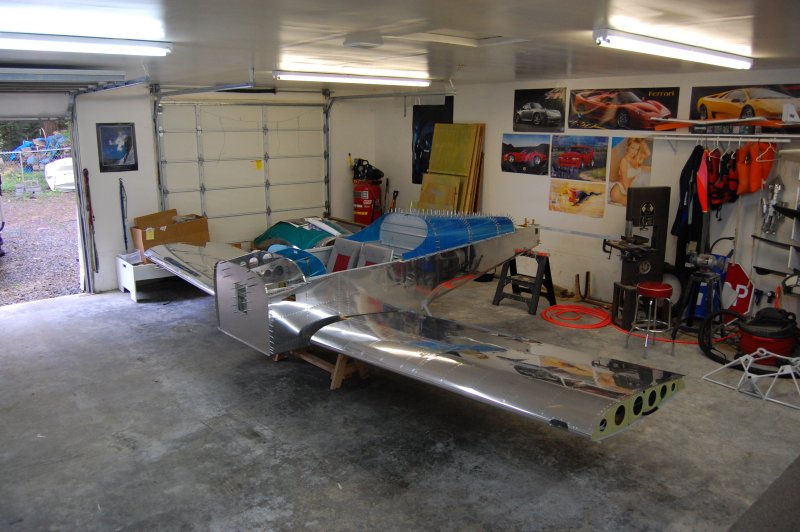
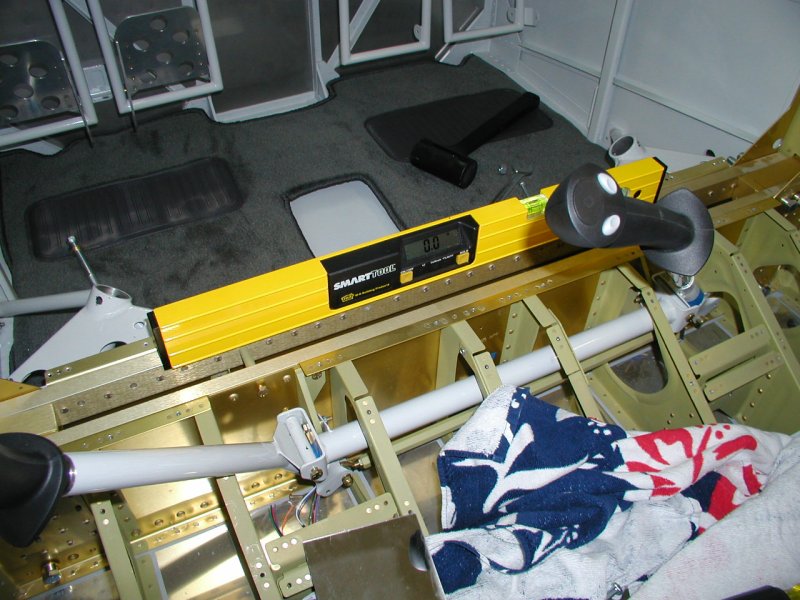
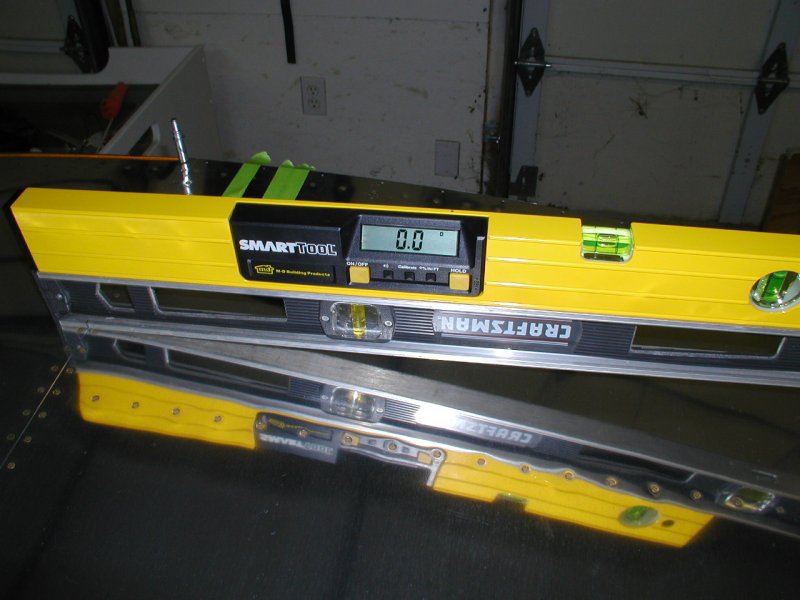
With everything true and plumb and level, the wing incidence had to be set. This is done by using a 3" spacer block on the rear spar for one end of the level, and no spacer on the main spar.
First double check that the spar is level.
Then the longeron...
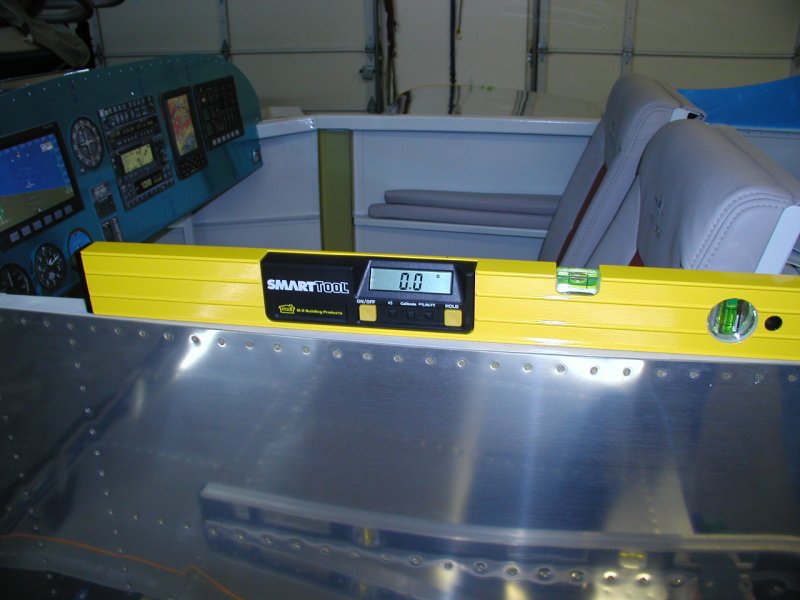
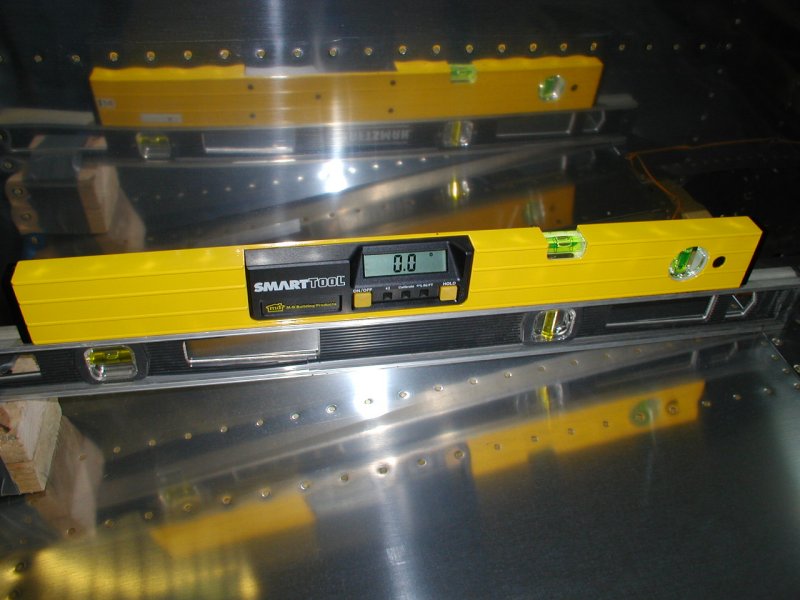
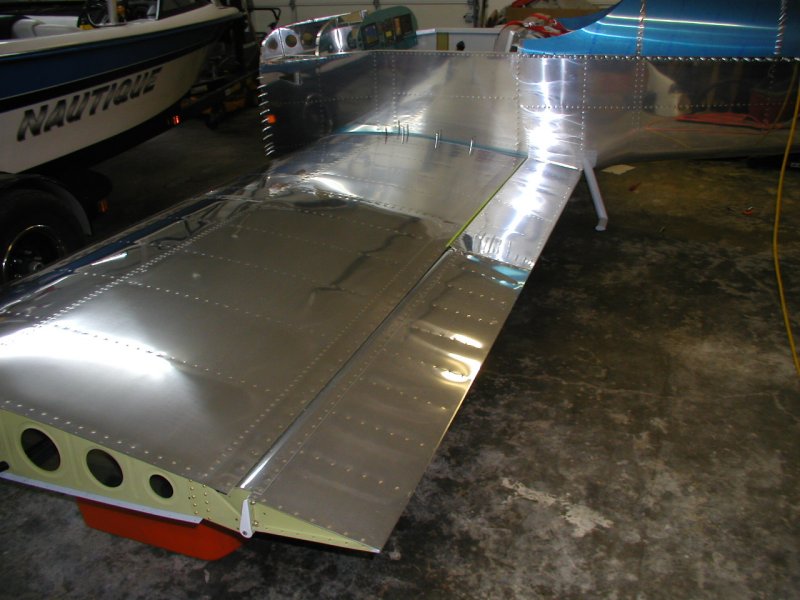
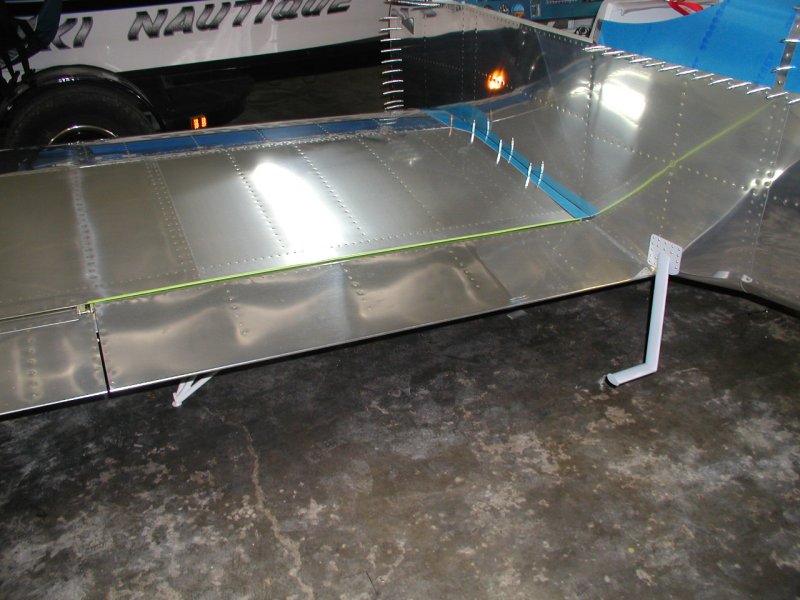
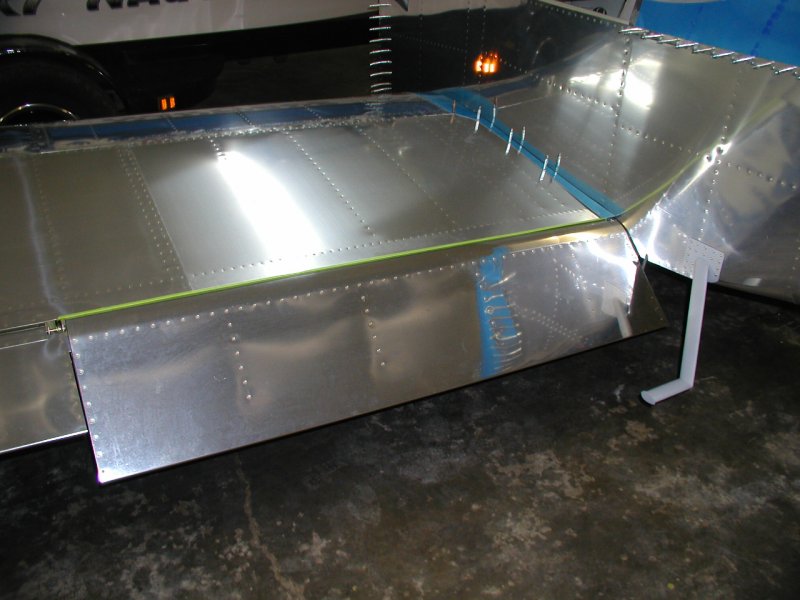
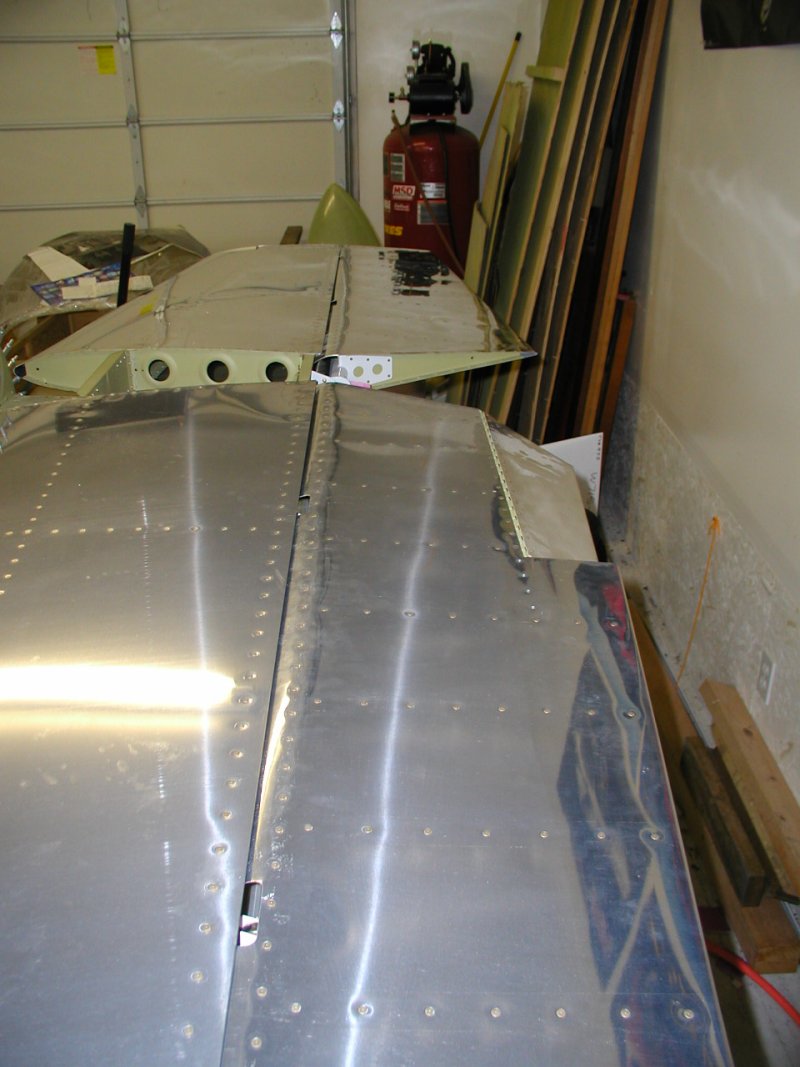
After some wing incidence adjustment, here is the left wing root
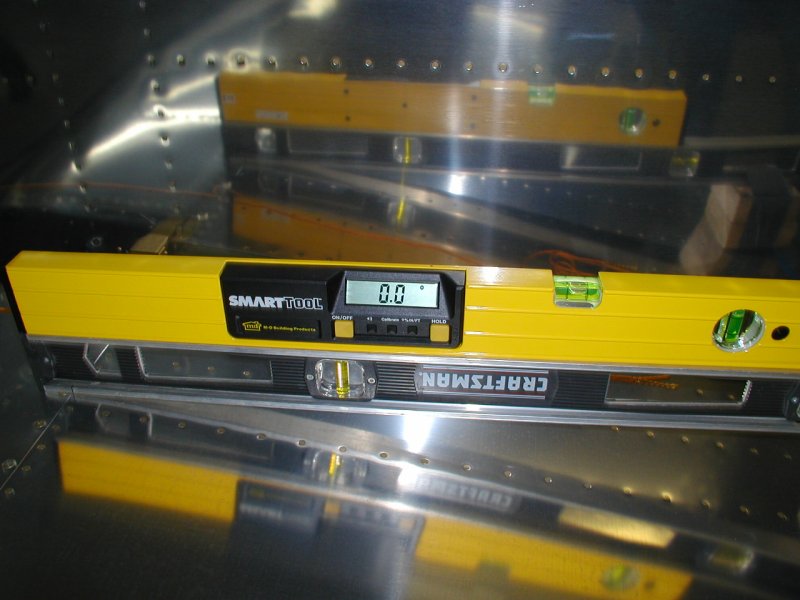
Then the left wing tip...
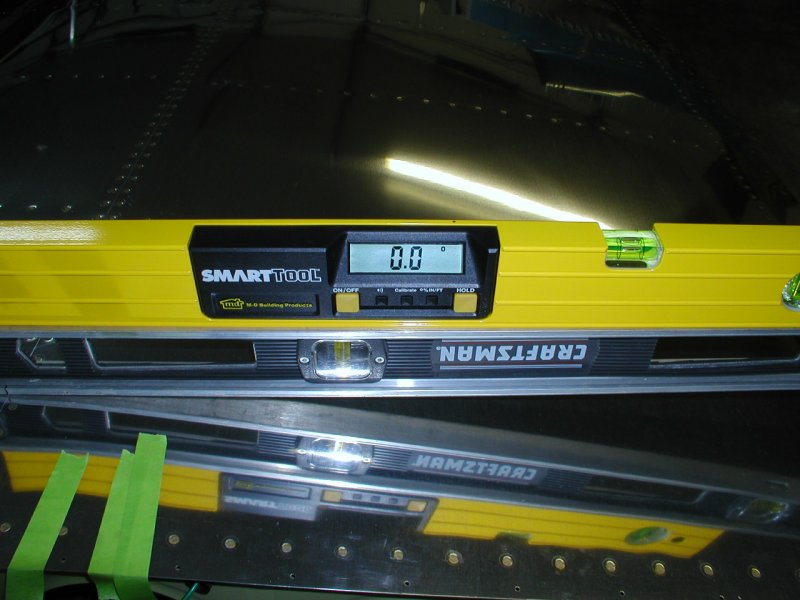
Then the right wing tip...
And finally the right wing root! Perfect!
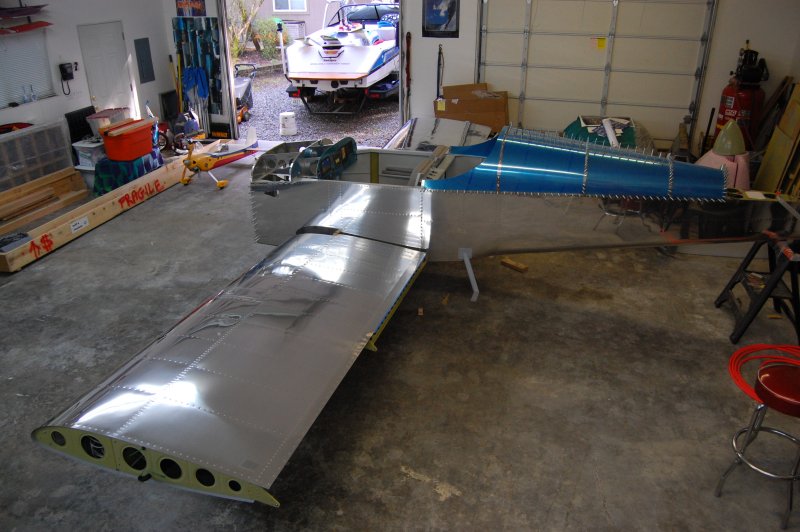
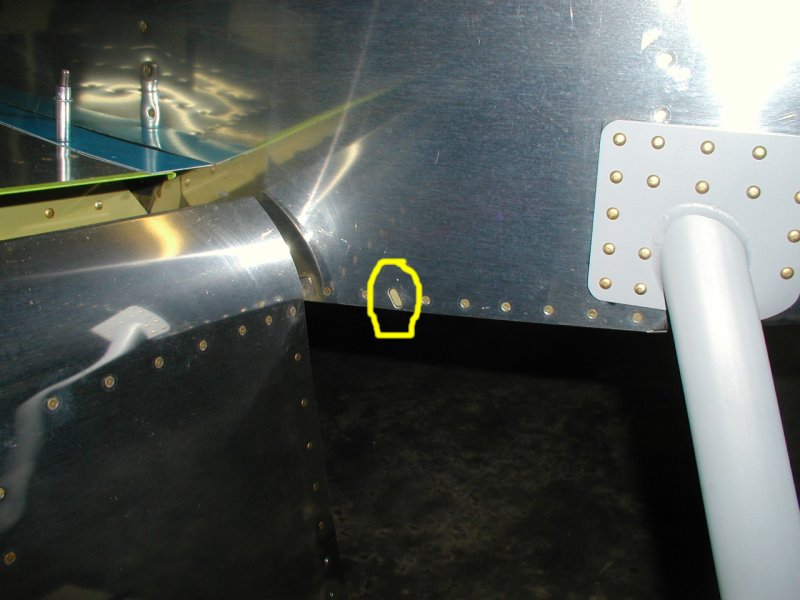
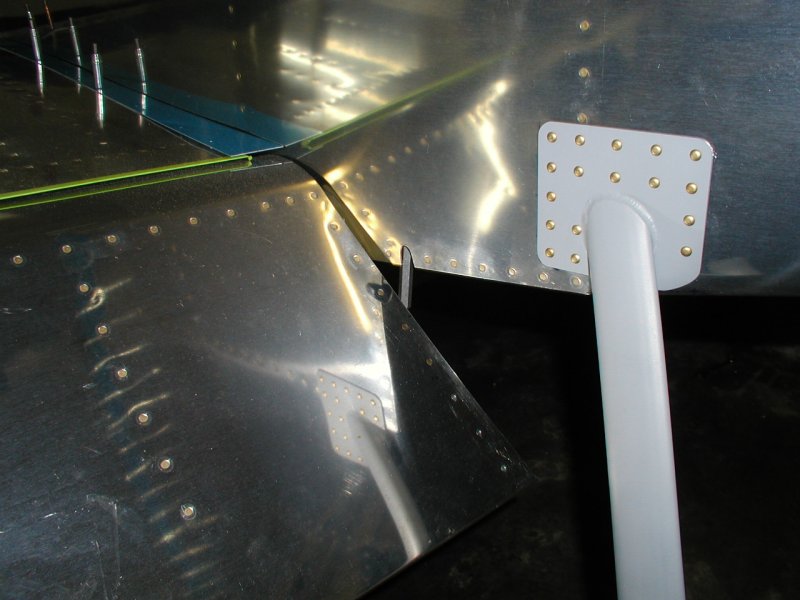
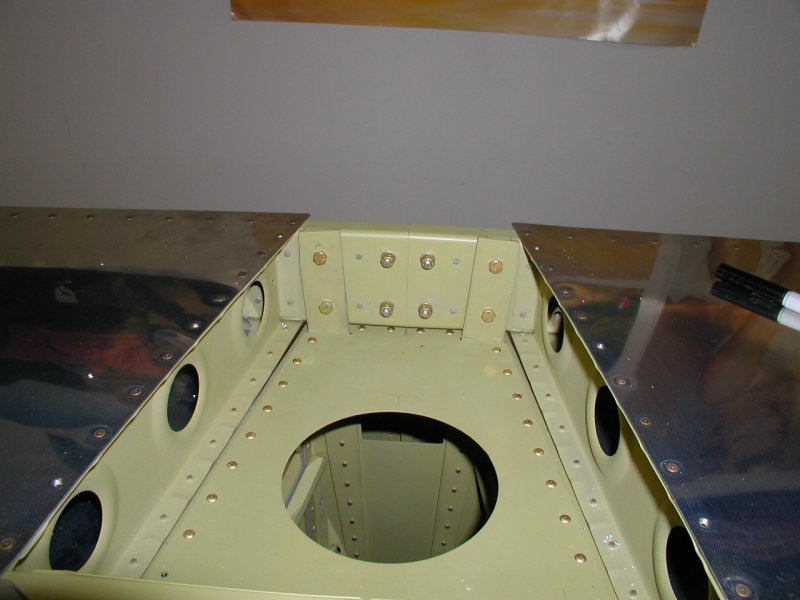
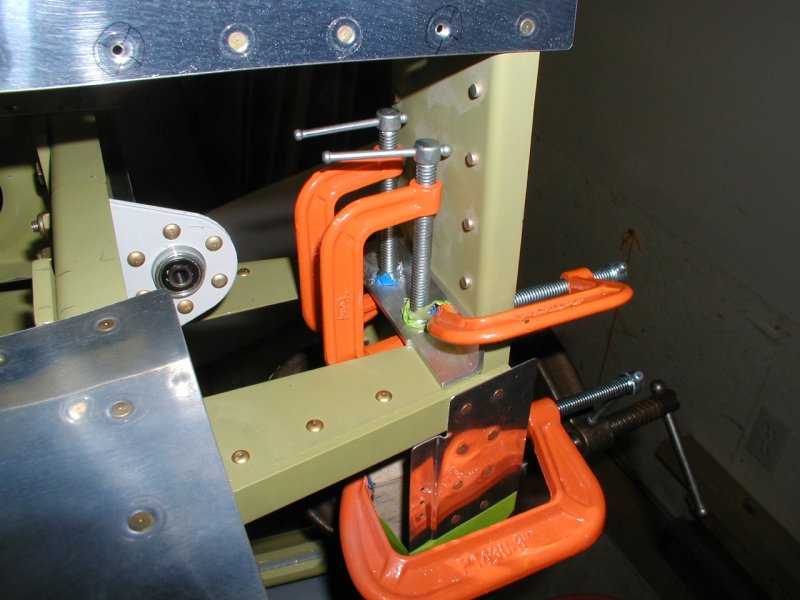
Now the tough part, drilling the rear spar. This is very difficult because it has to be perfect and edge distance of the hole is critical. Add the fact that there are many angles and it's almost imposible to know what is straight. As recommended I used a drill block made of wood to insure a perpendicular hole. Still it is very difficult to drill because of the lack of space. Anyway it came out great but not without a lot of work, a little blood, and a few more gray hairs. Glad to be done with that.
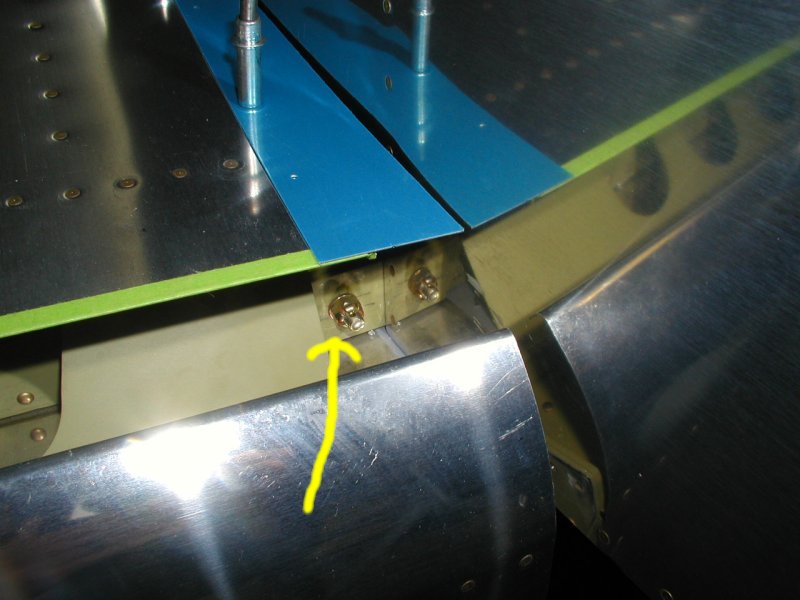
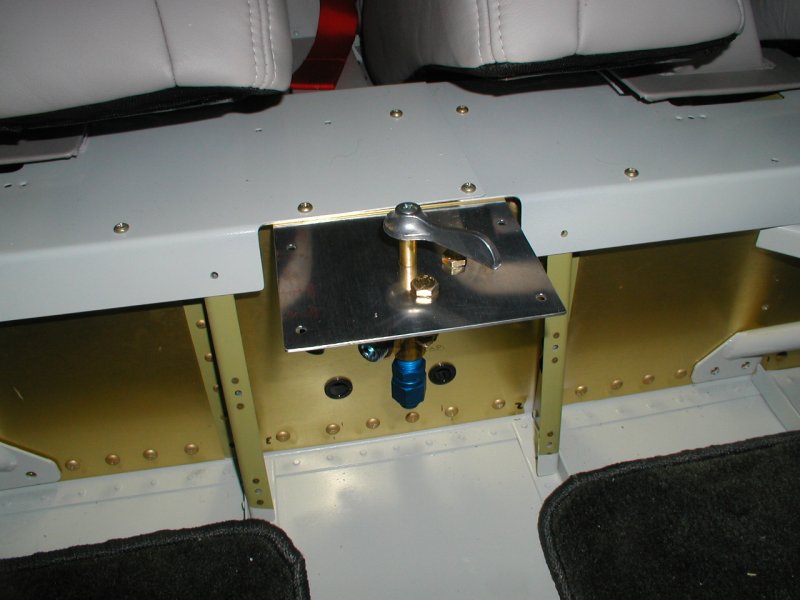
This bracket attatches to the fuel tank
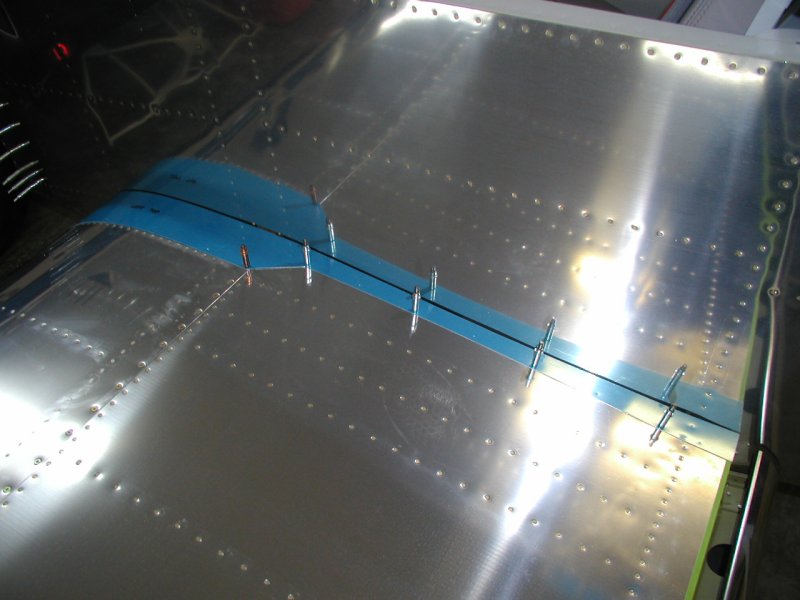
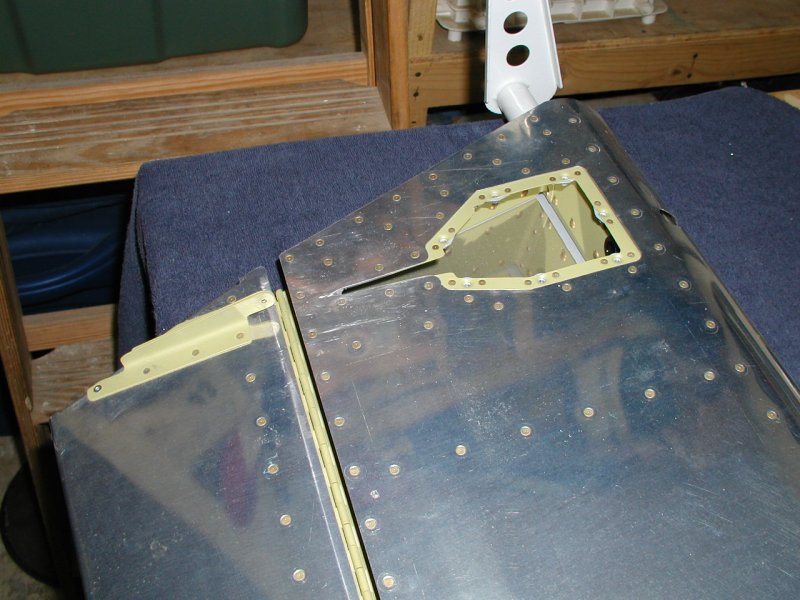
Here is the root fairing clecoed in place.
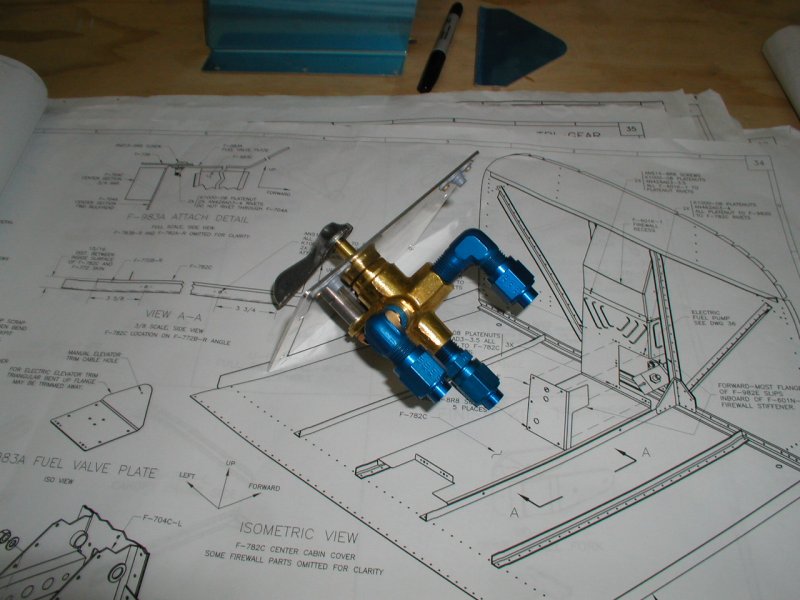
After all that stress it was nice to move onto something like the fuel selector valve. Nice no brainer work.
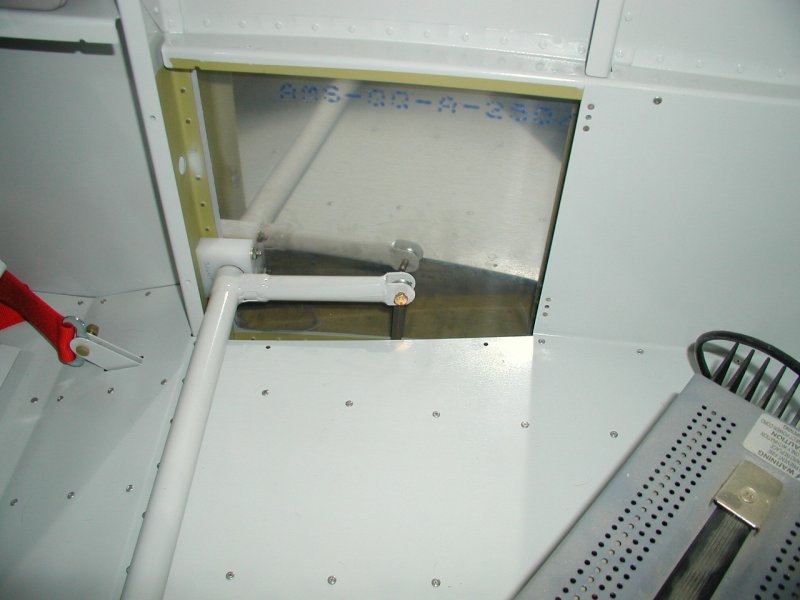
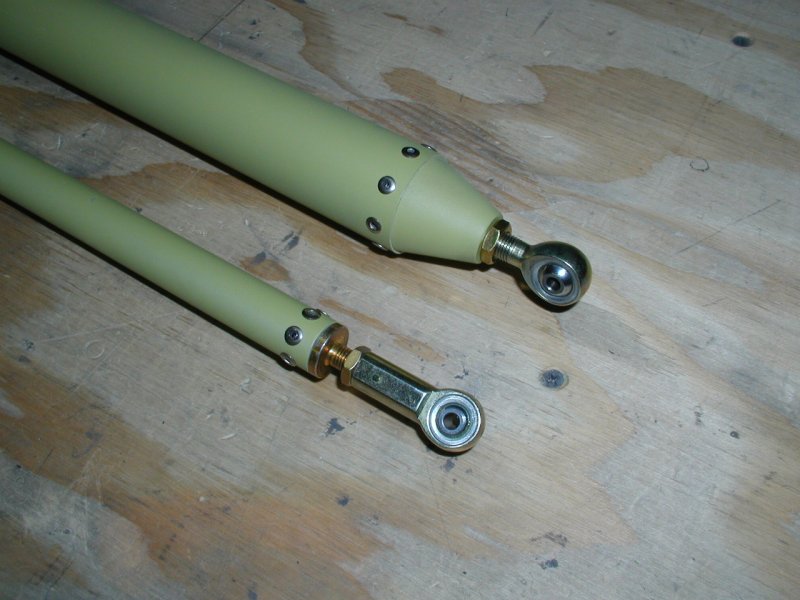
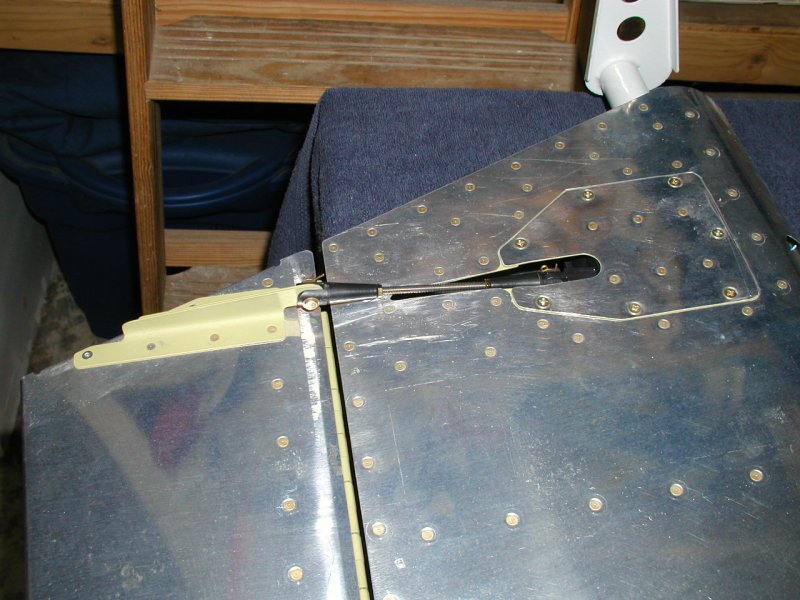
Here is one of the elevator push tubes. This larger one goes from the bellcrank back to the elevator. The other one(not shown) connects the bellcrank to the control stick assembly.
Here is another stressfull one. This is where you have to drill and file a hole in the side and bottom of the fuselage for the flap control rod. There is really no template so after looking at some other people's sites I went for it. Actually it was pretty easy.
Here are the flaps up.
And after hooking up a DC power supply to the flap motor, here they are down. I need to make a video of the electric flaps as they are really cool.
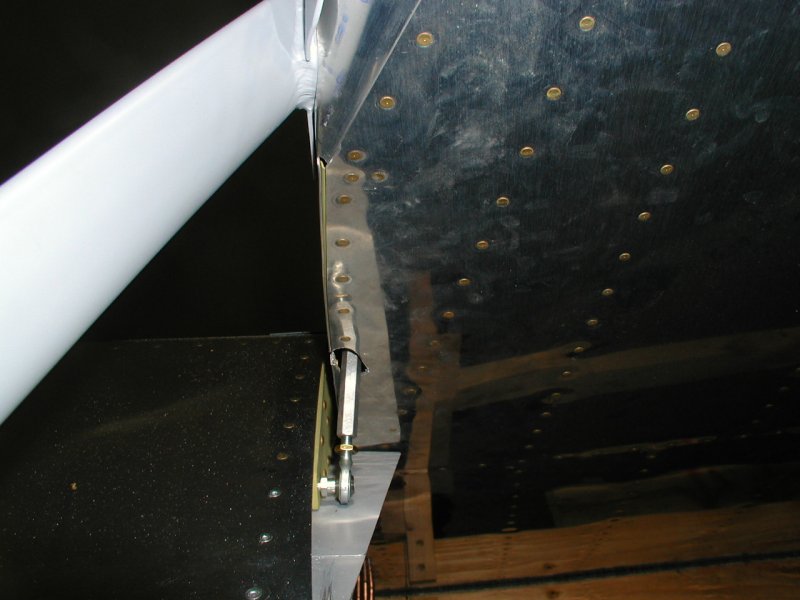
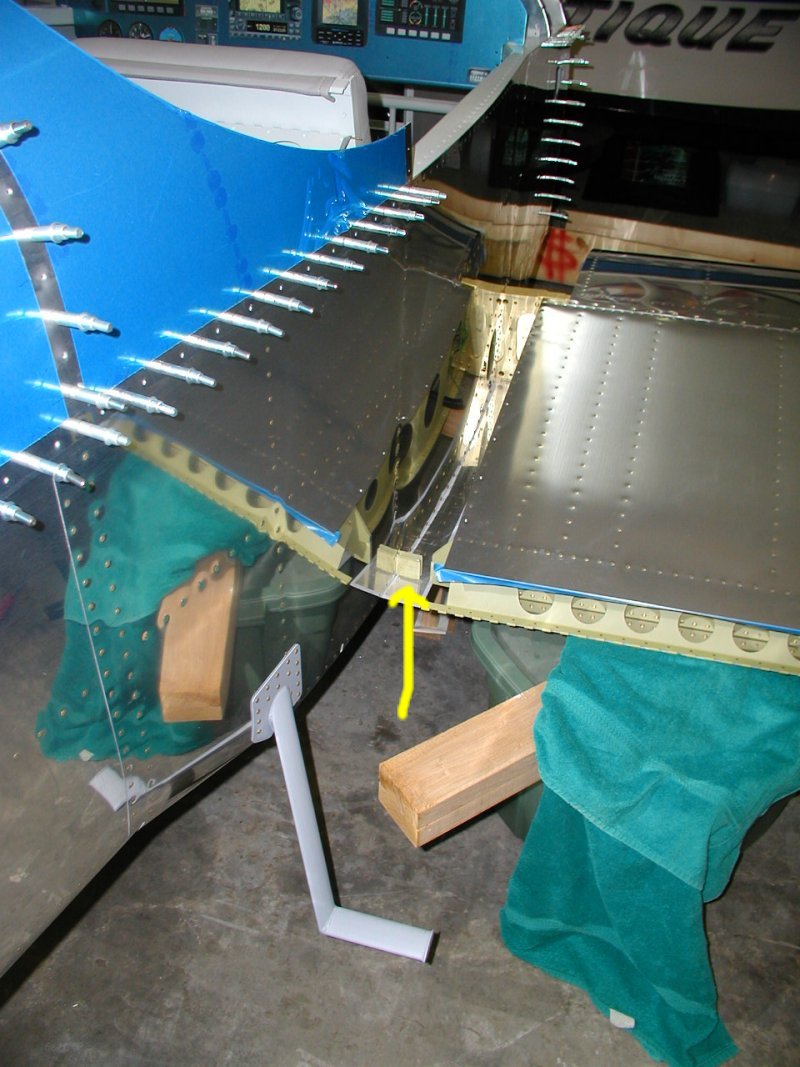
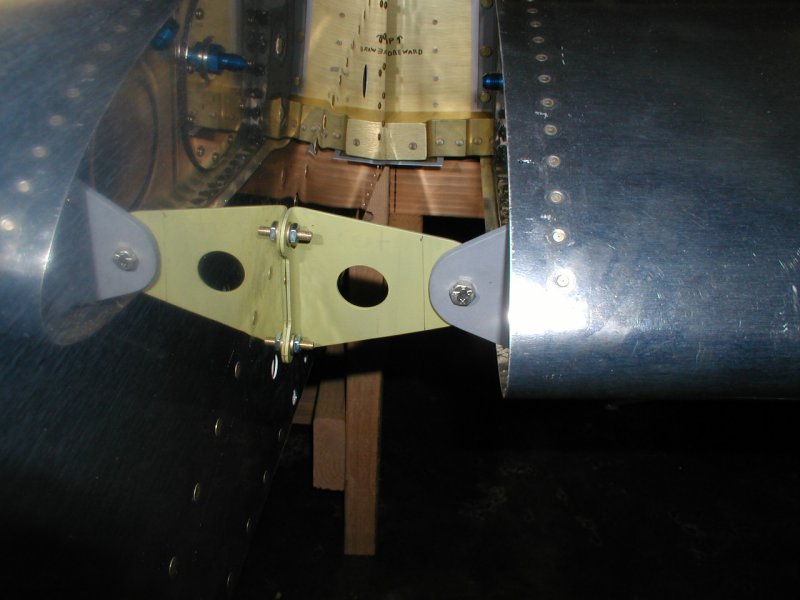
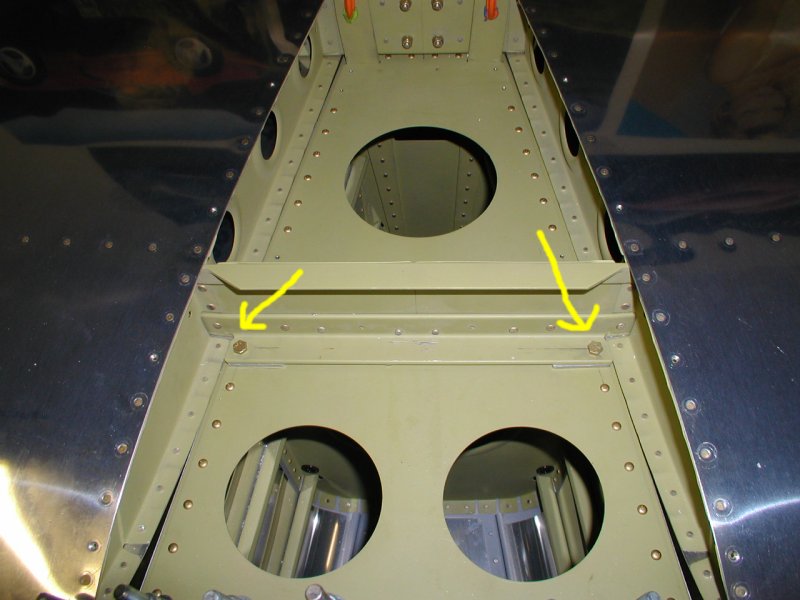
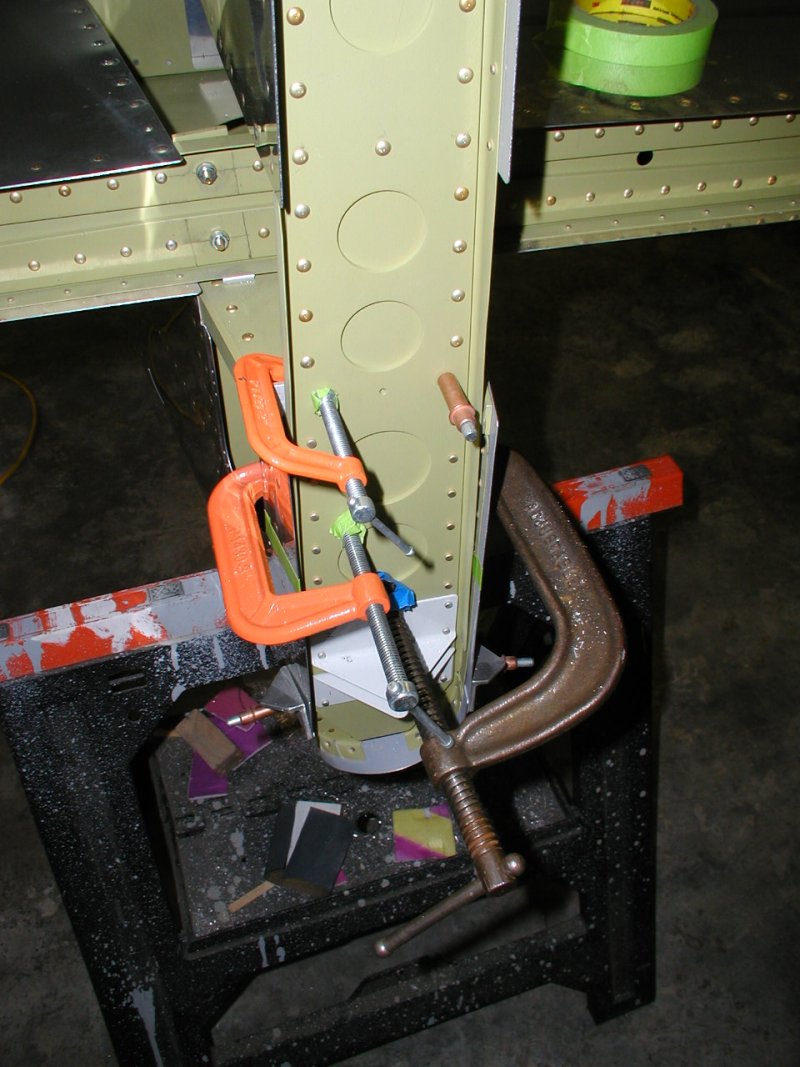
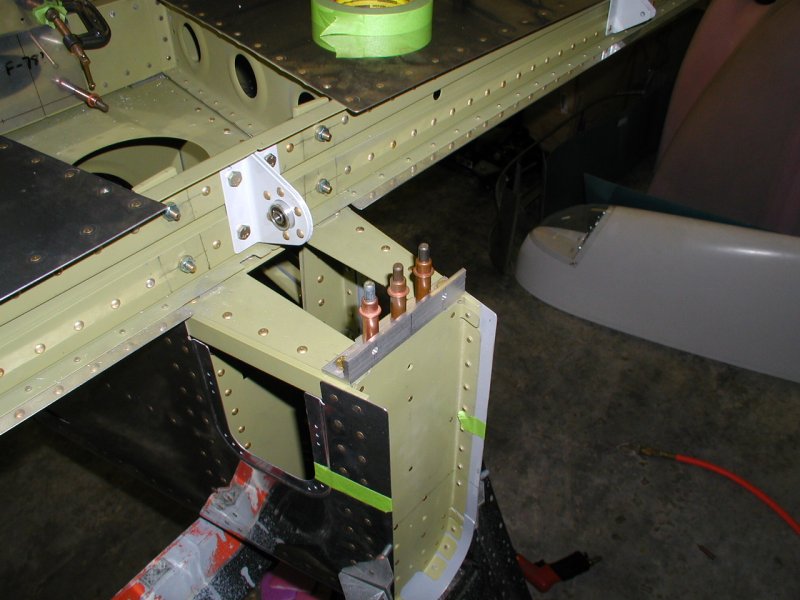
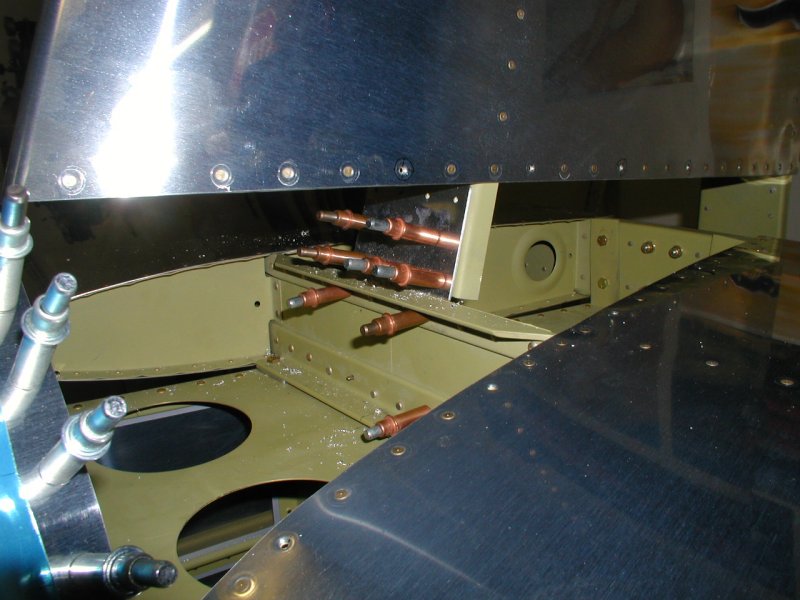
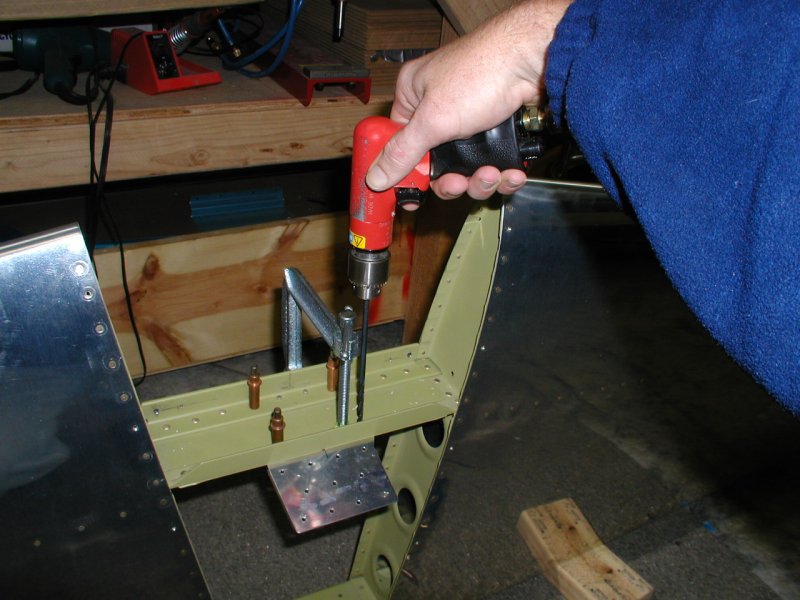
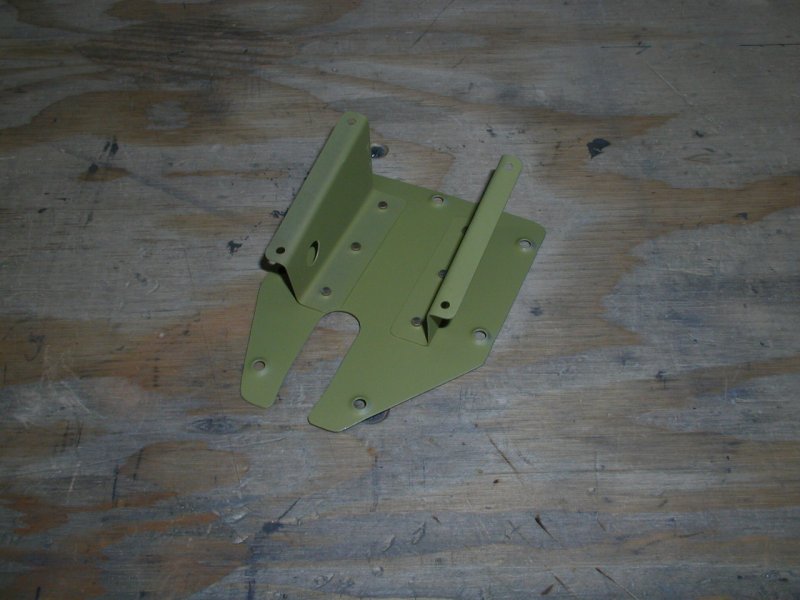
Well after all that fun stuff, it's back to difficult things. Here are 2 of the 4 bolts that attach the front horizontal stab spar to the aft fuselage. After a lot of measuring and triangulation you have to drill though the angle you see, a spacer, the top deck, the longeron, and another angle underneath. Hole edge distance is critical on all parts involved and again drilling a perpendicular hole is challenging. With all the parts involved, you really have no option other than perfect. If you move one way to better the edge distance on one part, you lose it on another. I started out with 1/8" holes on each side and worked up to the final 3/16" size, filing necessary adjustments along the way. Difficult, stressful, and a few more gray hairs. Like the rear wing spar, you don't want to fuck this up and you really only get one shot. I spent about 7 hours just on these two bolts. Now that the horizontal stab is set, the others "should" be easy, but we'll see about that. Sometimes I really miss the days of mindless, endless, wing rib prep.
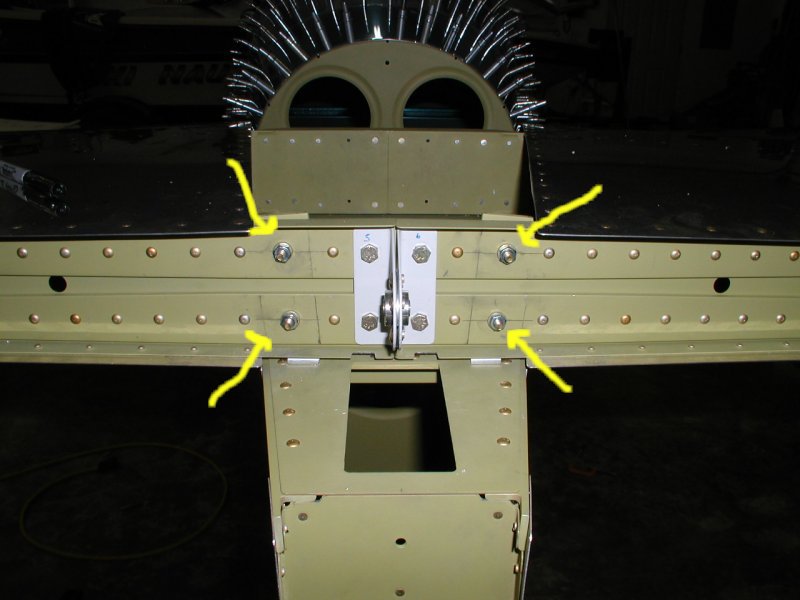
Here are the 4 bolts for connecting the rear spar of the horizontal stabilizer. Not too tough.
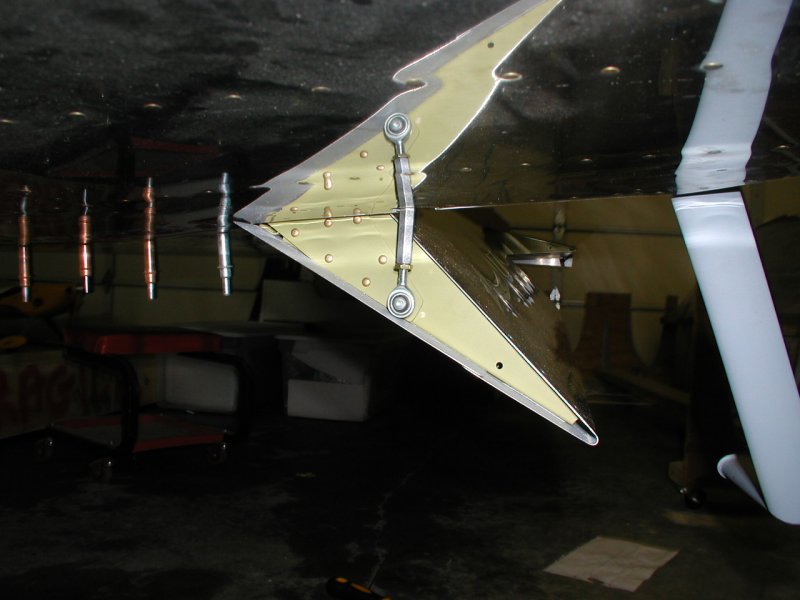
I thought I would put on the elevators and see how they look.
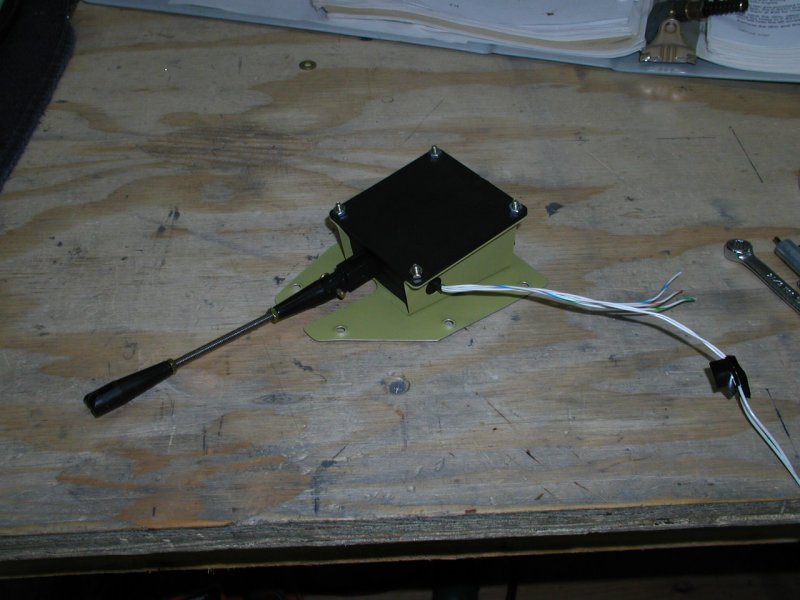
Electric elevator trim servo mount
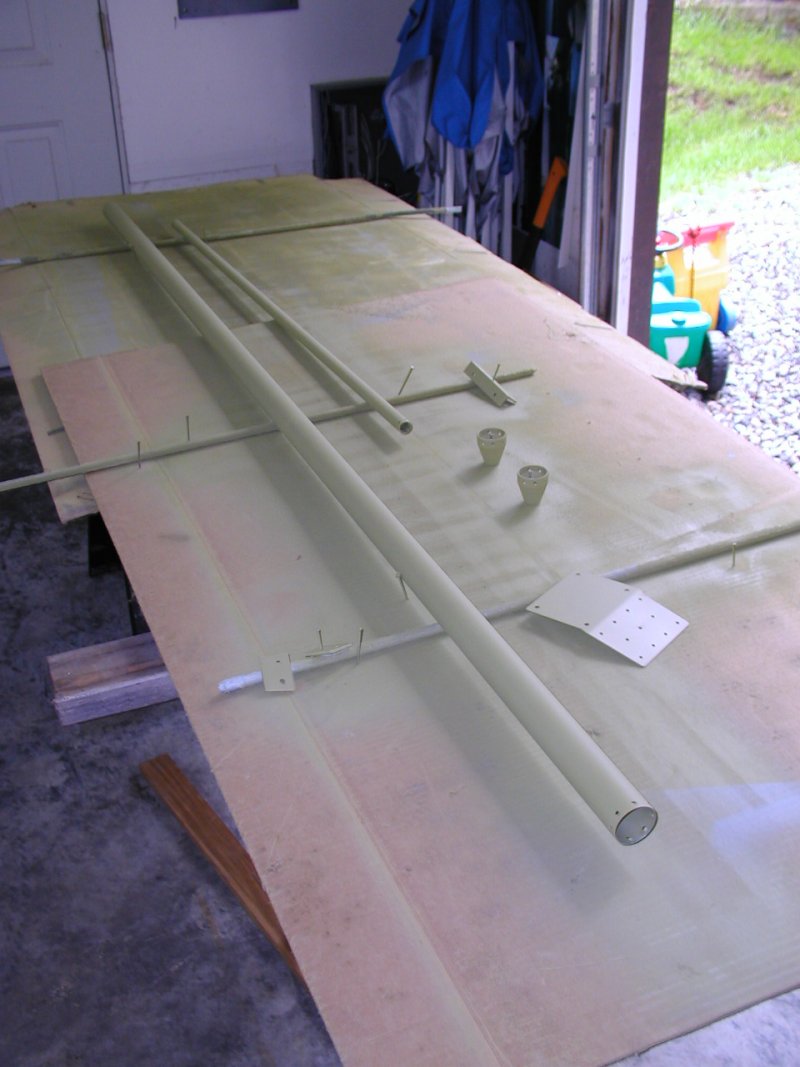
Elevator push rod tubes
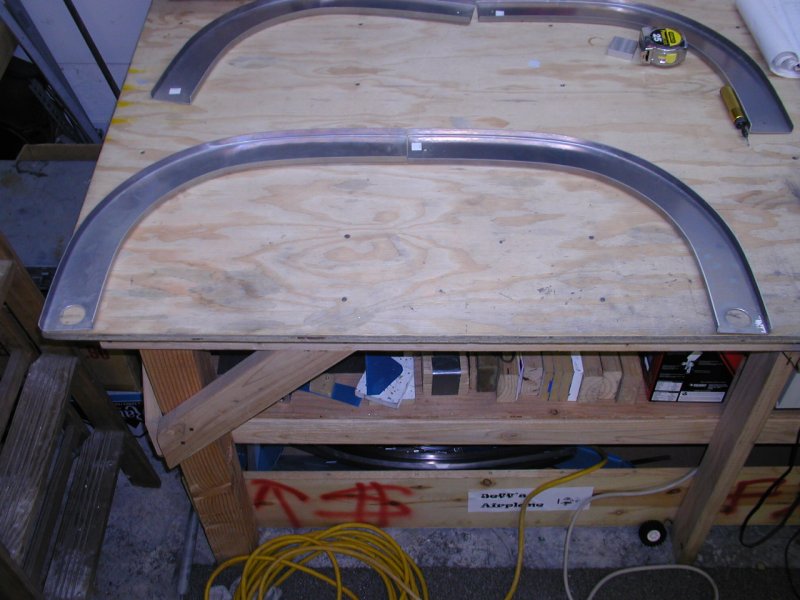
Started on the rollbar

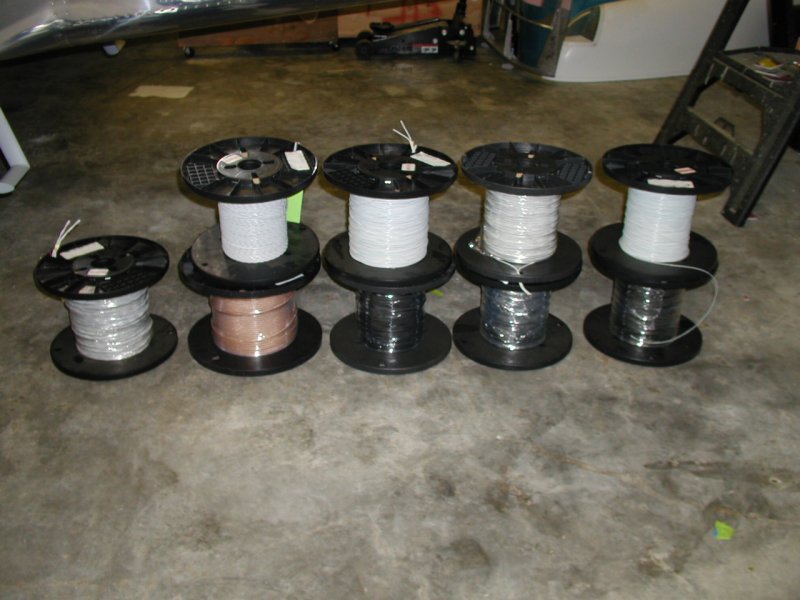
Here is my free wire!
5/27/08 Big milestone today, 1500 hours to date. Some might say I'm half way but we'll see. What a project!
Back