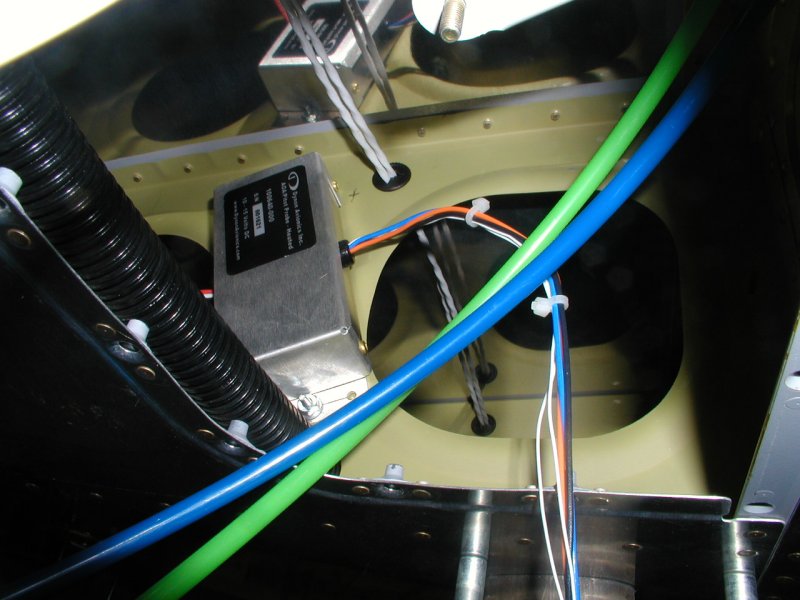
Mounted the Dynon Pitot heat controller
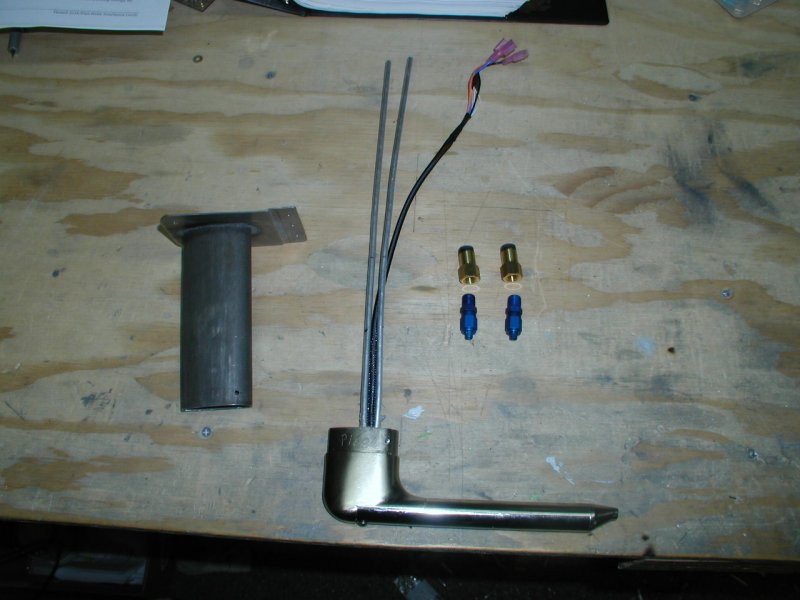
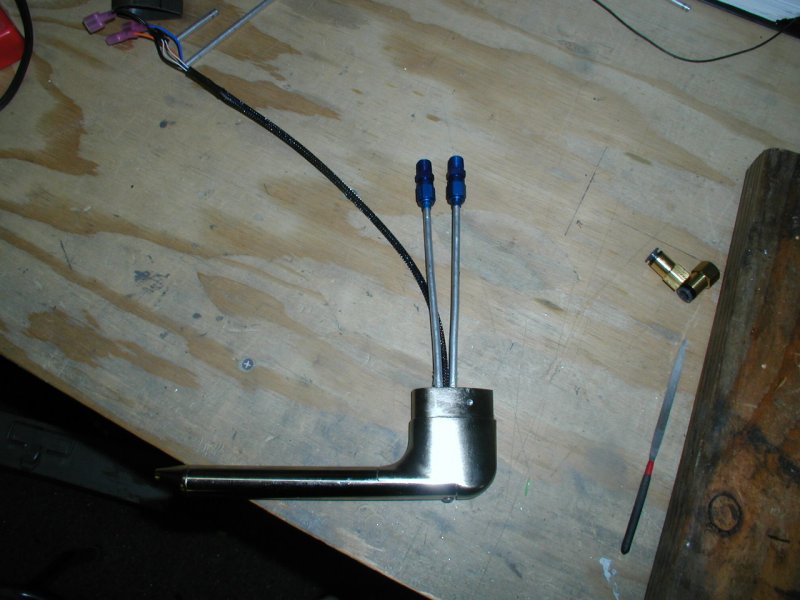
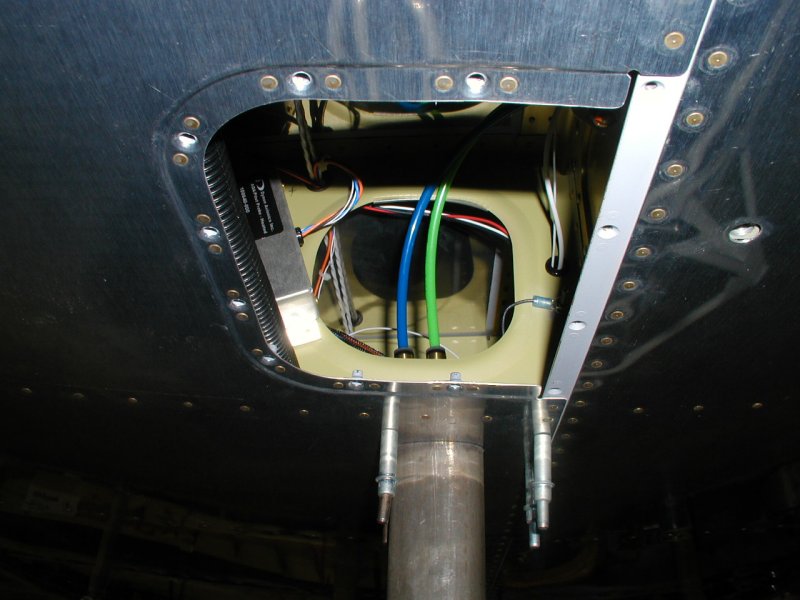
The Pitot tube and mount
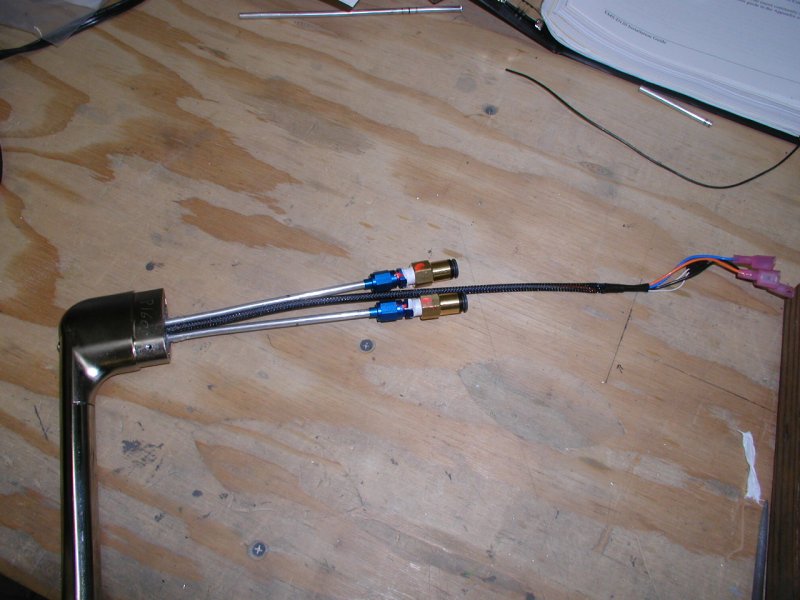
Flaring the tubing for connectors

The Safeair brand tubing connectors

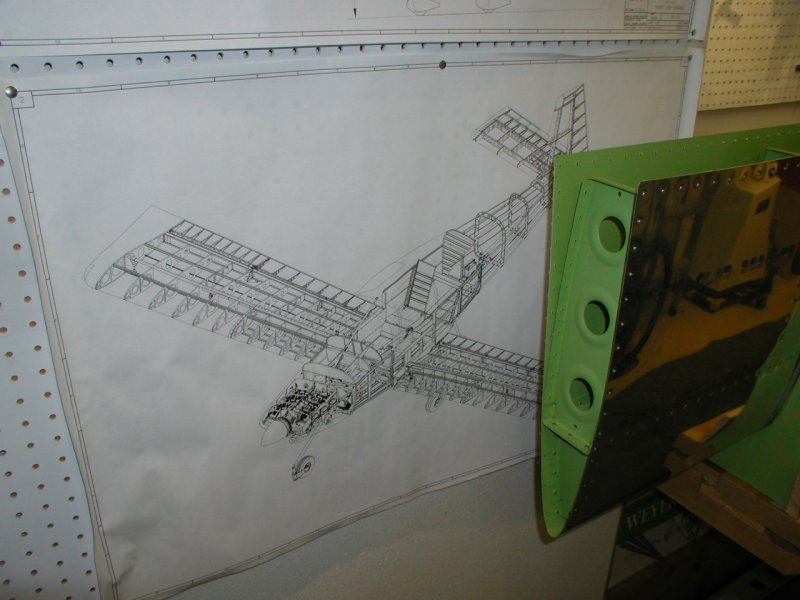
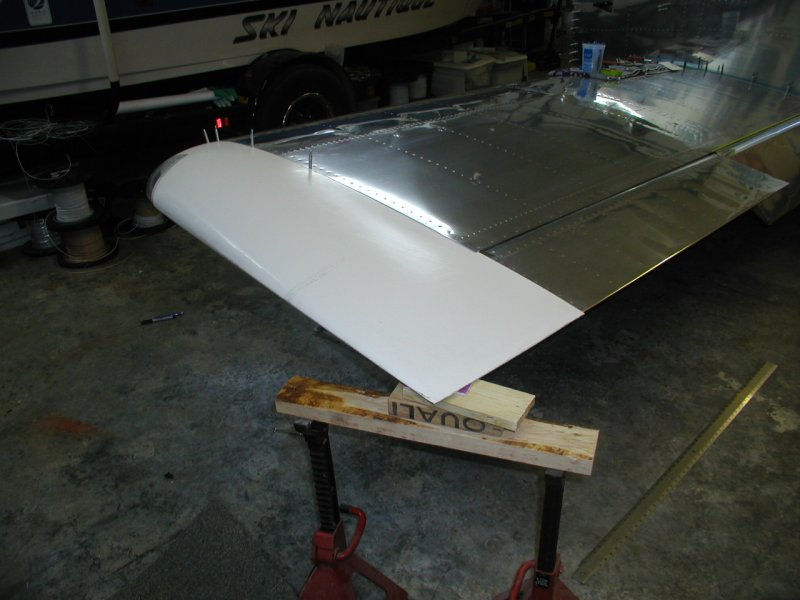
This is Dave's RV-10 horizontal stab. Dave is a friend from my EAA Chapter that has helped me rivet on several occasions. So far we have about 8 hours together into riveting this. I'm glad I can finally return the favor.
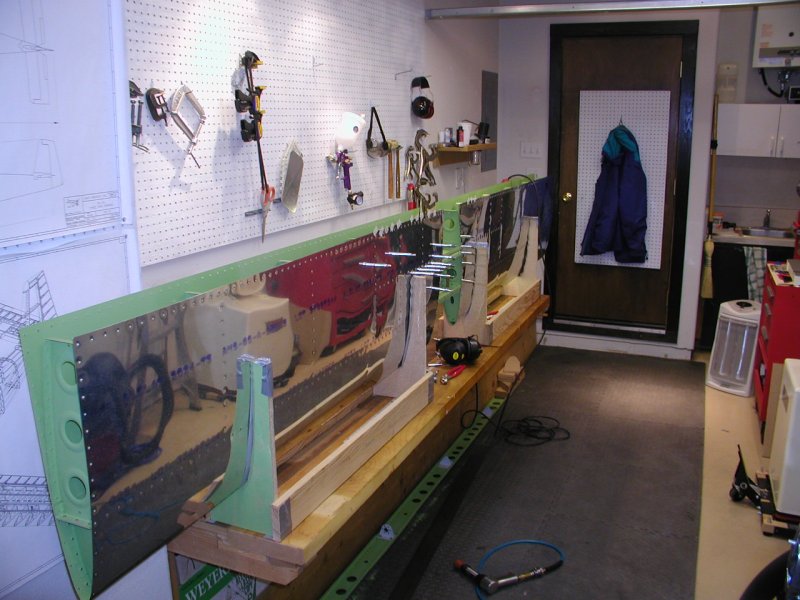
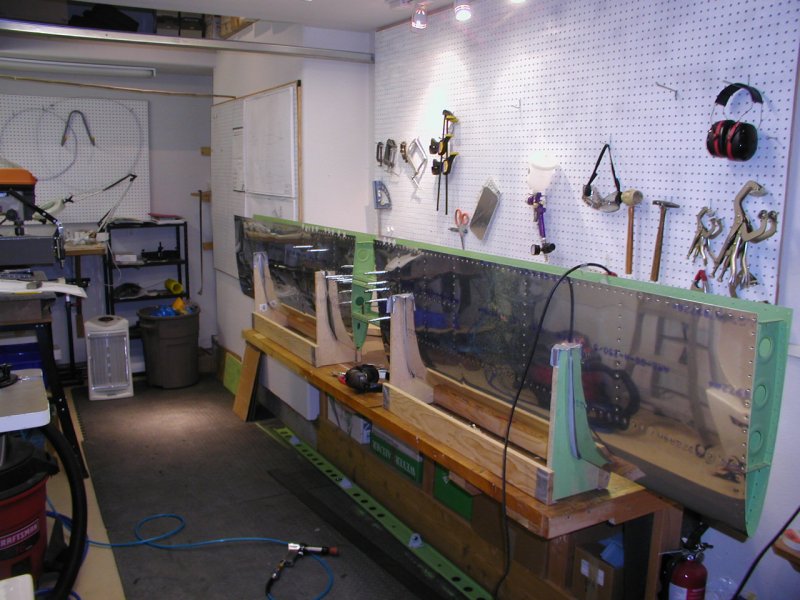
I may not be glad later, look at the size of this beast!
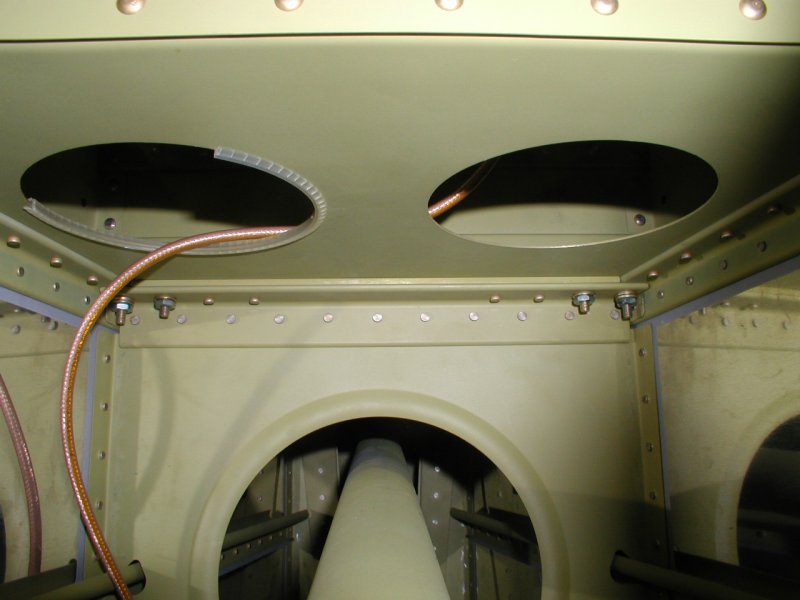
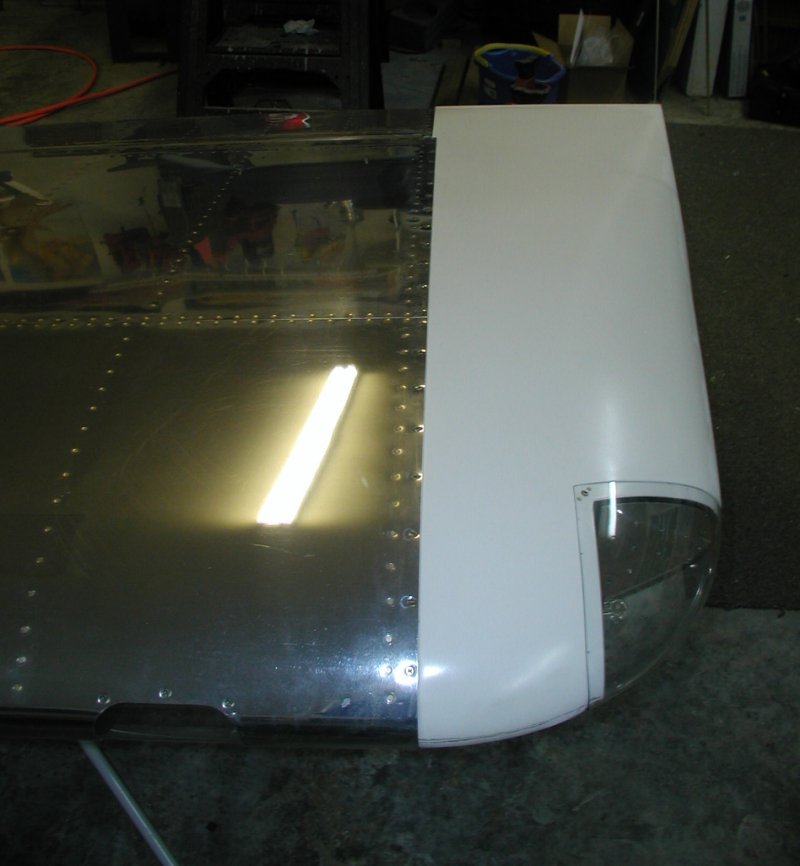
After looking at quite a few, I finally decided on the size and location of my front skin access panels. These panel openings will allow access behind the subpanel. I'm sure I'll still be crawling under the dash on occasion, but these will help a ton.
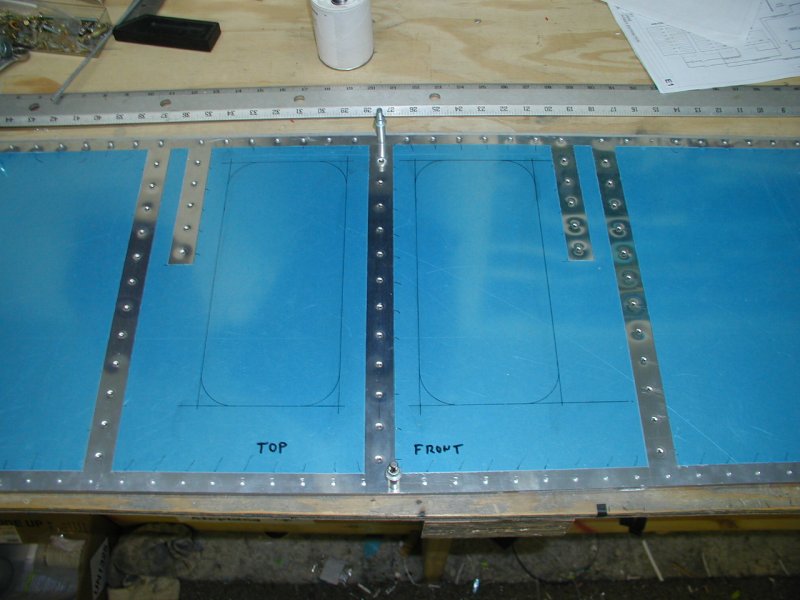
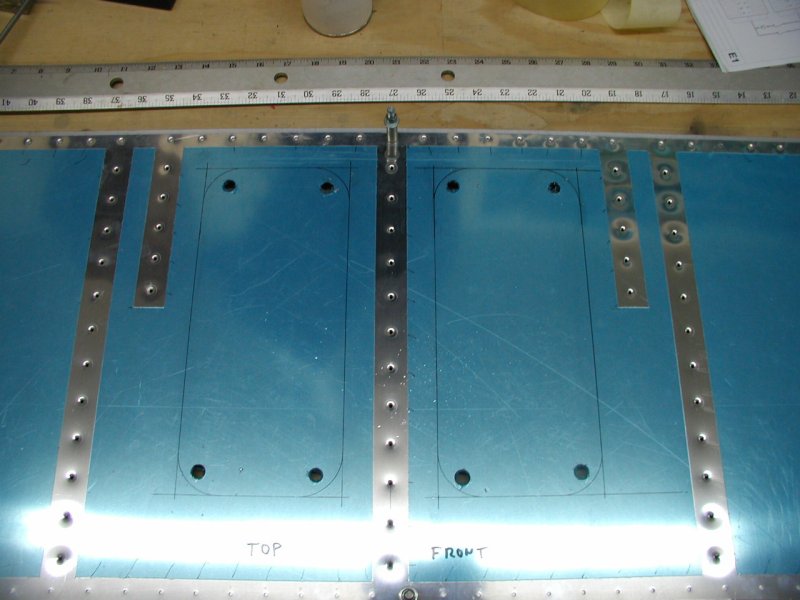
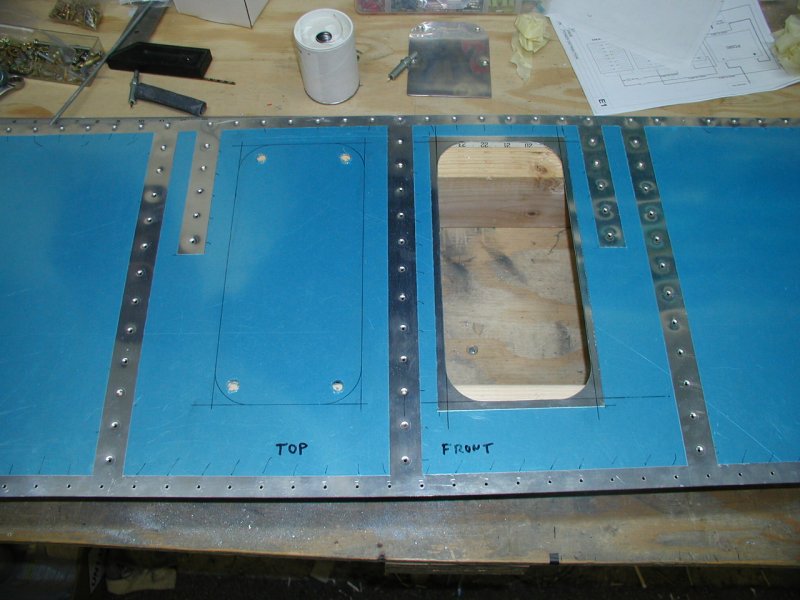
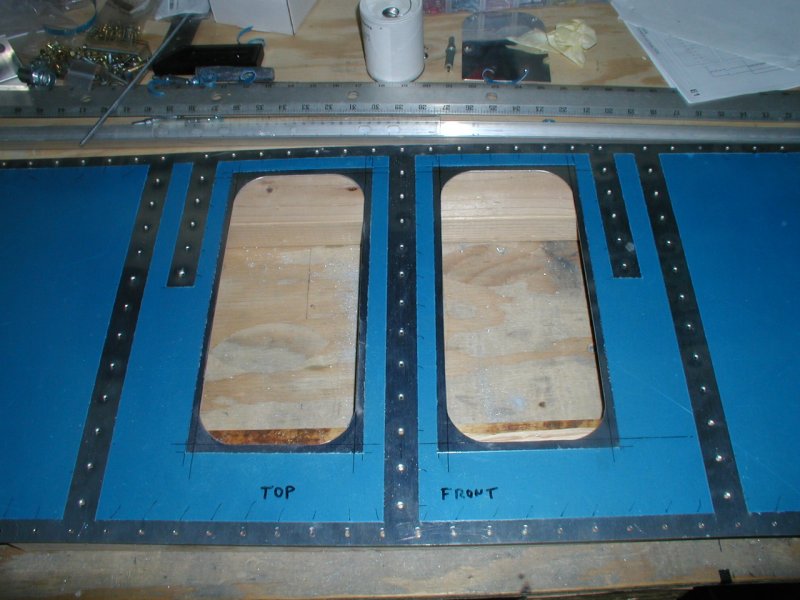
Nice! Now I just have to buy some more aluminum to make the actual panels.
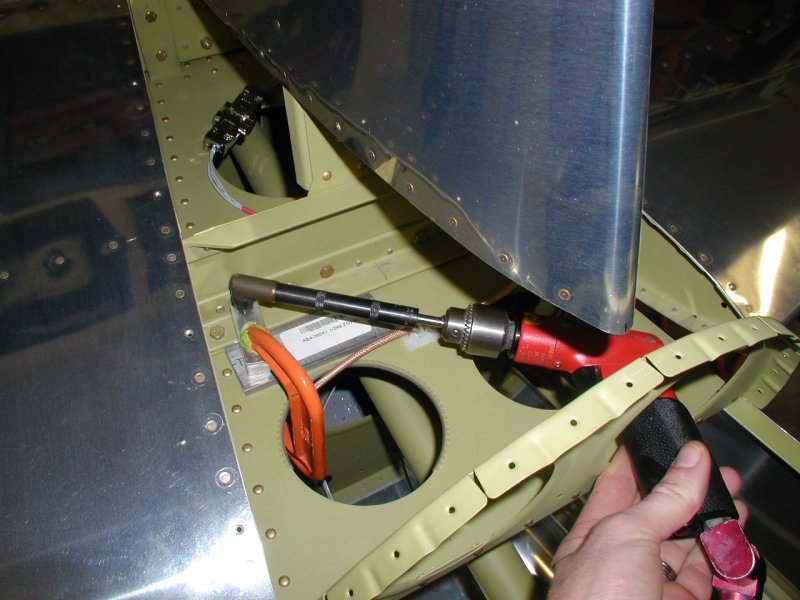
I've been putting these holes off for awhile. Since you can't fit a normal drill in there due to the angle, I had to get creative. The 90 deg angle drill fits about anywhere but is really hard to hold purpendicular to the surface. Anyway I drilled a 1/8" hole in an aluminum block and clamped it down to act as pilot.
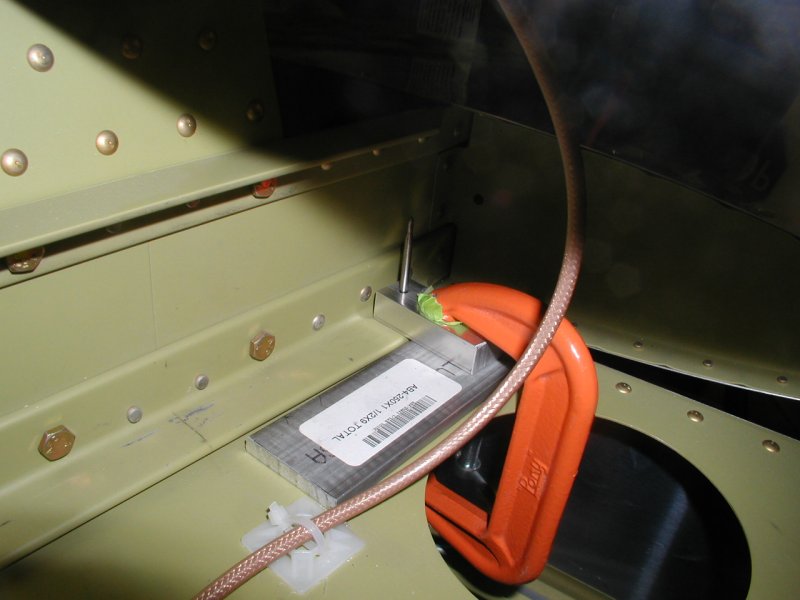
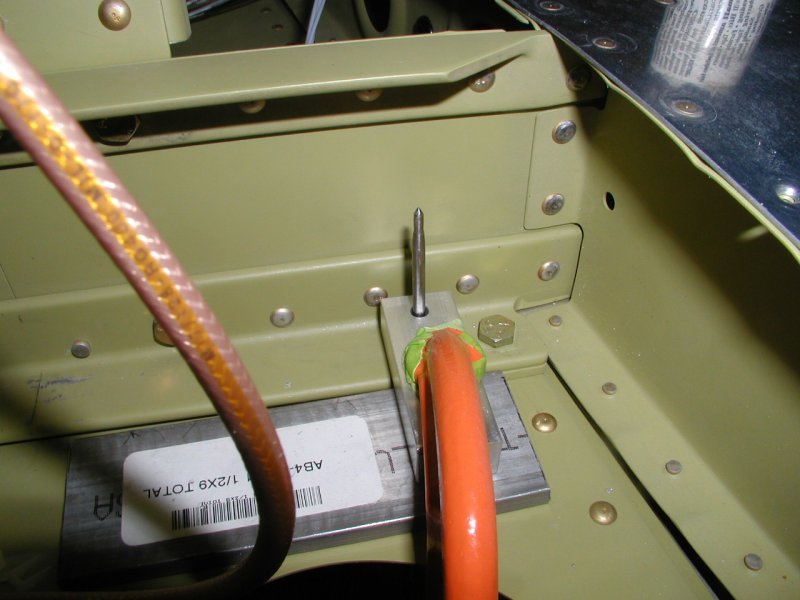
After the 1/8" hole was all the way through, I drilled most but not all of the block to 3/16" and used a 1/8" pin to make sure it was ligned up. I then finally drilled everything to 3/16".
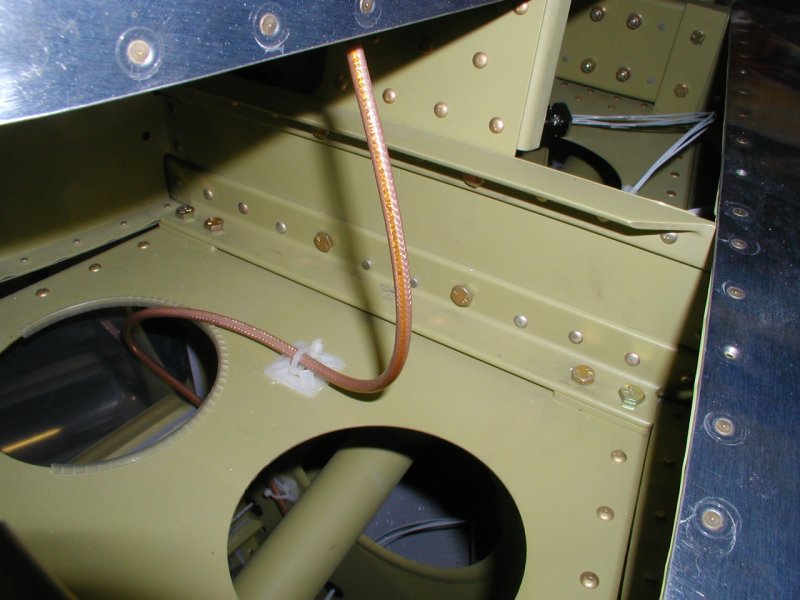
Here the 3/16" bolts are installed.
Here is the underside. These are temporary bolts and nuts since the horizontal stab will be coming off again.
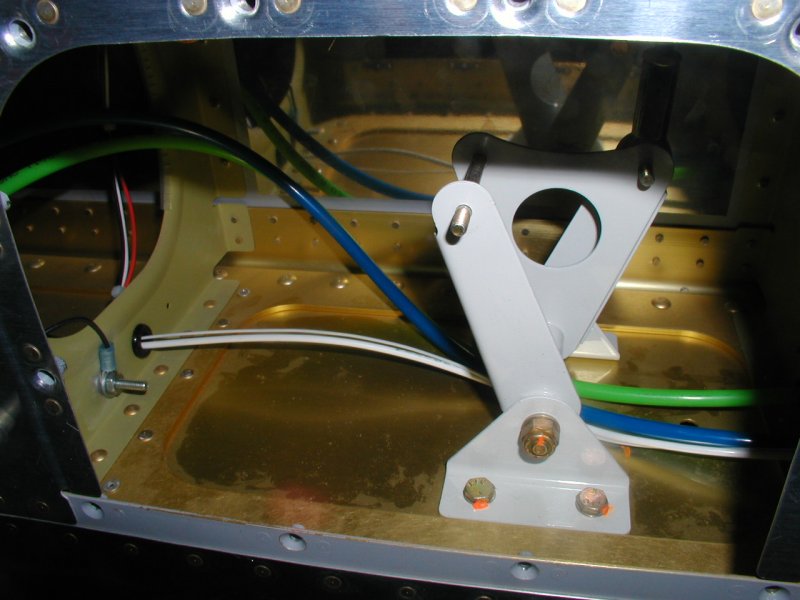
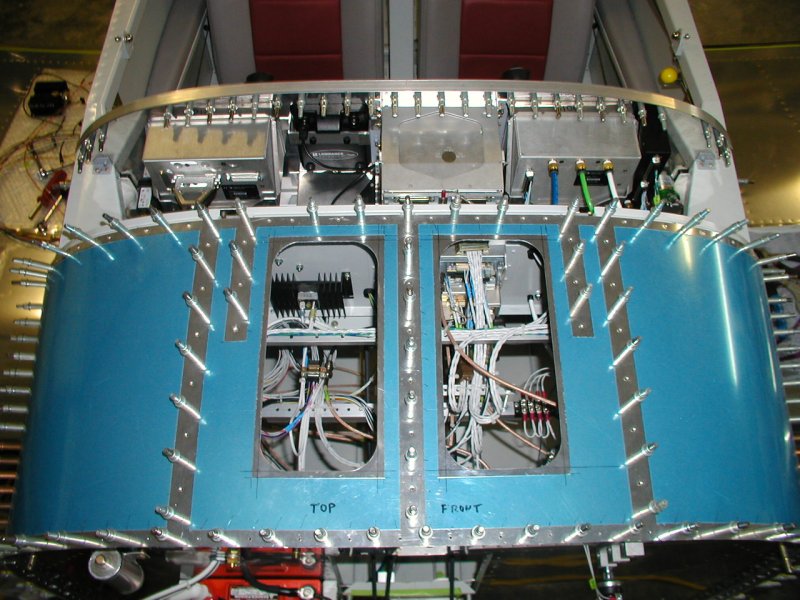
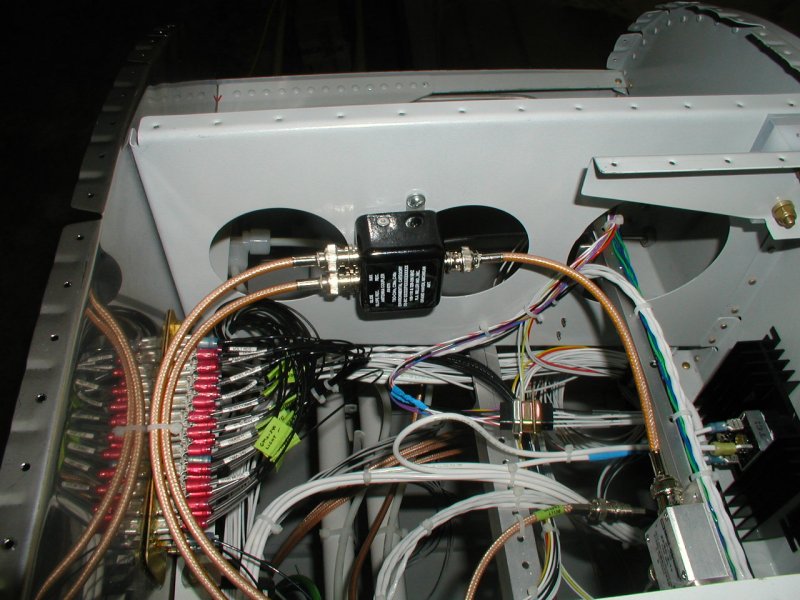
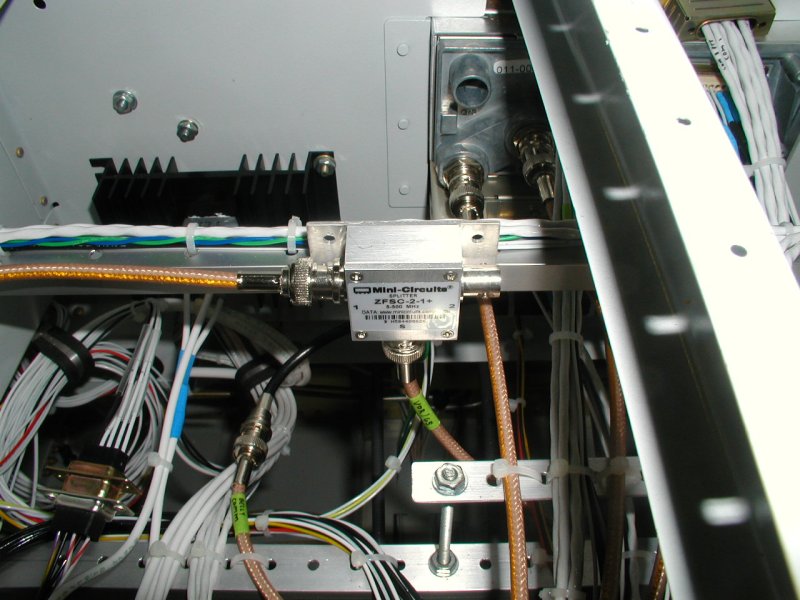
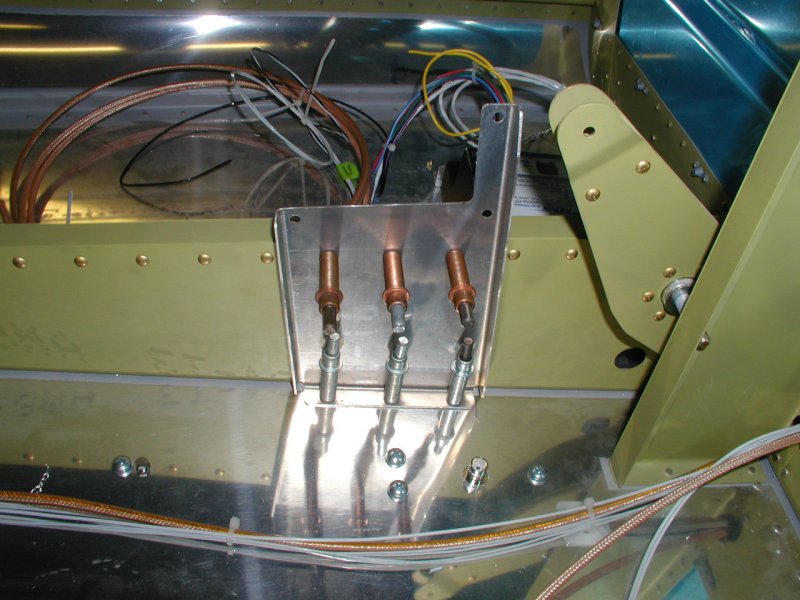
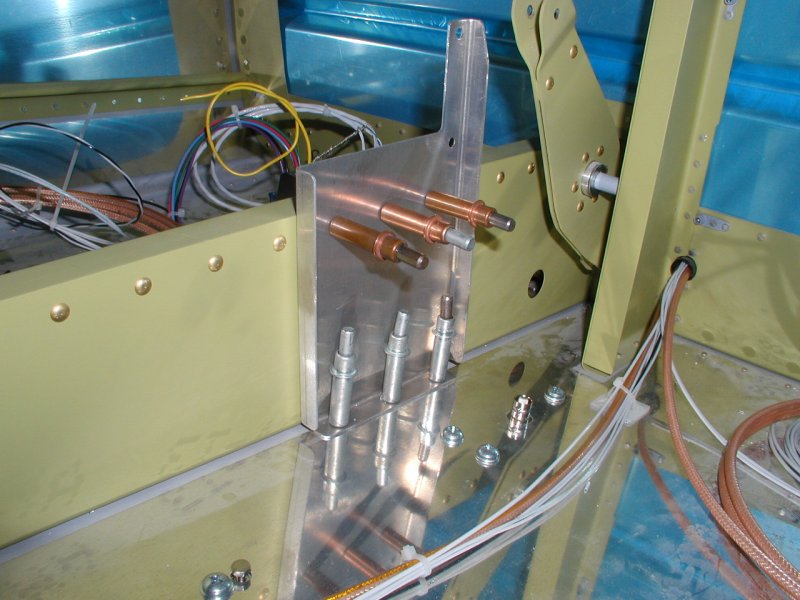
Since I have one VOR/GS antenna (cat whiskers) mounted on the top of my vertical stab and two VOR/GS receivers, the signal has to be split. To further complicate things the Garmin SL30 radio has a built in diplexer to seperate the VOR and GS (Glideslope) signals since they operate on different frequencies. The Garmin GNS-430 radio does not have a built in diplexer so an external one must be used.
To make a long story short, one coax comes from the antenna to the splitter on the right. One of those outputs goes directly into the SL30 while the other goes to the box on the left. Those two outputs then feed into the GNS-430.

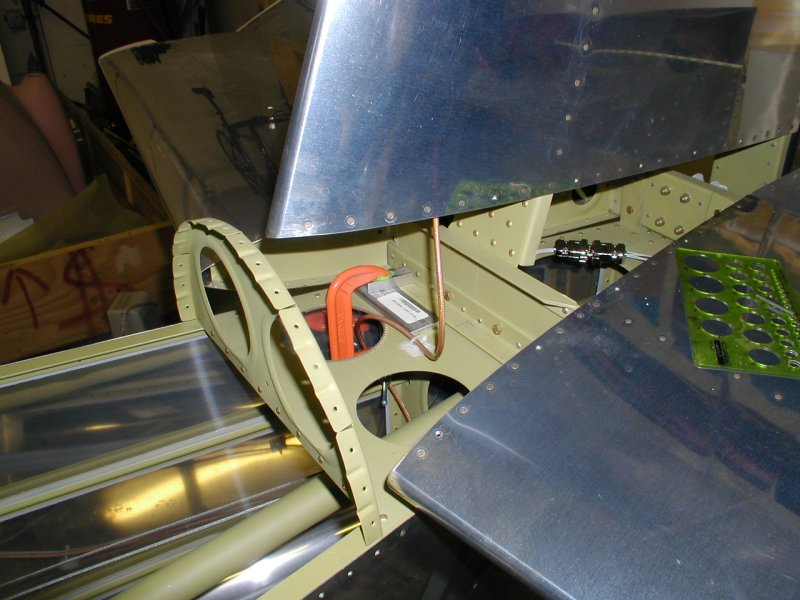
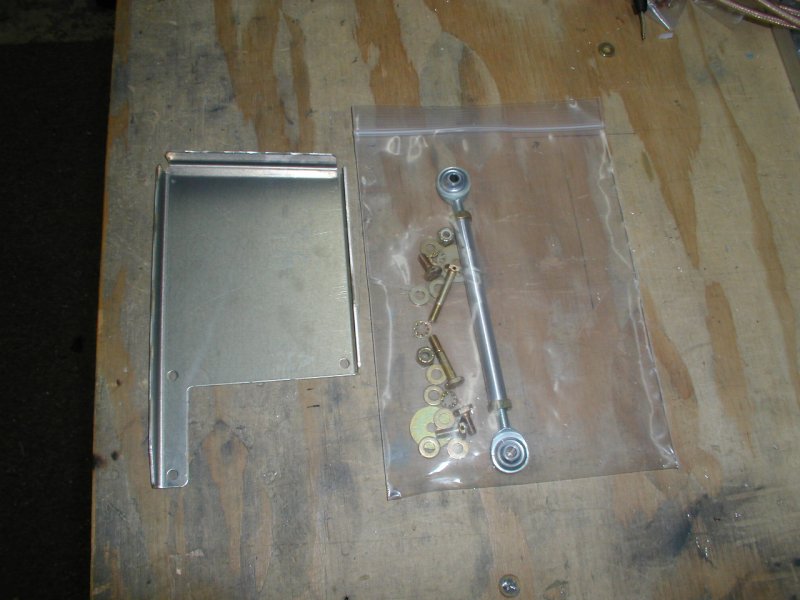
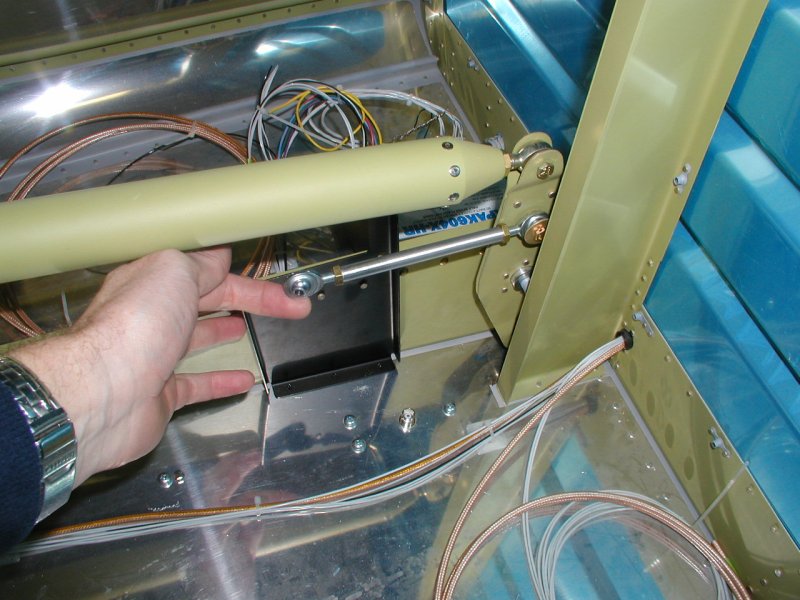
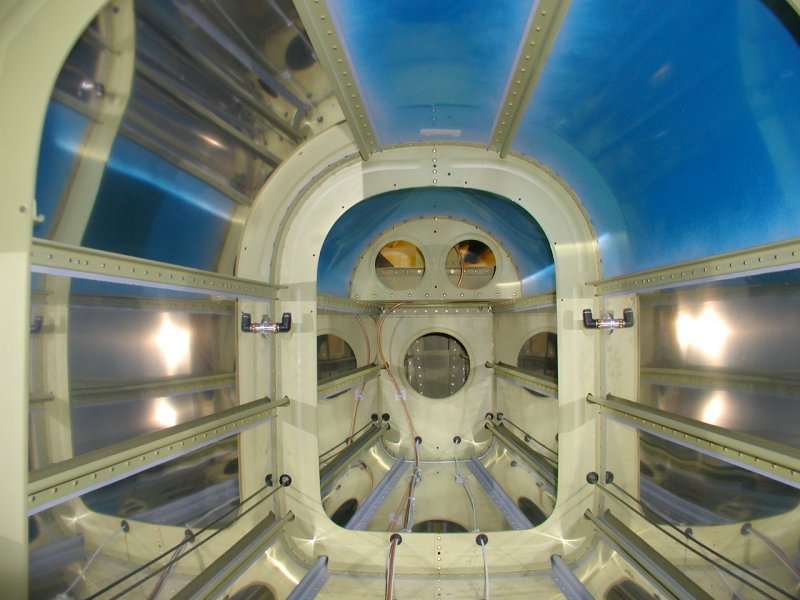
This is the Dynon autopilot pitch servo mounting bracket. Although I do not yet have the servo I wanted to mount the bracket before I rivet on my top fuselage skins. You can put the bracket on later, but you would have to pretty much crawl into the fuselage tunnel.
I had to drill out 3 existing rivets that are used to mount the bracket.
Here is the pushrod that will connect the pitch servo to the elevator bellcrank.
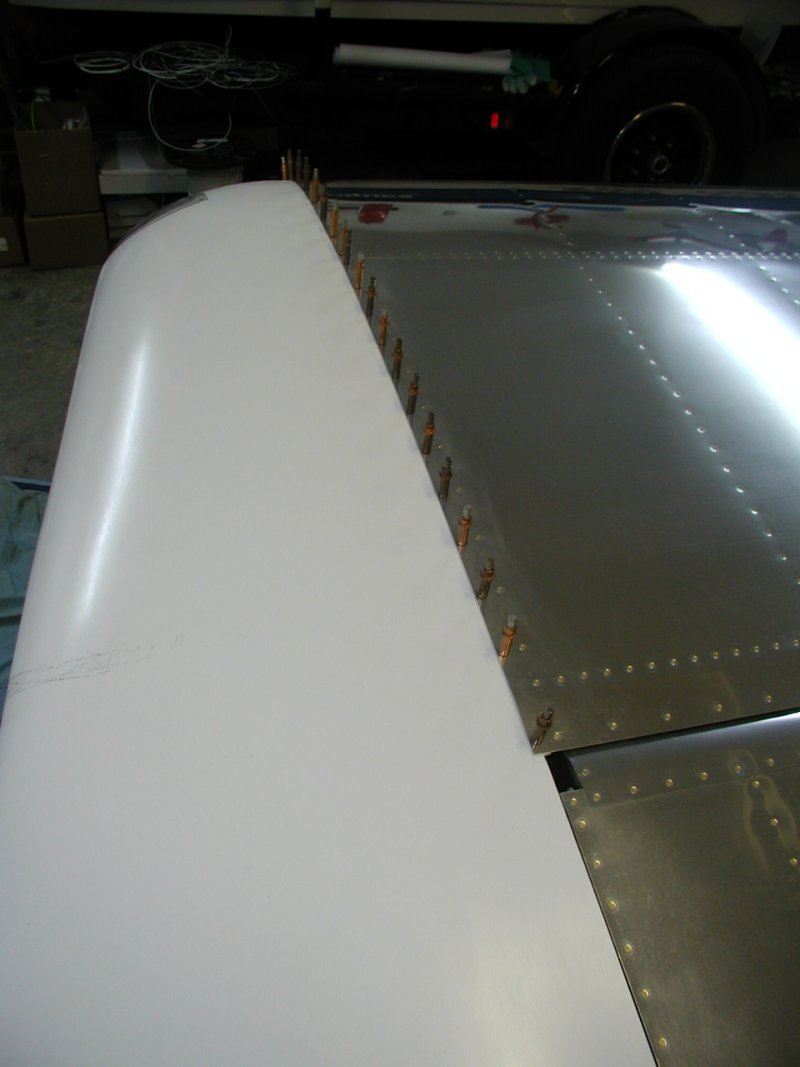
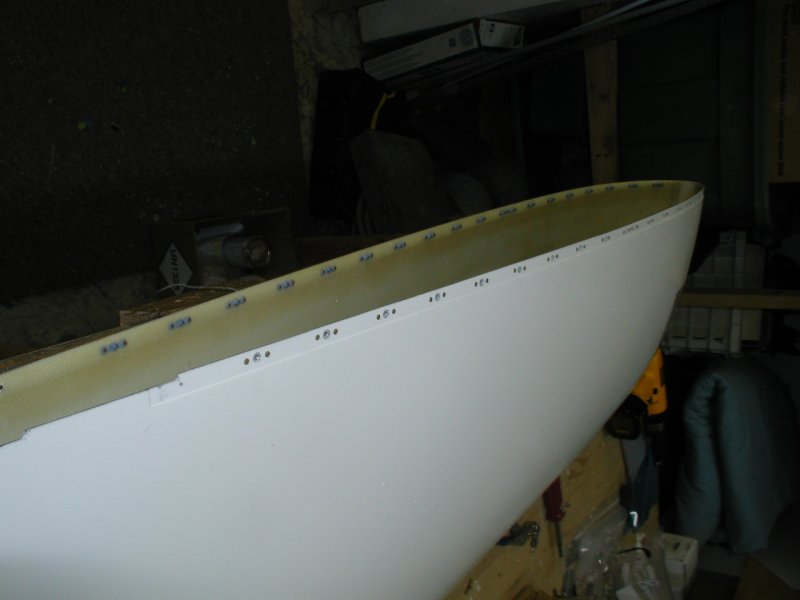
Worked on the wingtip nutplates for a couple of days
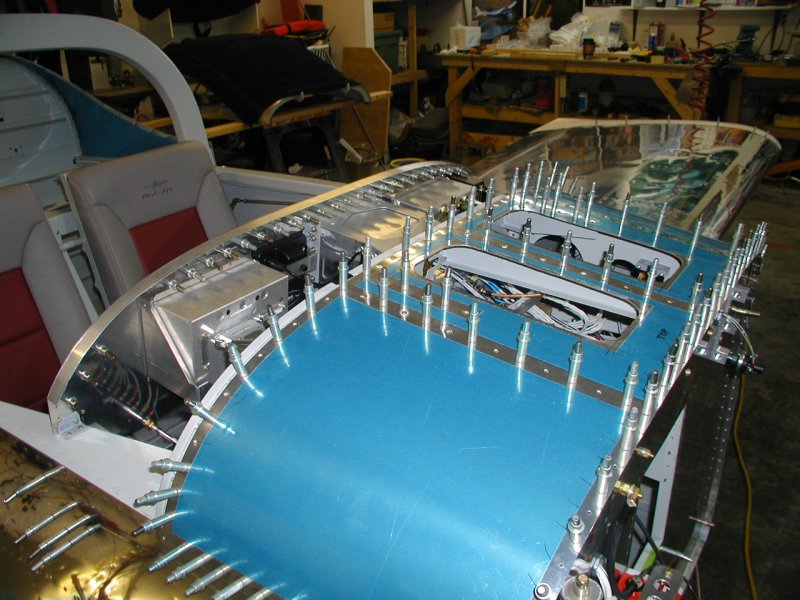
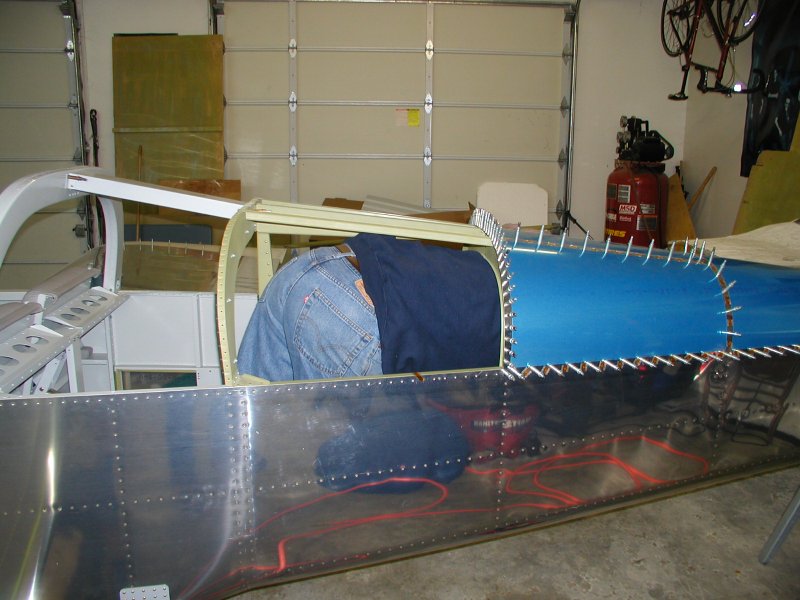
Dave V. came over and helped me rivet the aft top fuselage skin. Time to squeeze in!
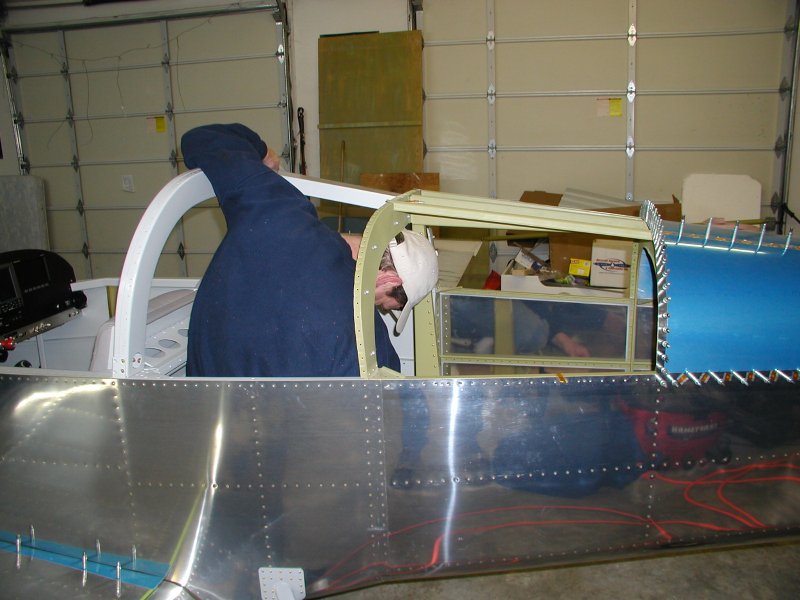
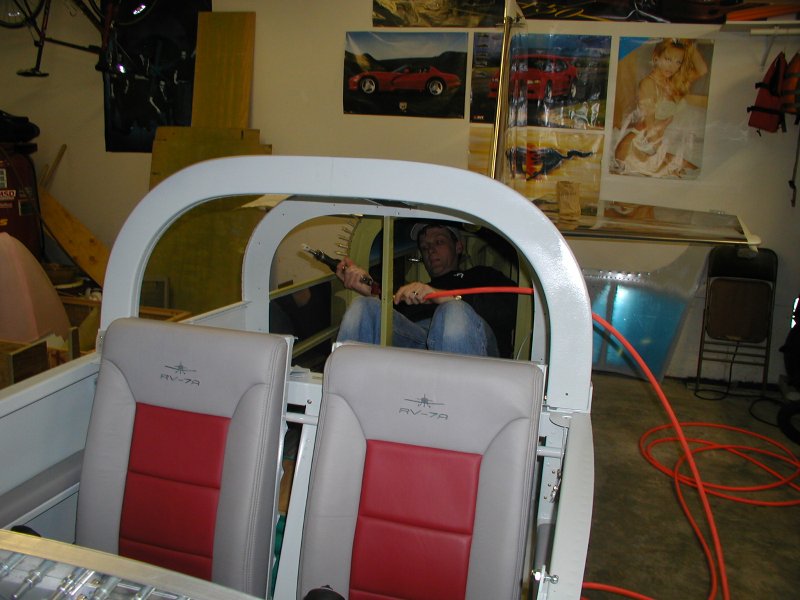
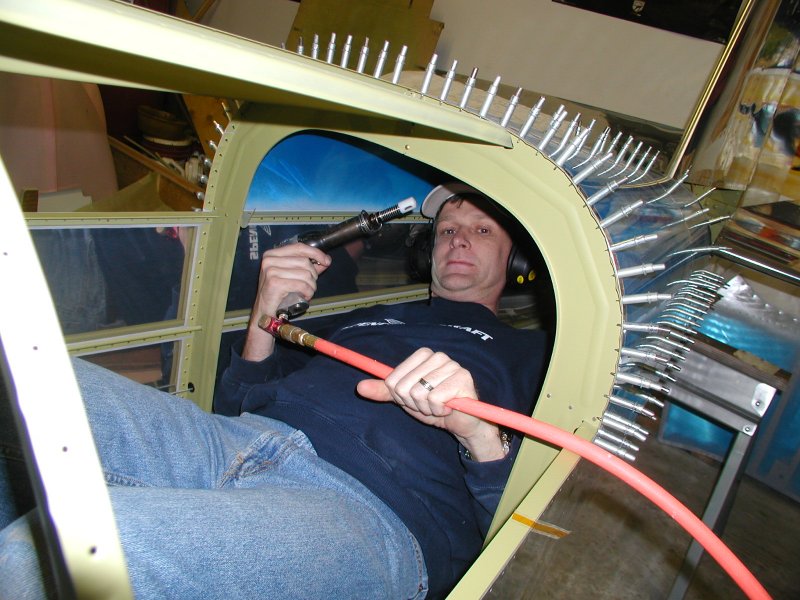
After a lot of twisting, turning, and grunting, it turned out awesome.
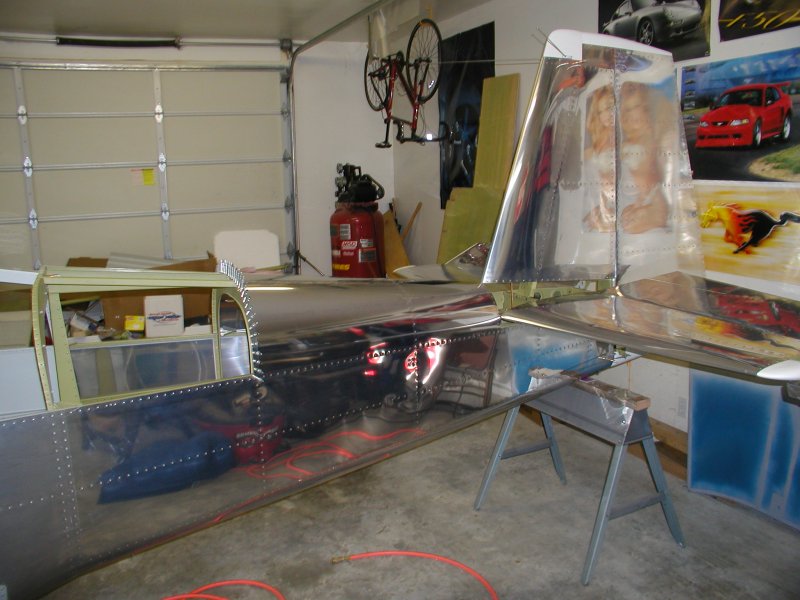
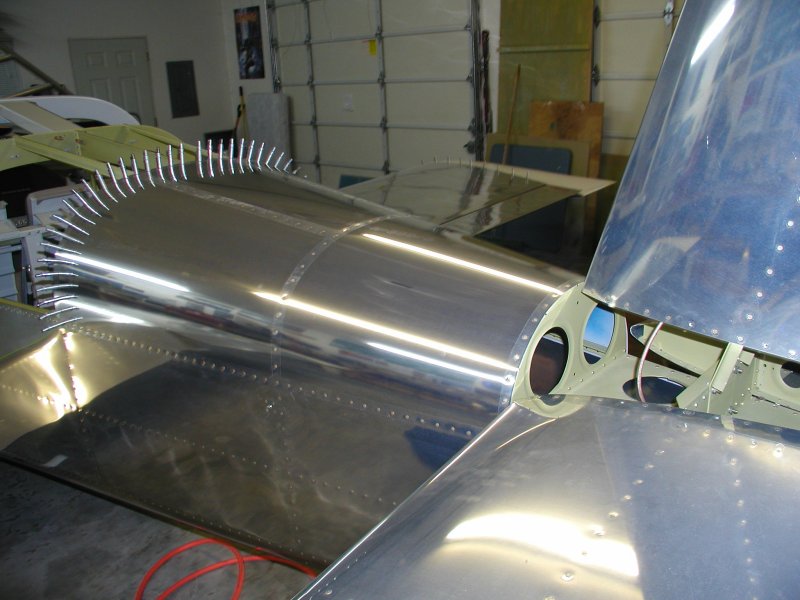
Still need to pull of some blue covering, but it's done!
Back