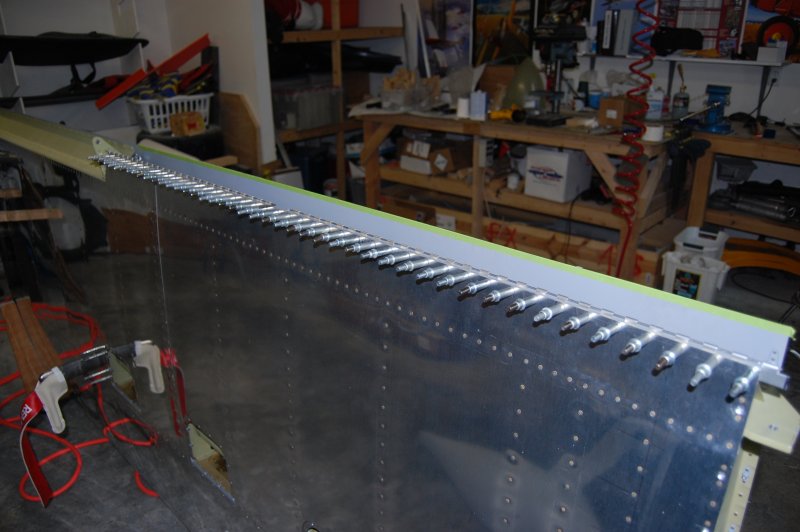
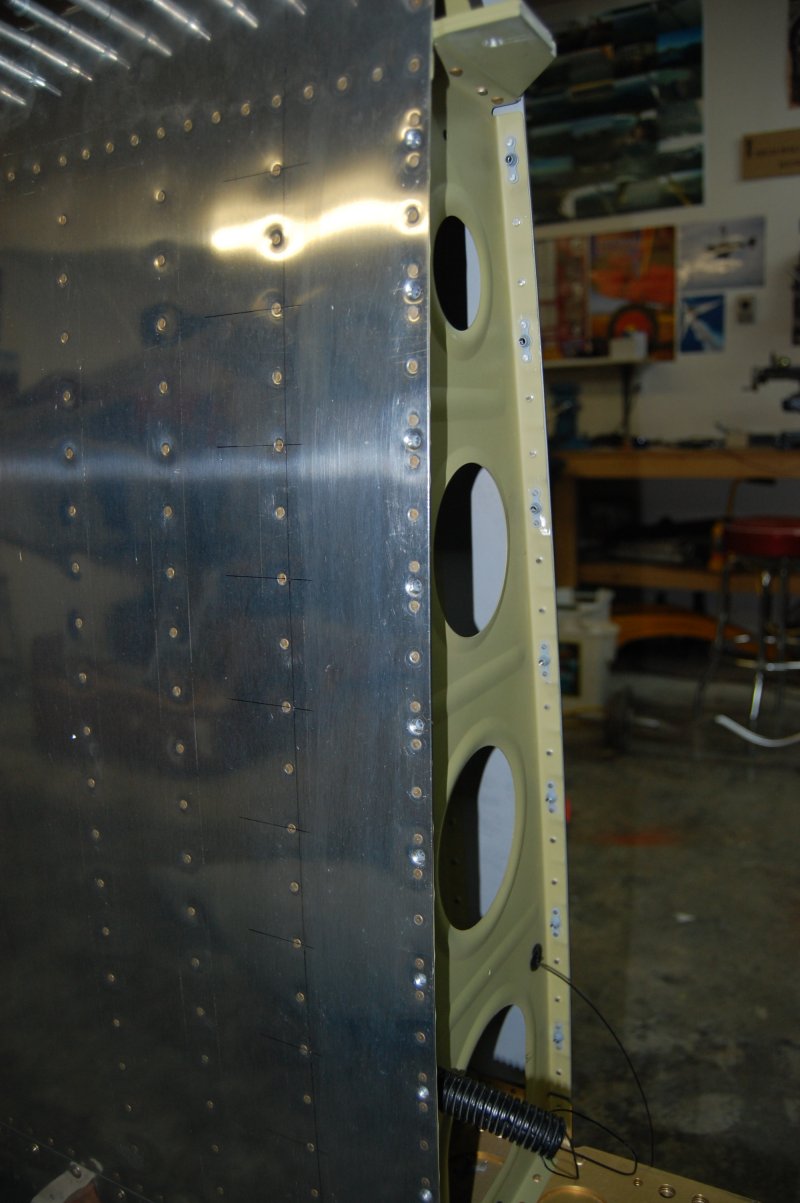
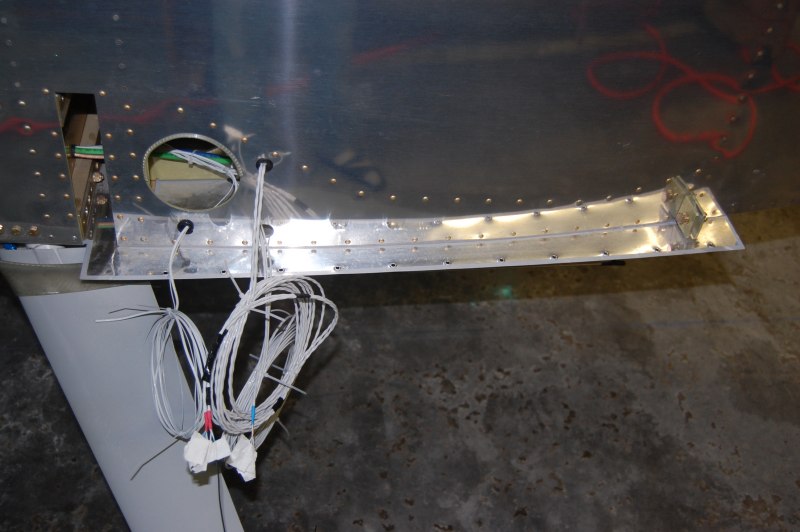
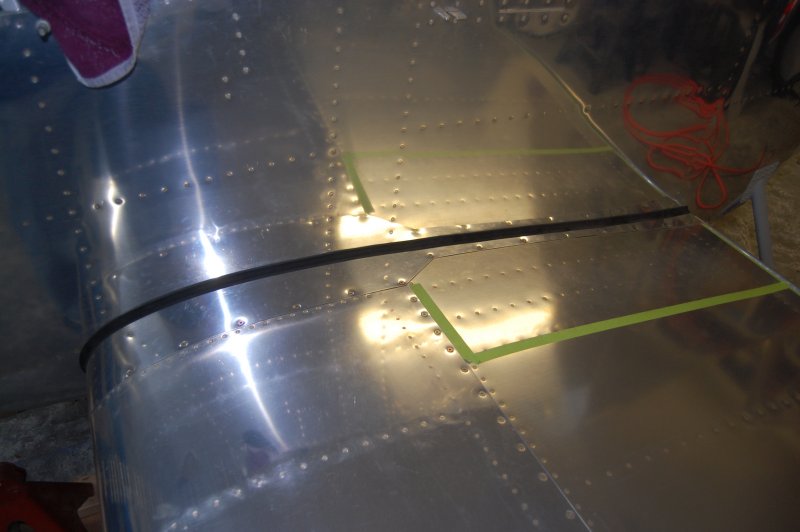
New flap hinge clecoed on. I won't rivet it until the wing is back on the plane to confirm final alignment.
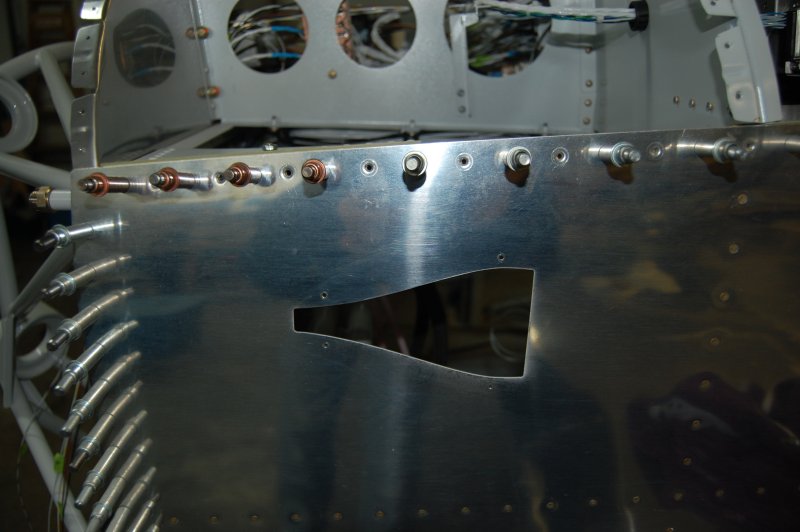
Lot's of nutplates for the wing root fairing
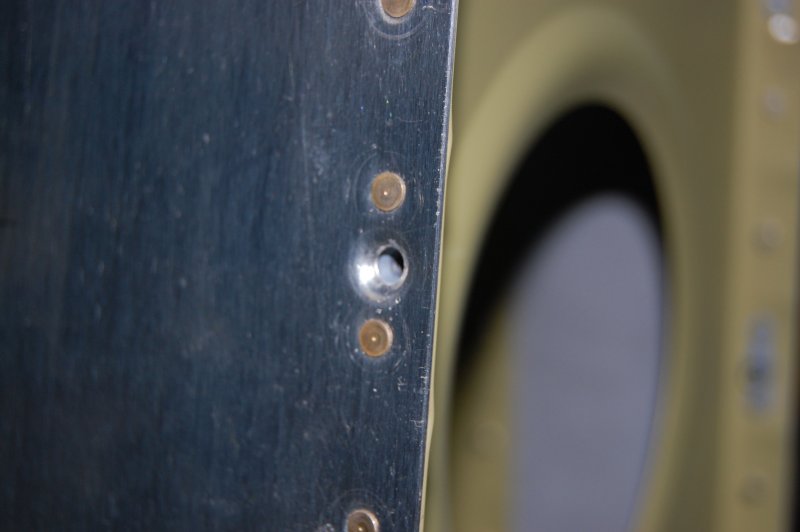
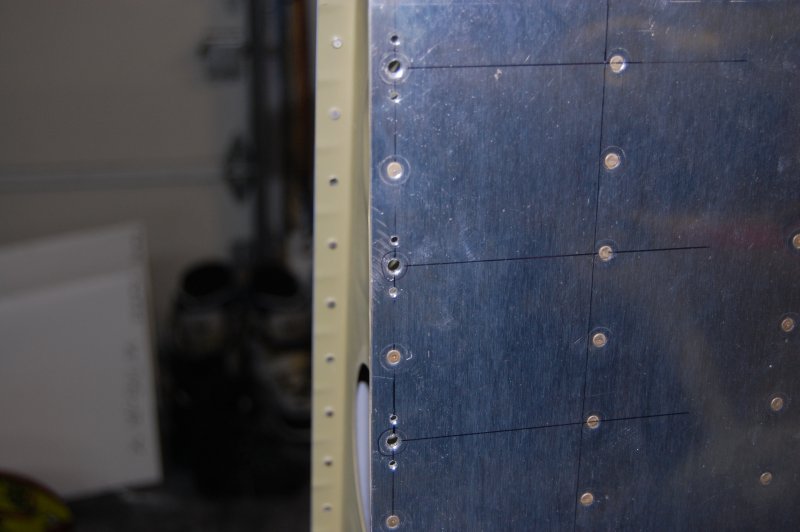
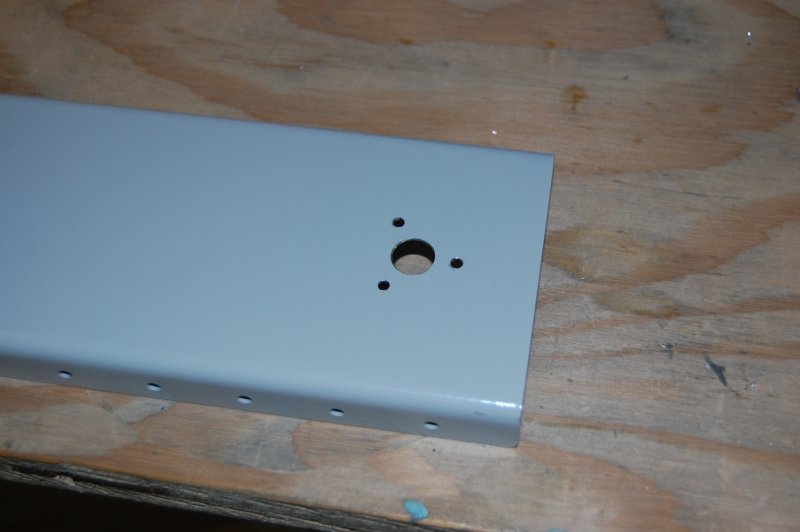
Here where the wing walk area doubler is, the rivets and #8 screw holes are machine countersunk.
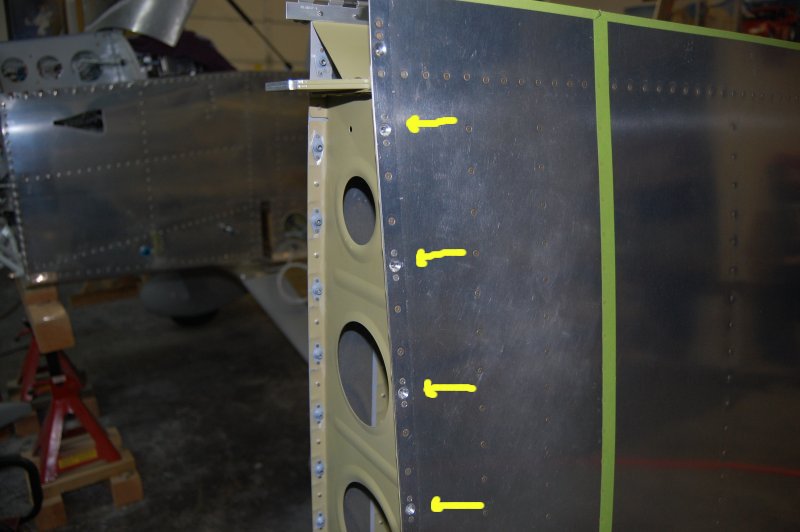
Since these holes are machine countersunk, a standard nutplate is used.
The rest are dimpled
These nutplates have pockets for the dimple
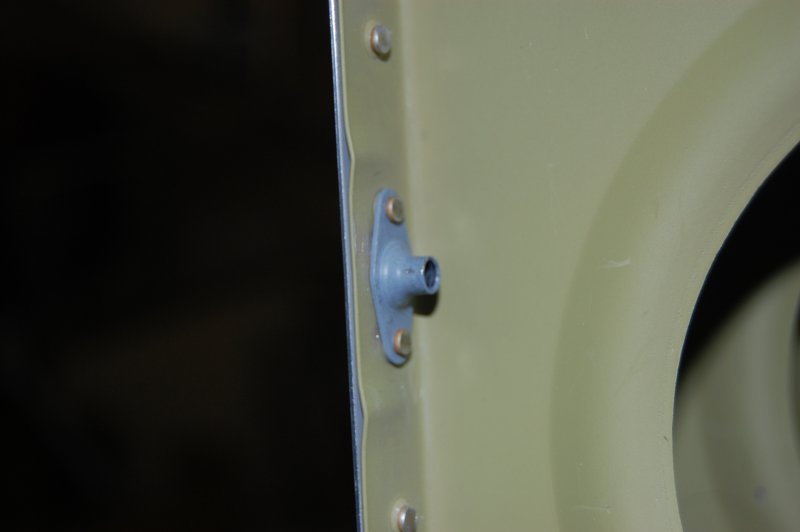
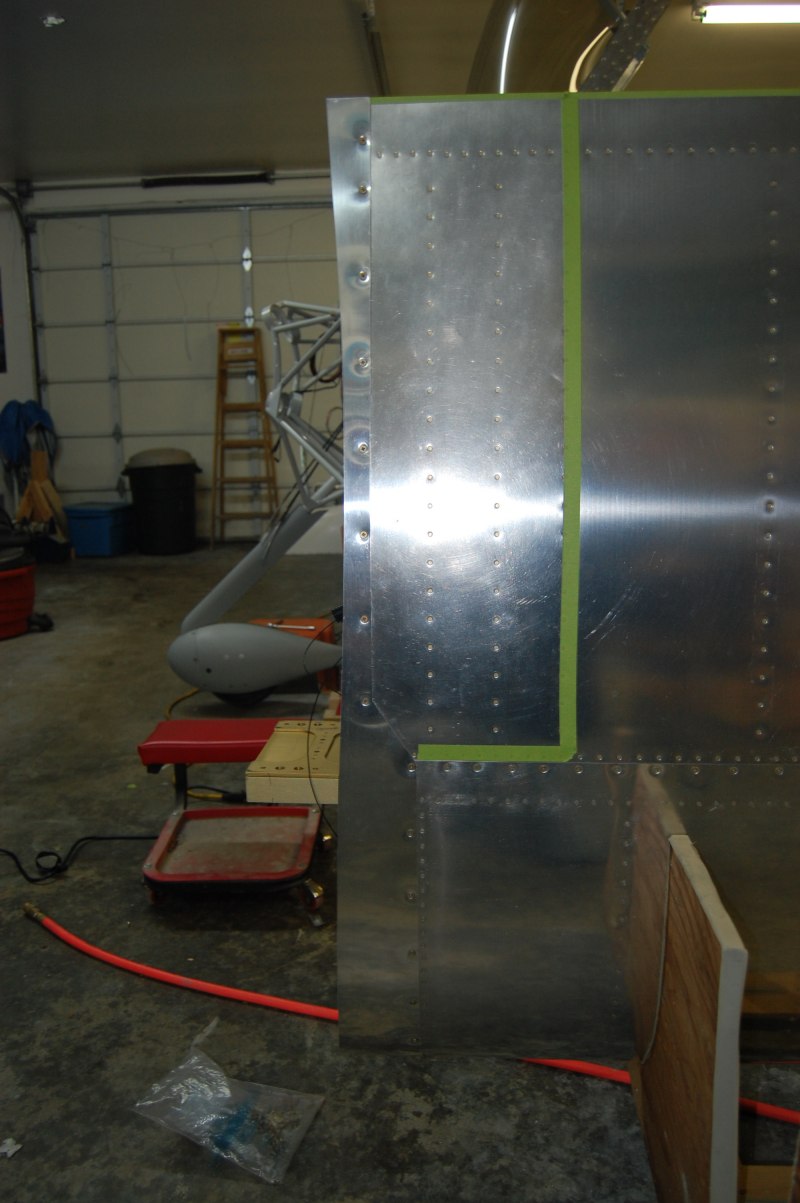
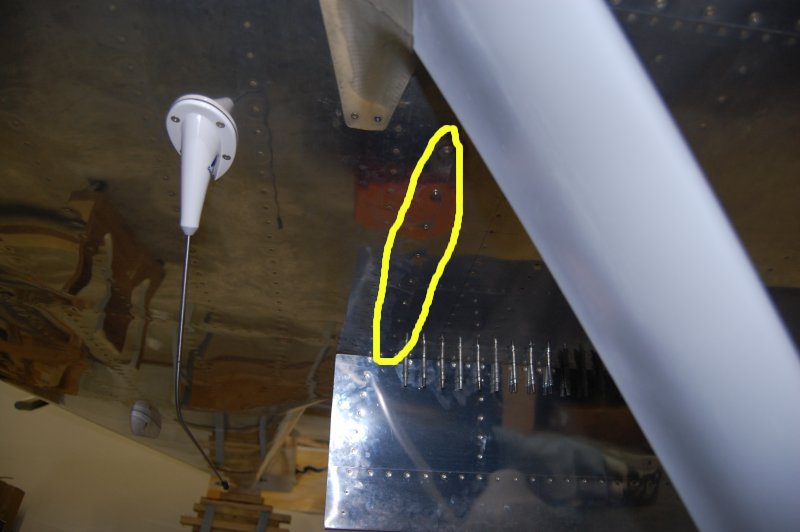
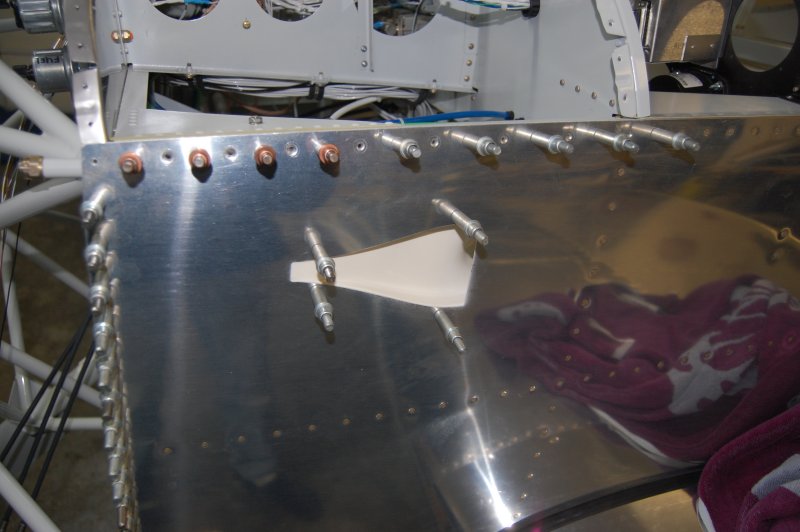
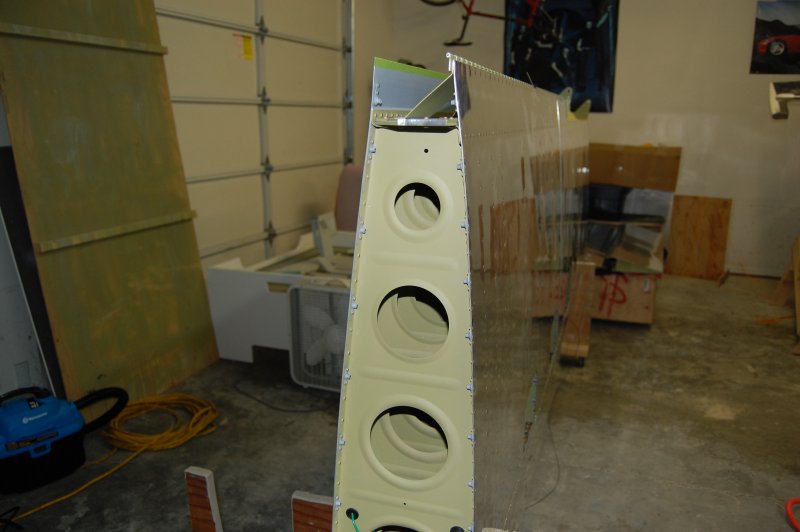
The root fairing covers the entire top of the wing, but on the bottom it only covers the leading edge. These nutplates attatch the fuselage skin tab.
Pretty time consuming, but now they are all done.
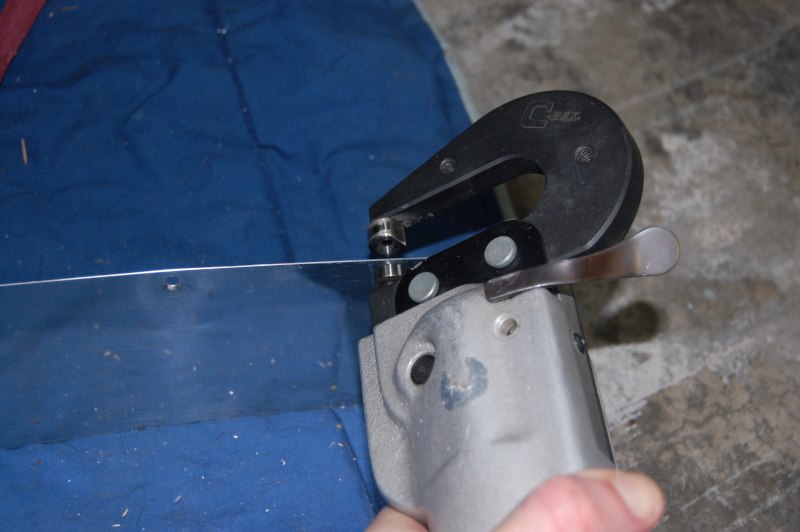
Dimpled the wing root fairing
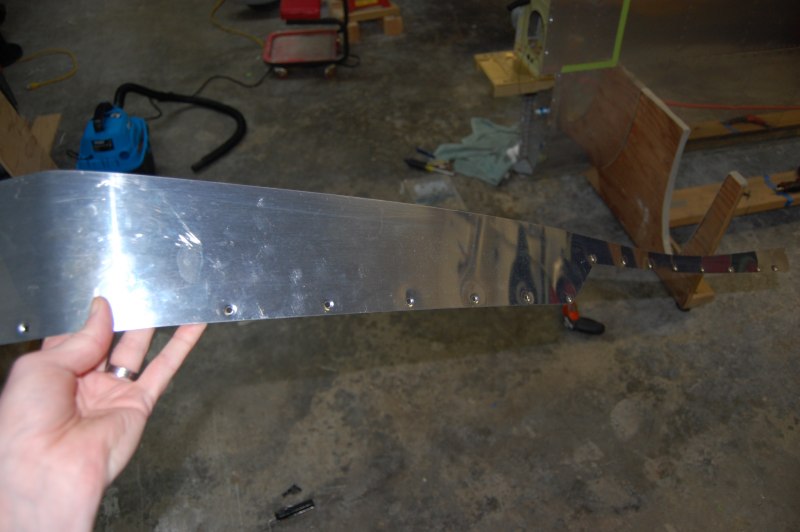
Here it is installed
Bottom
Dimpled the fuselage skin
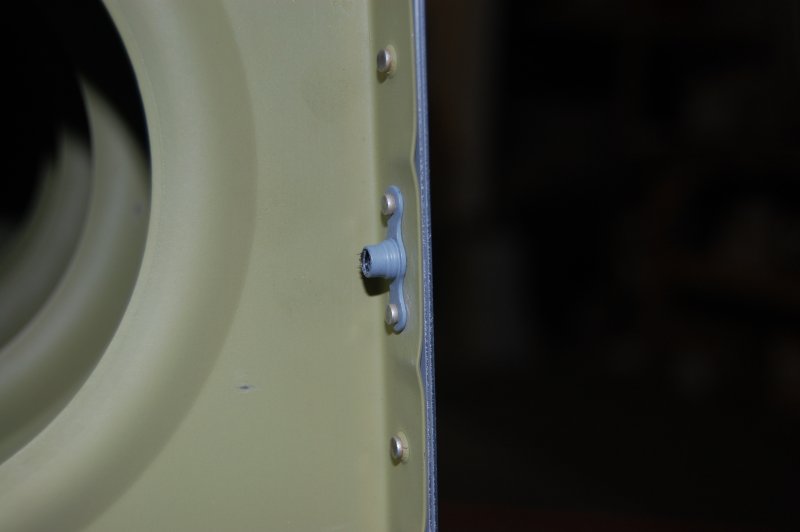
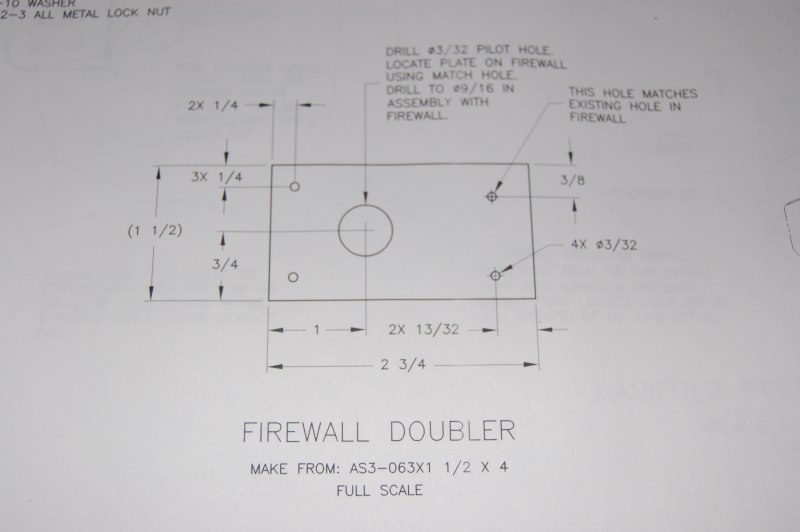
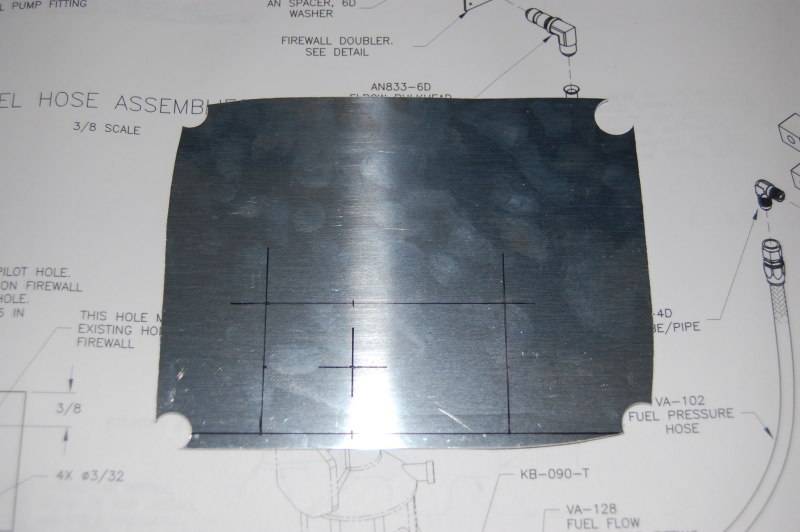
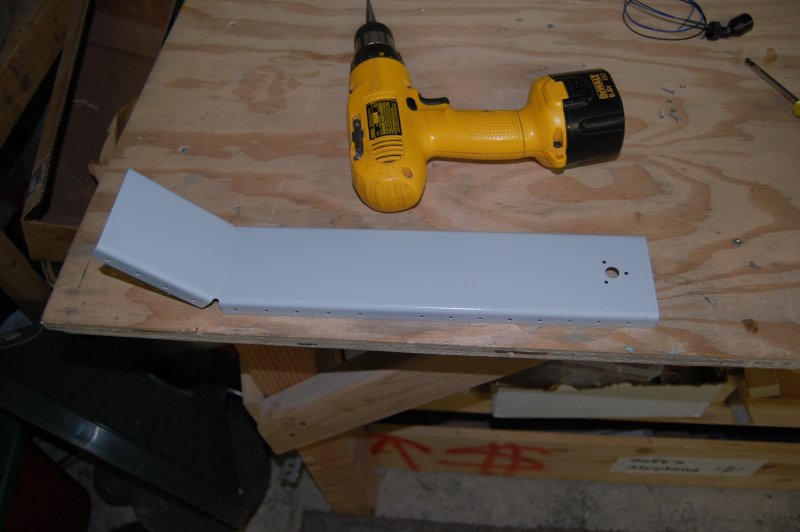
Started working on doubler for firewall fuel line penetration
This piece of aluminum is from one of my Dynon cutouts
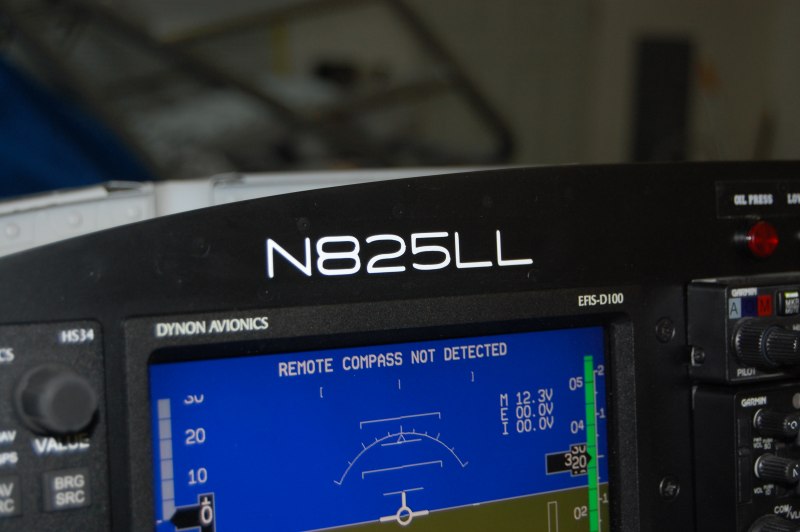
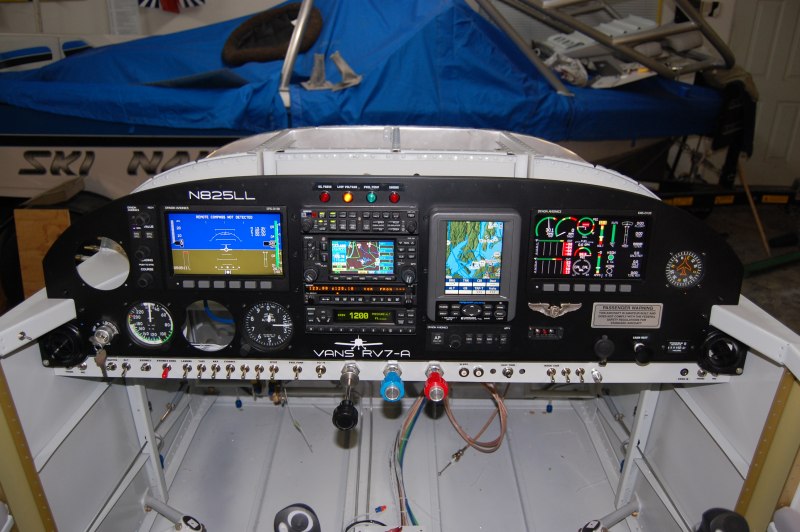
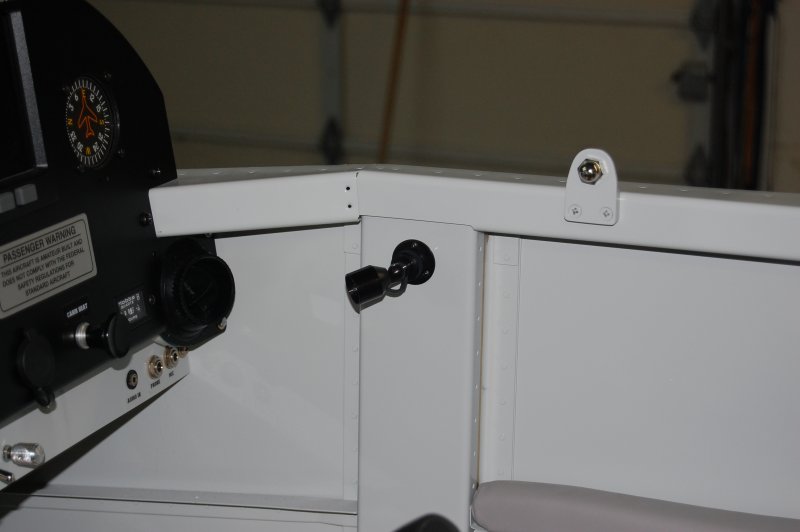
My friend John made me these vinyl stickers for my panel
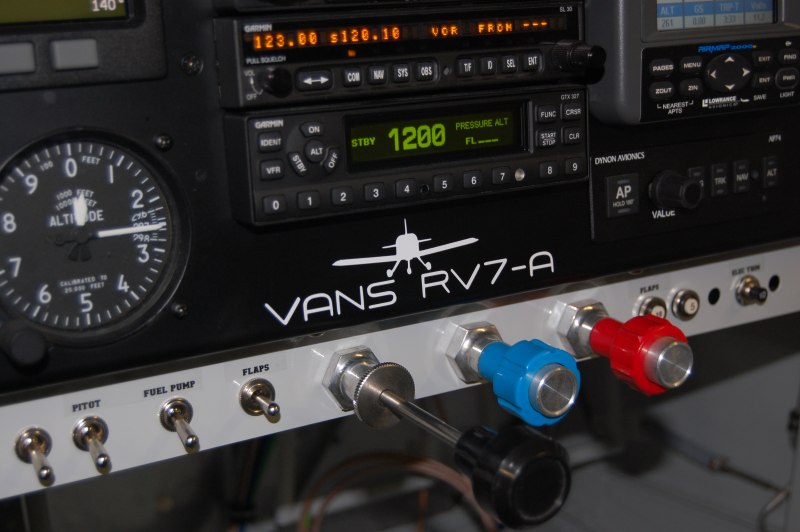
Sweet!
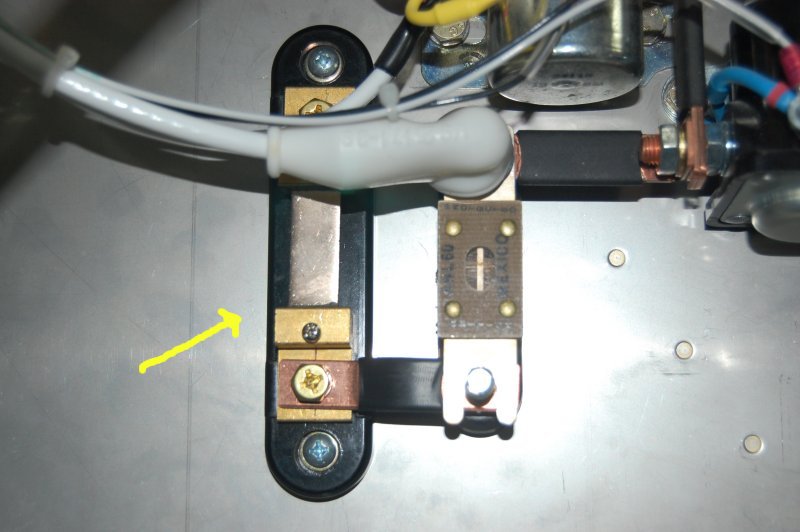
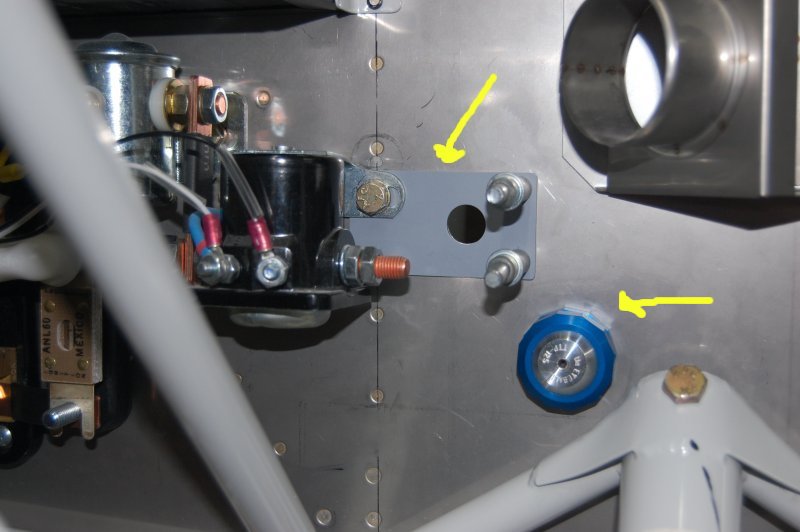
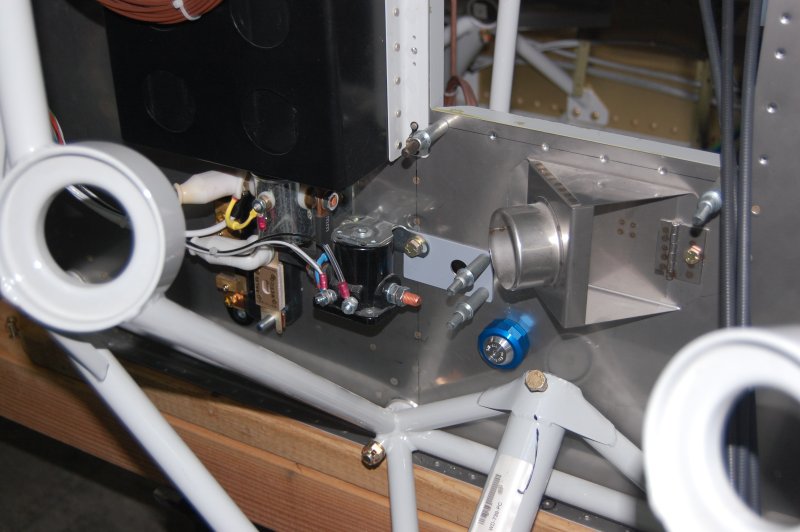
Mounted the Dynon ammeter shunt
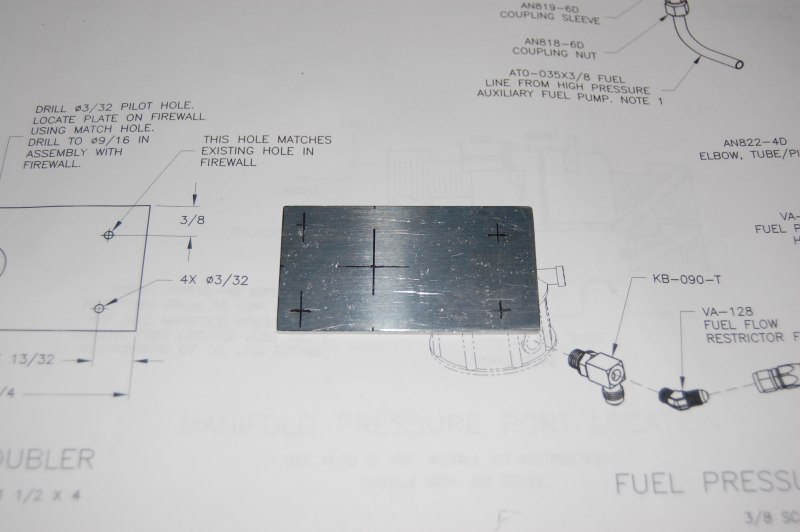
Drilled the fuel line doubler and installed an eyeball for the throttle cable
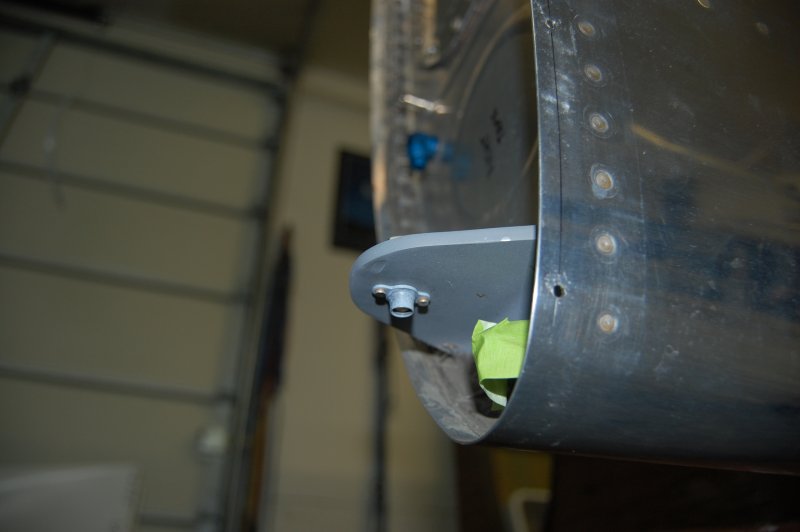
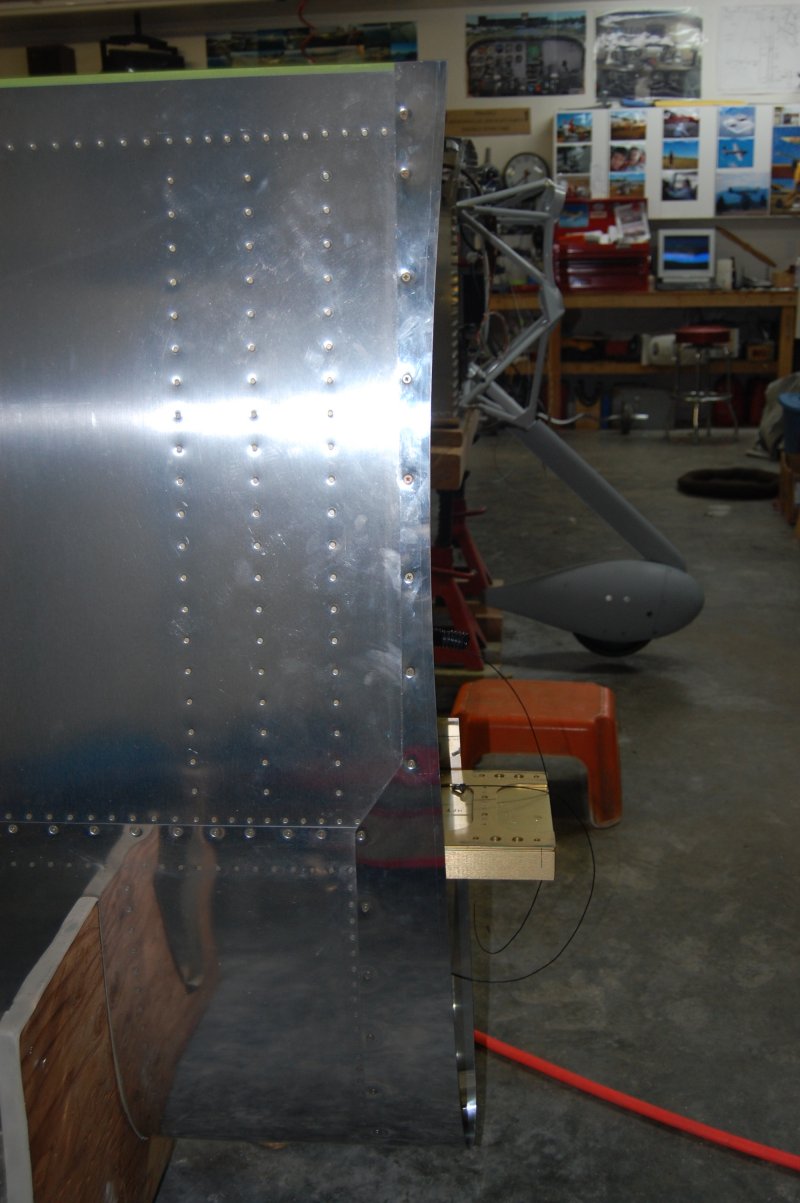
Re-installed the left wing
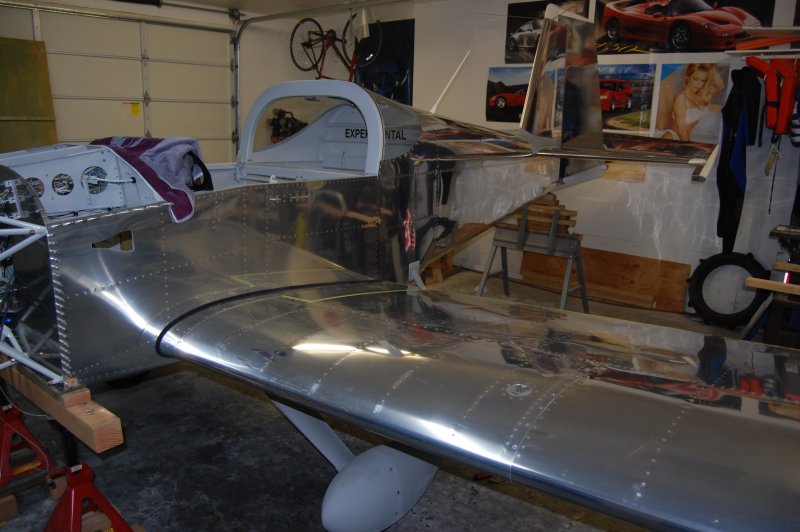
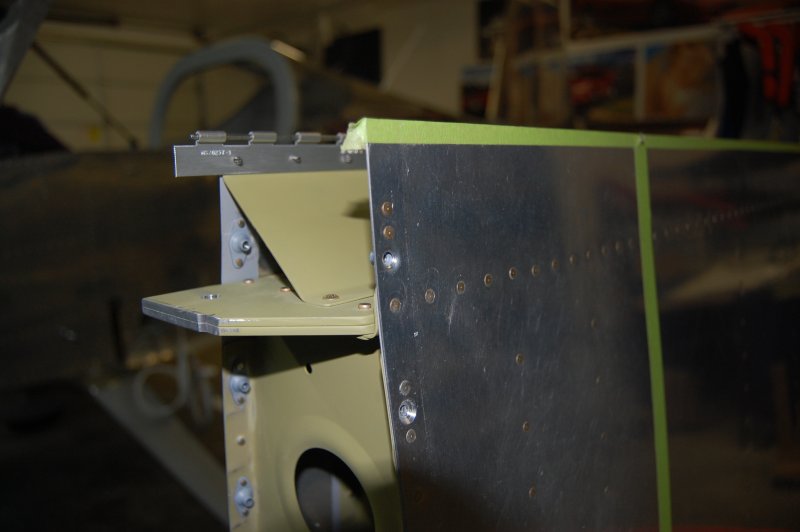
Installed wing root fairing to see how it looks
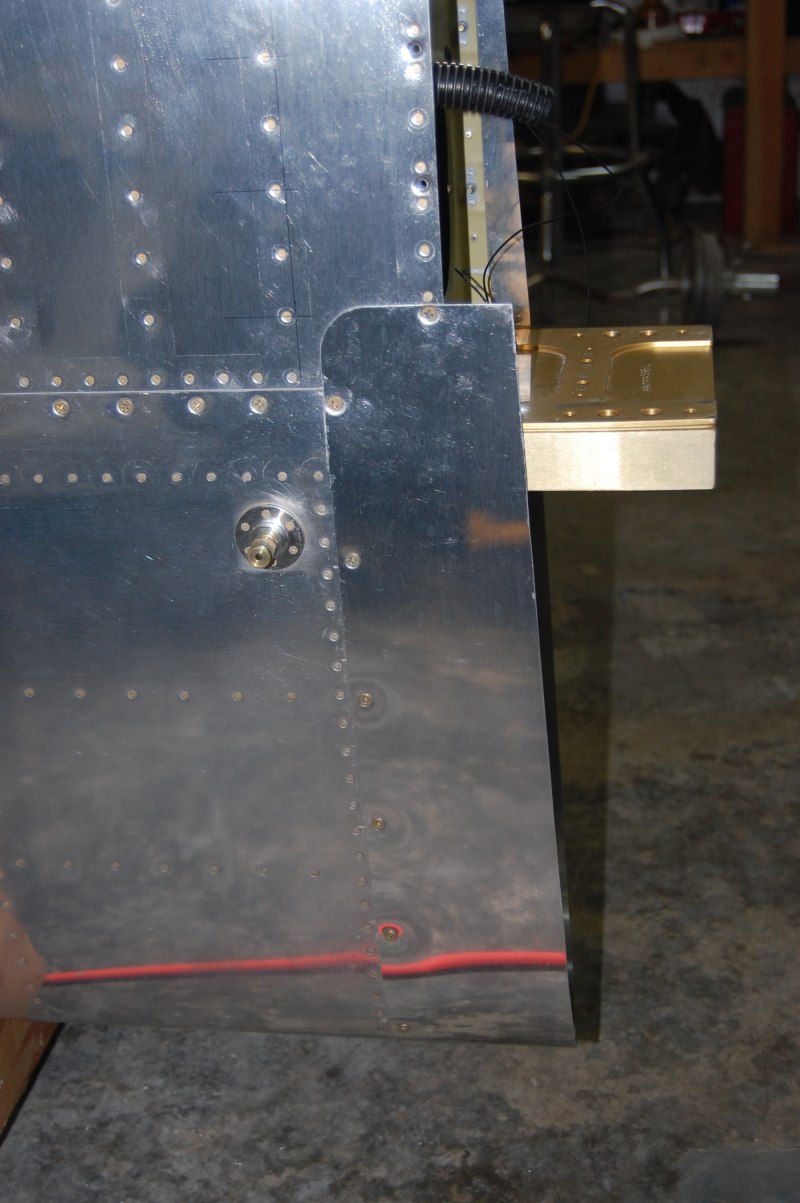
Underneath
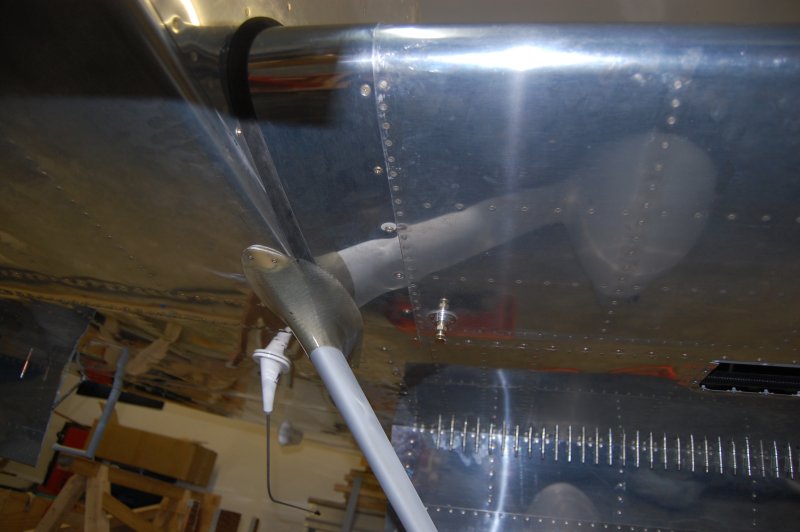
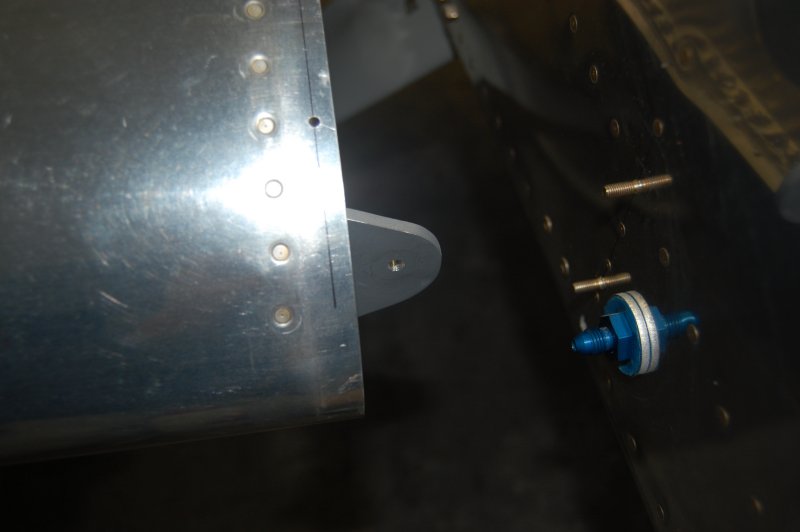
This is where the fuselage skin screws to the bottom of the wing
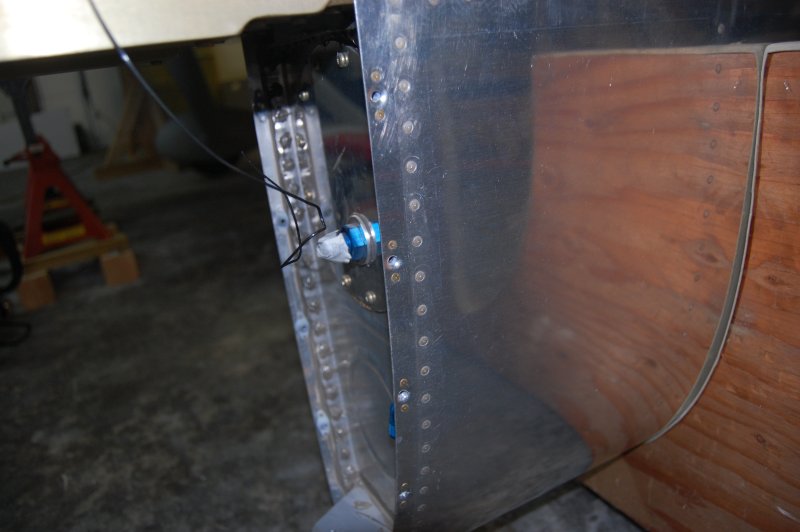
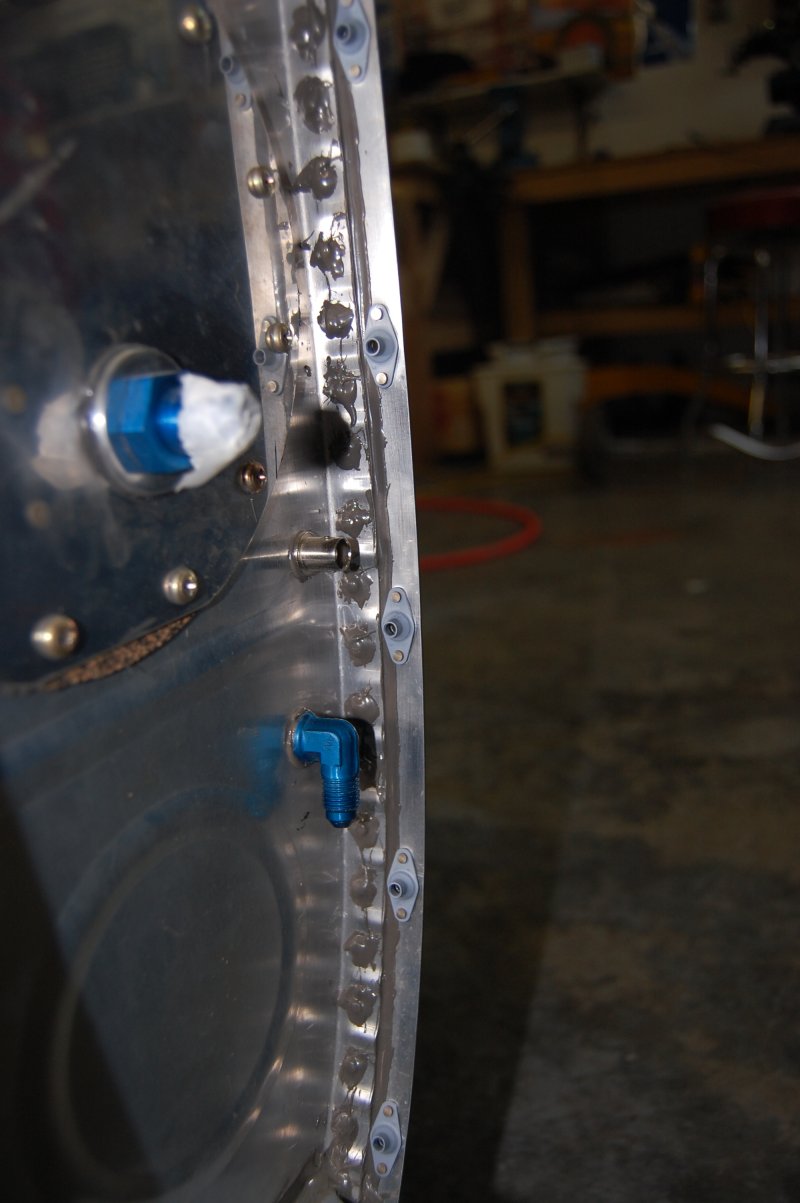
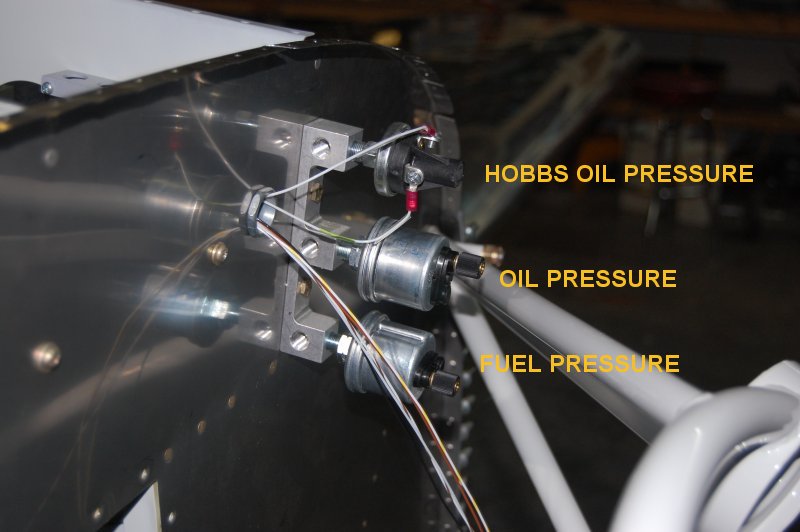
Temporarily screwed some more transducers into the transducer manifold. The hobbs oil pressure will actually be mounted next to the oil pressure when I get a 45deg fitting. I learned that the reason these are mounted on the firewall instead of directly on the engine is so they won't break off with all the vibration. A flexable line connects these to the engine so it can shake all it wants. Seems to make good sense since if one did break off, you'd have gas or all your oil shooting out of the hole.
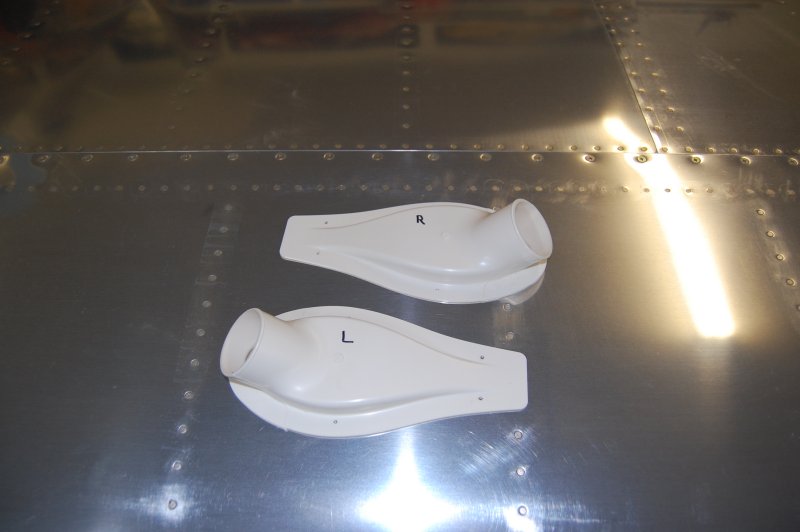
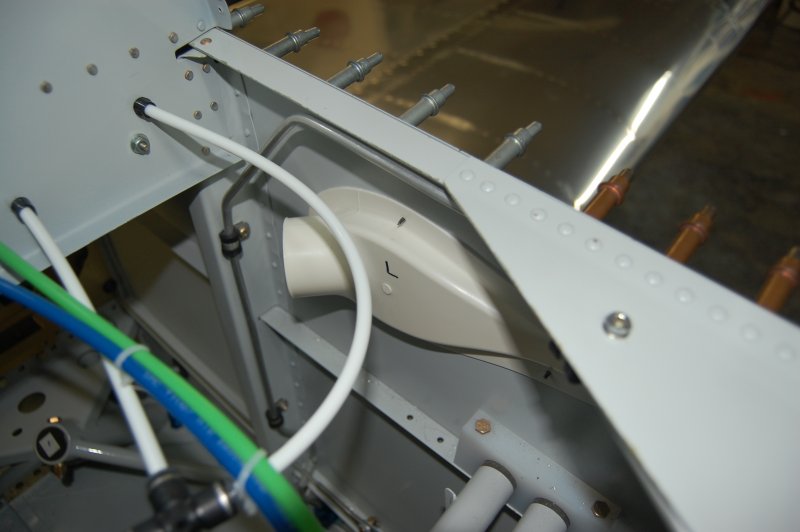
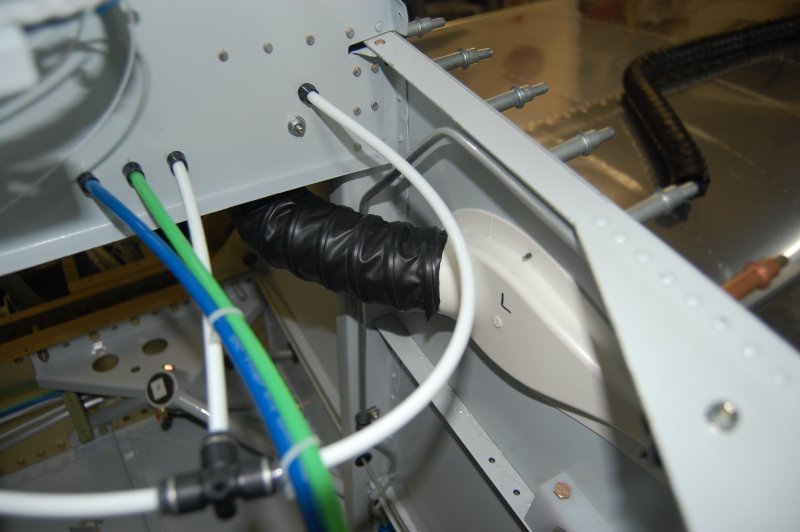
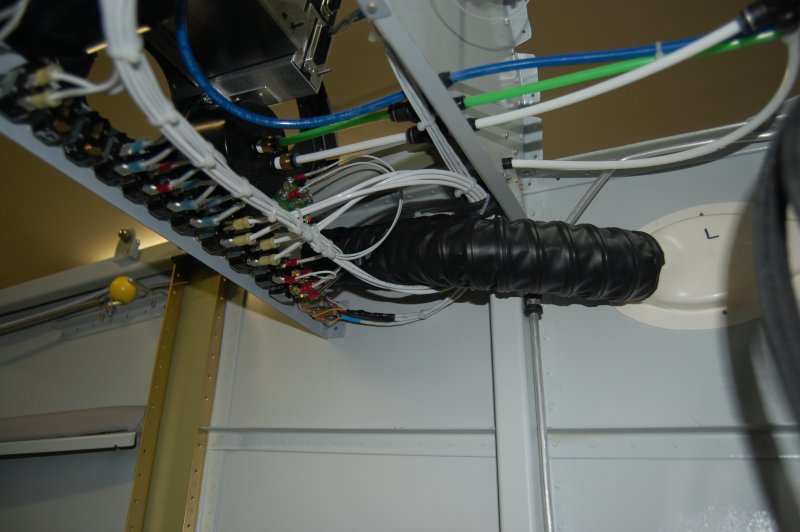
These are the air vent scoops
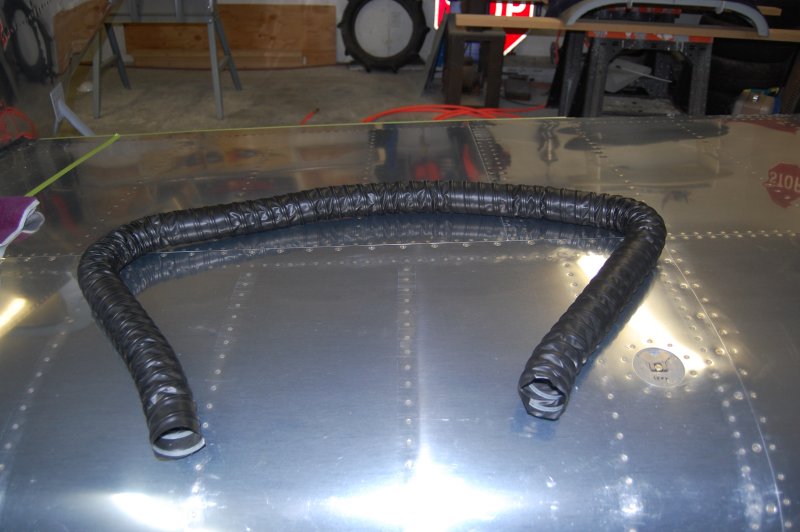
Van's gives you way too much hose
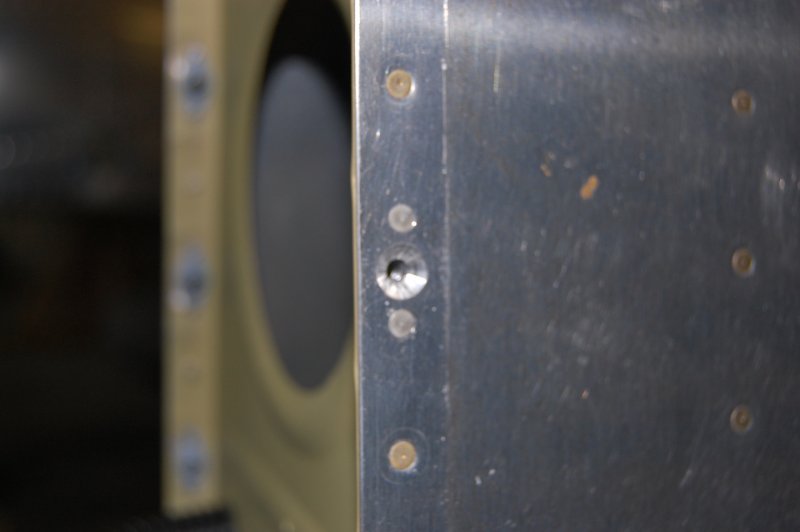
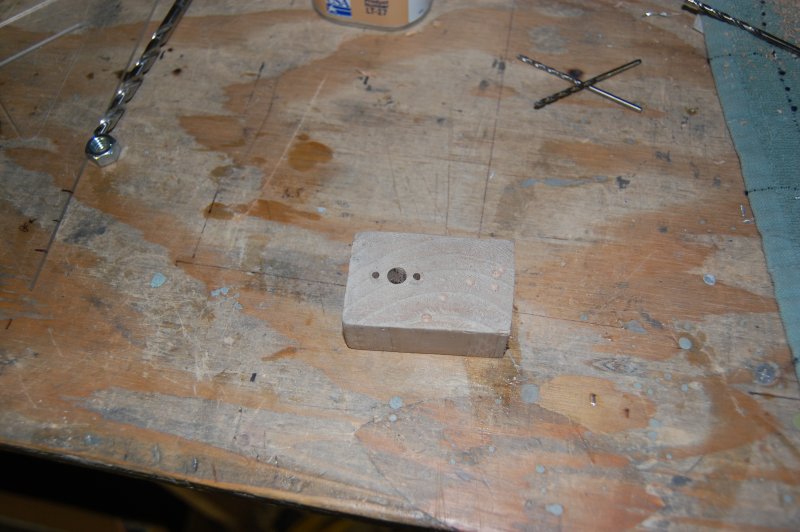
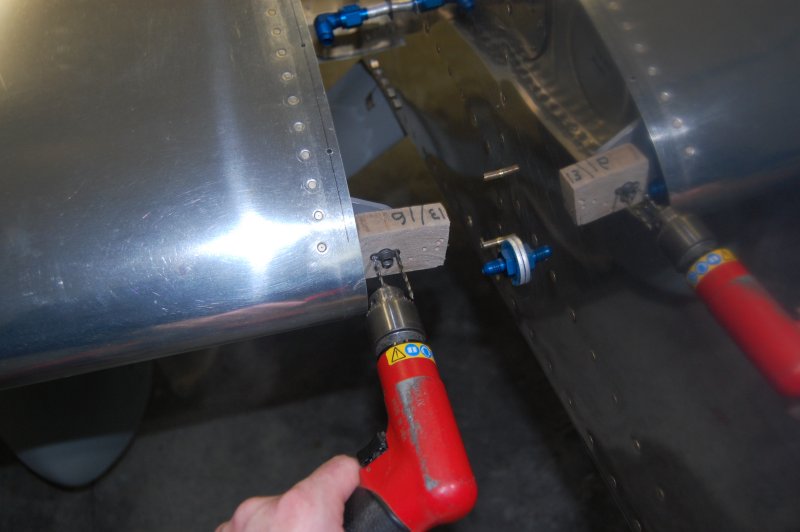
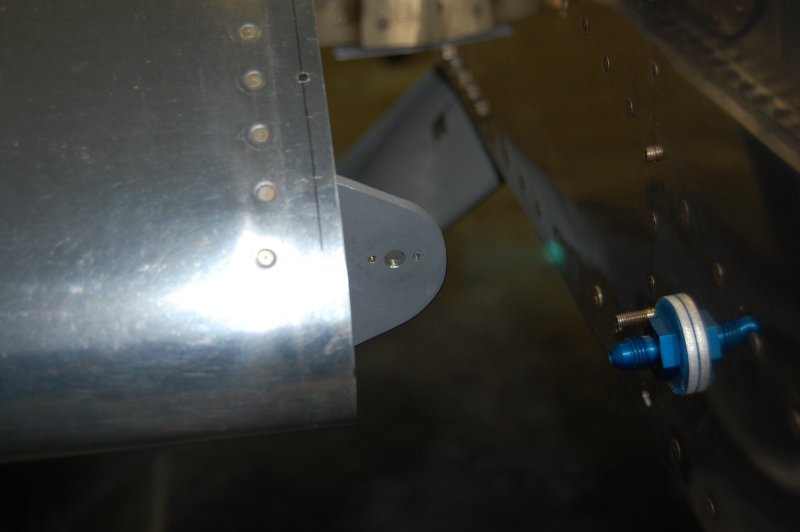
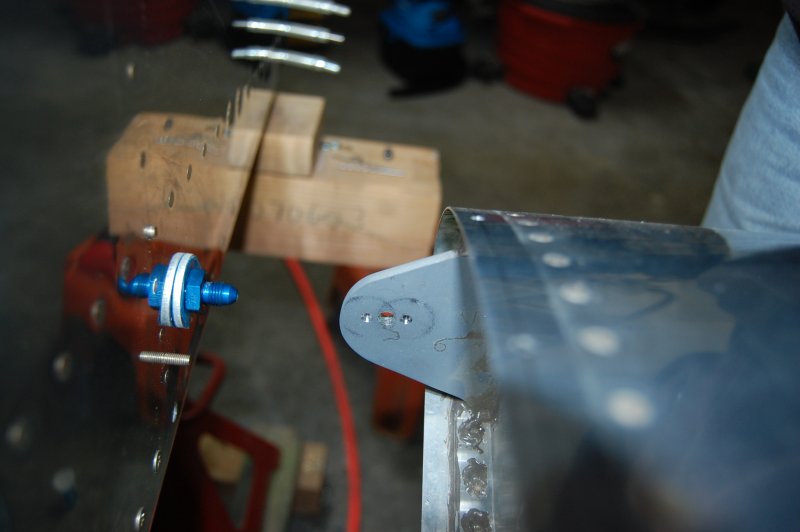
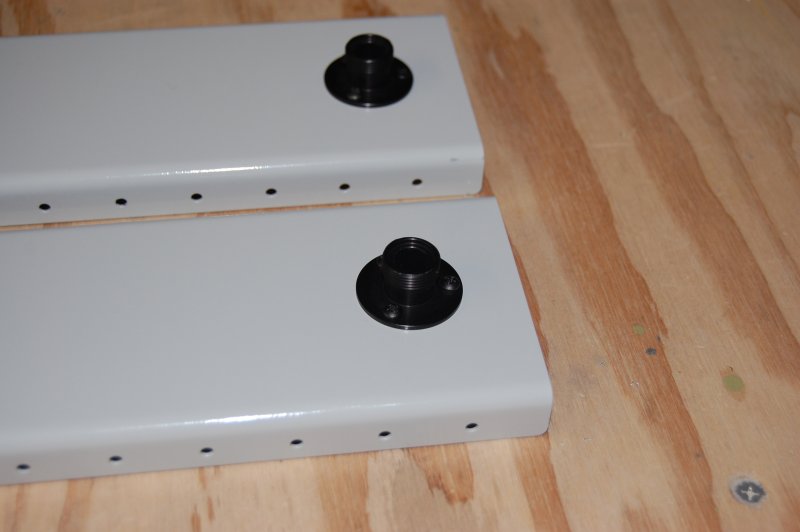
This little nutplate gets riveted to the fuel tank support
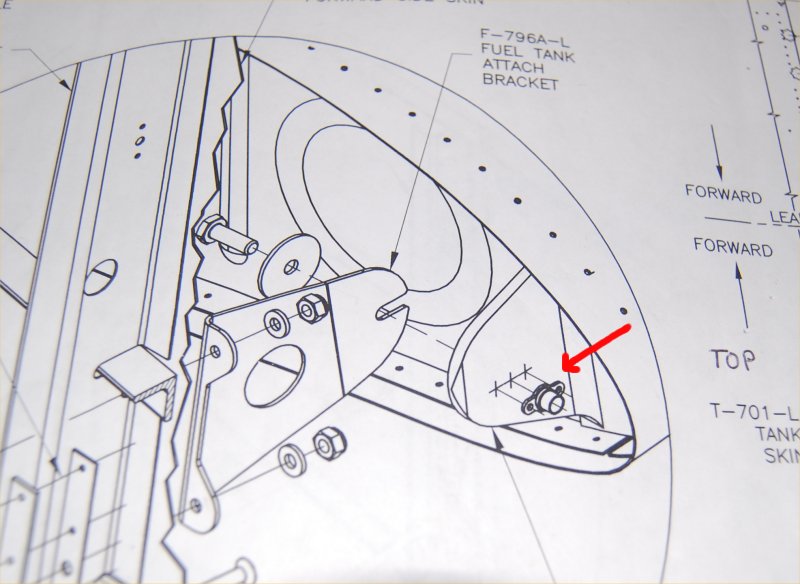
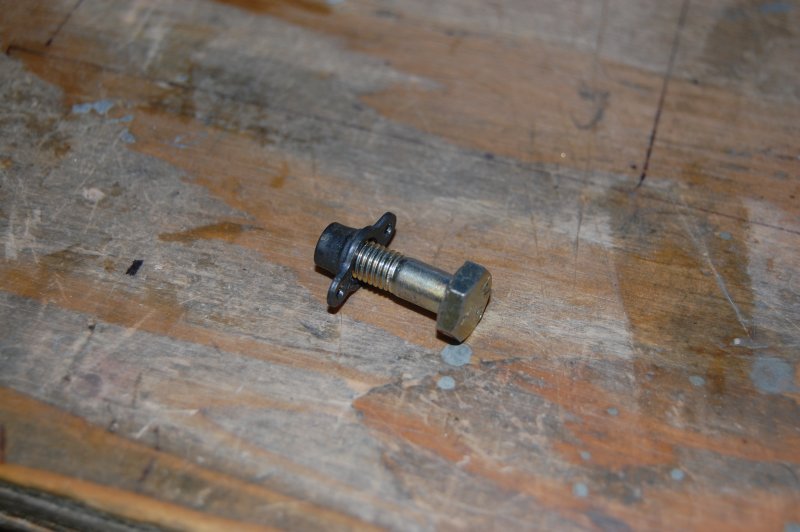
Since it is so small and at a weird angle, I made this block to keep the drill bit perpendicular to the hole.
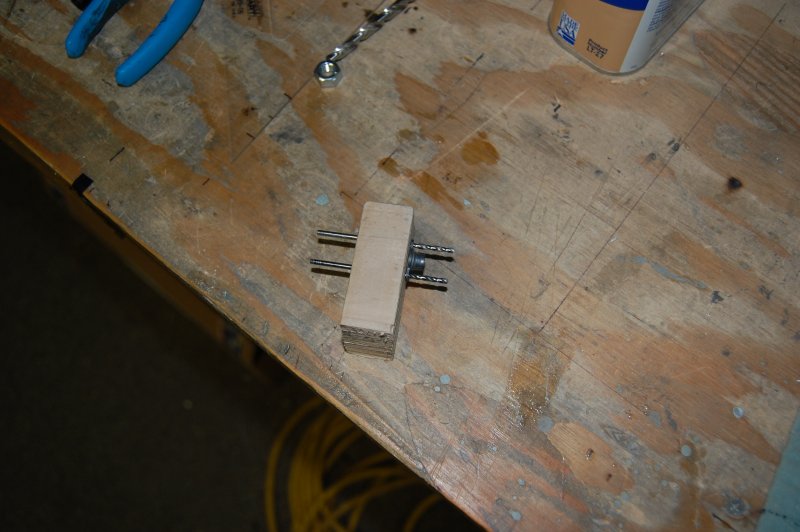
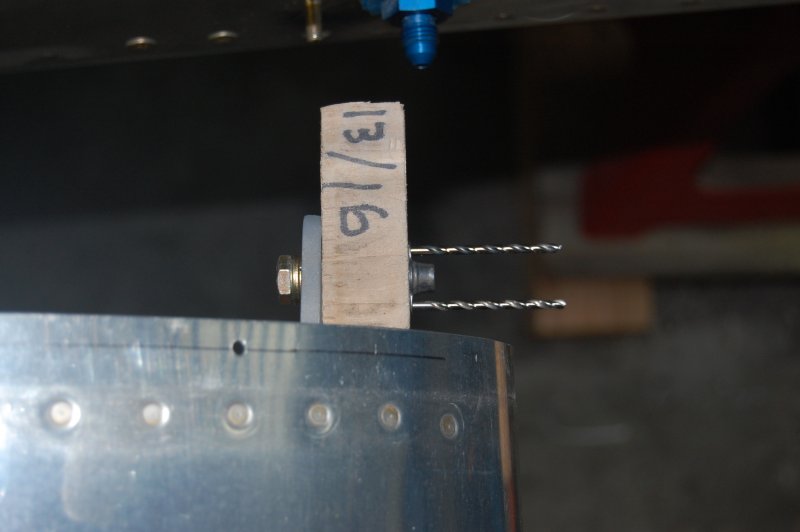
Perfect!
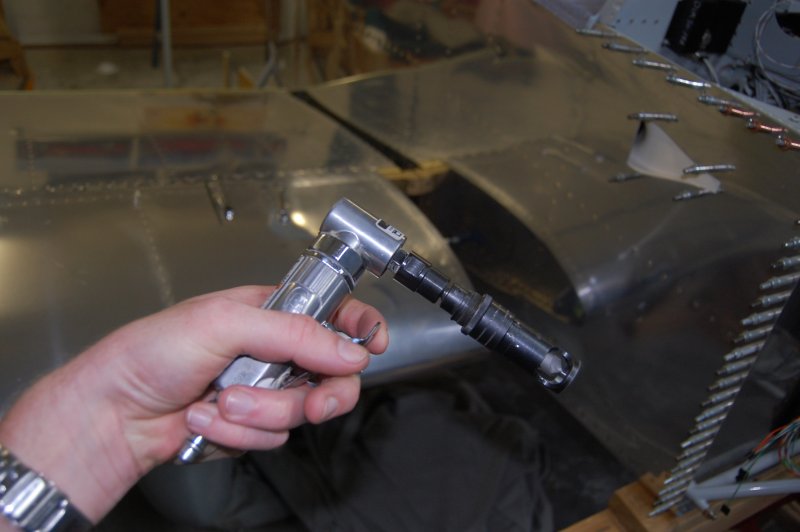
Since the inside gets countersunk, I used my small angle grinder again as a drill.
Removed the right wing
Nutplate riveted
Dimpled fuselage skin tab
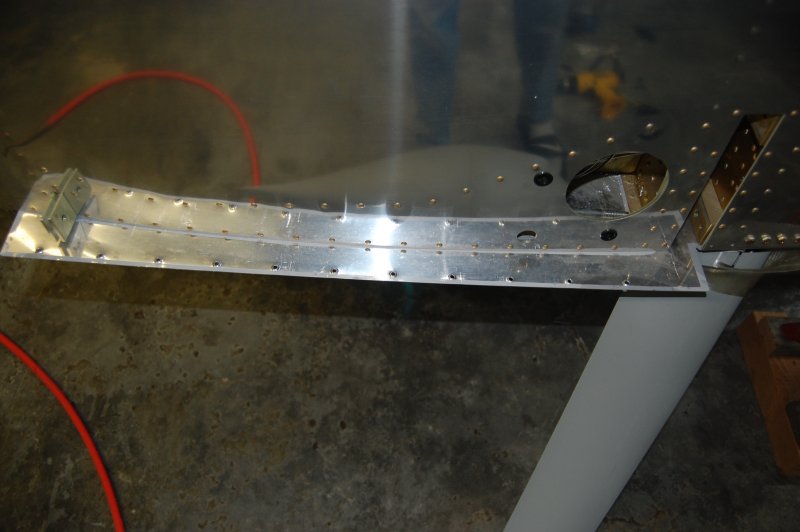
Lots more nutplates for the right wing root fairing
Right wing root fairing installed
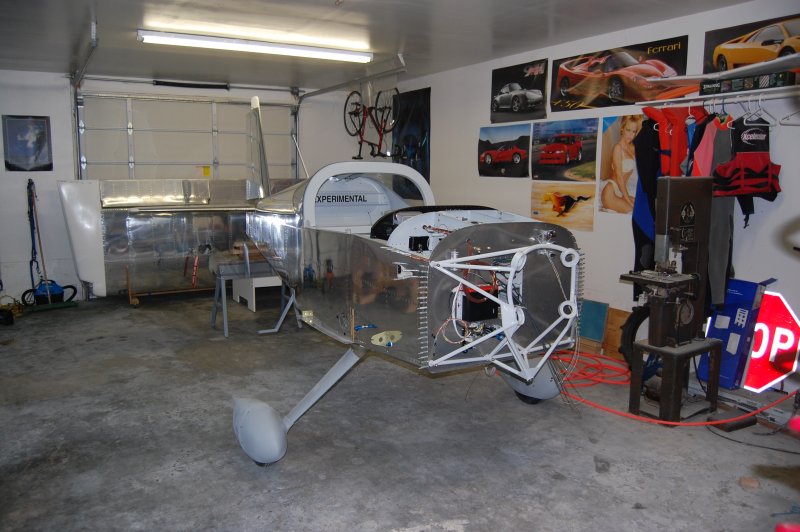
Pulled off the left wing again. Both wings should be off for good now until I move the plane to a hanger.

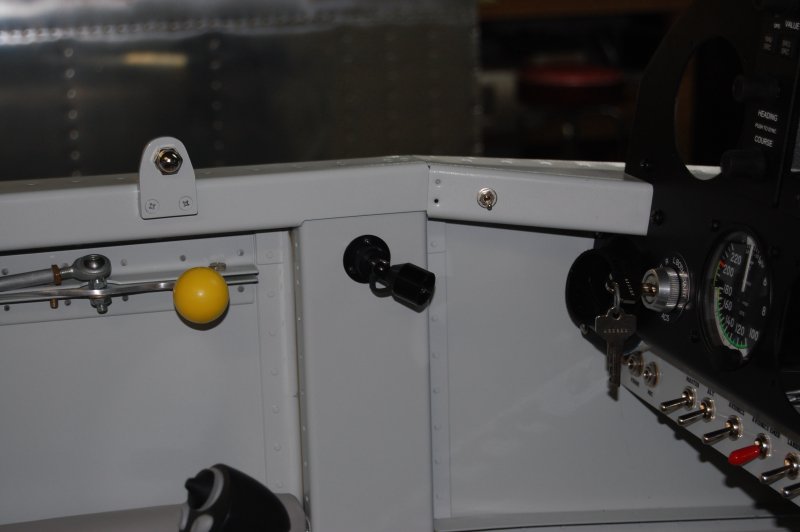
Finally ordered and got my adjustable cockpit lights
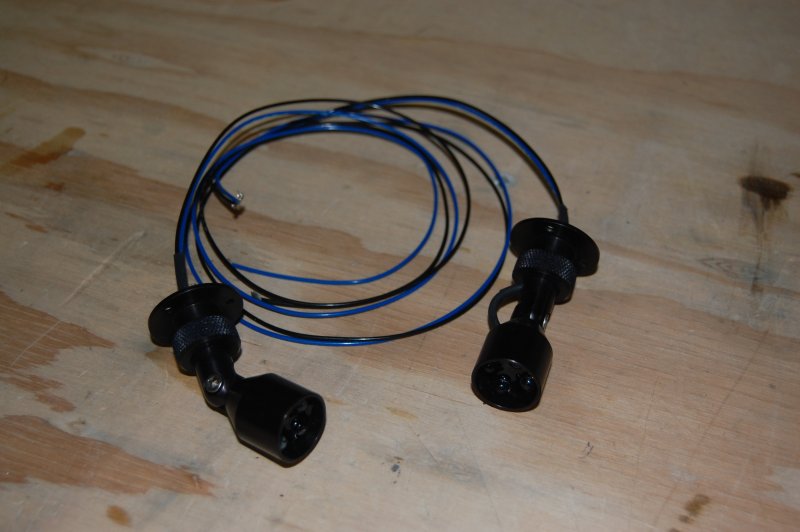
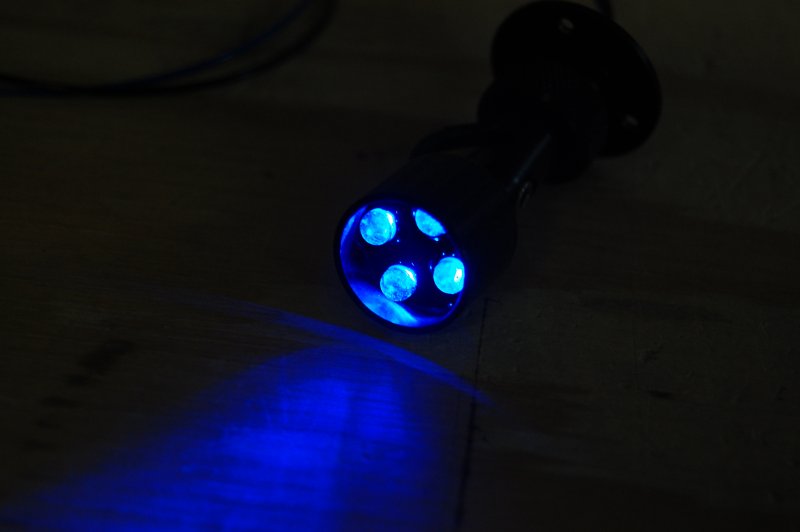
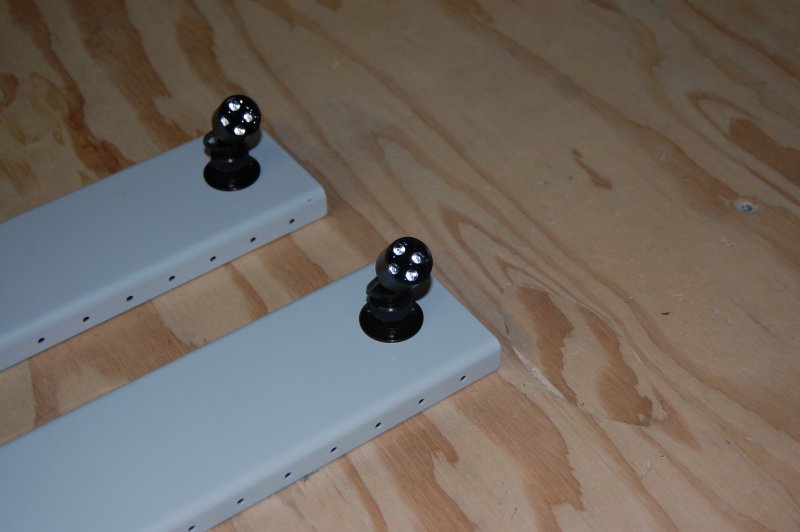
I mounted these high on the side cover so they could either be aimed at the panel, or at a kneeboard or something in your lap.
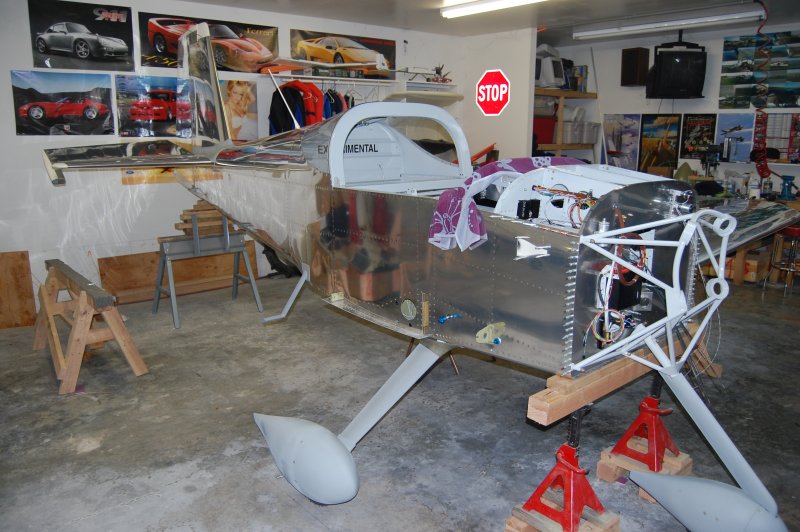
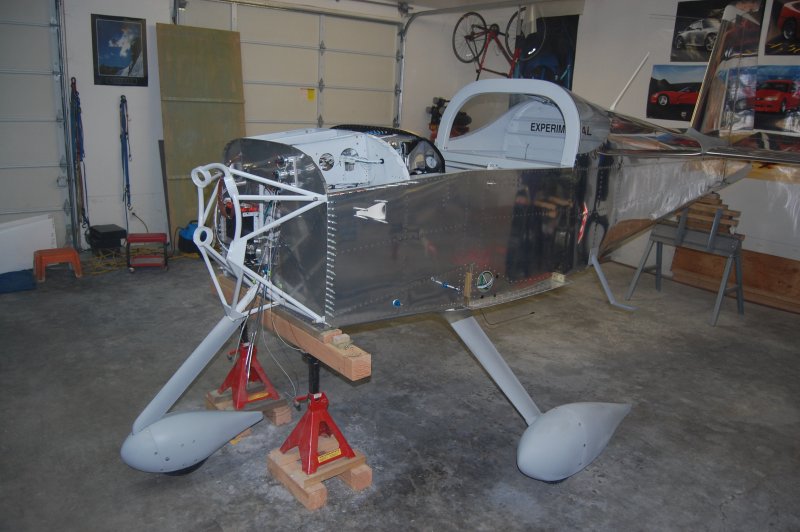
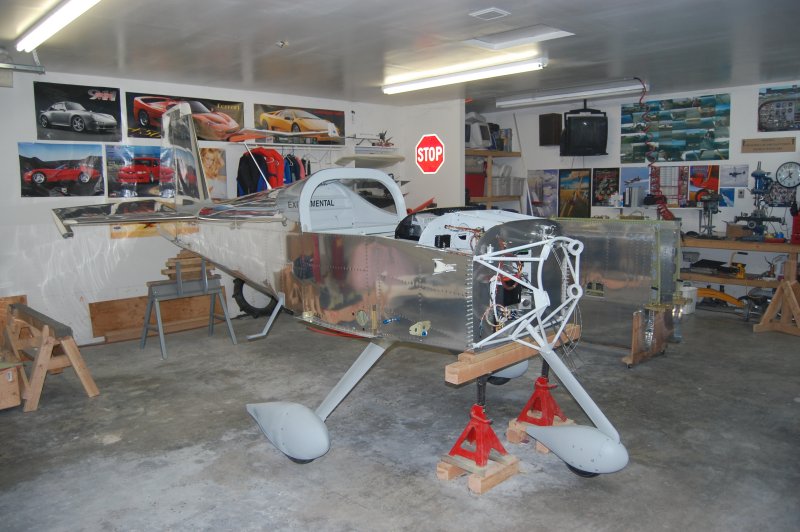
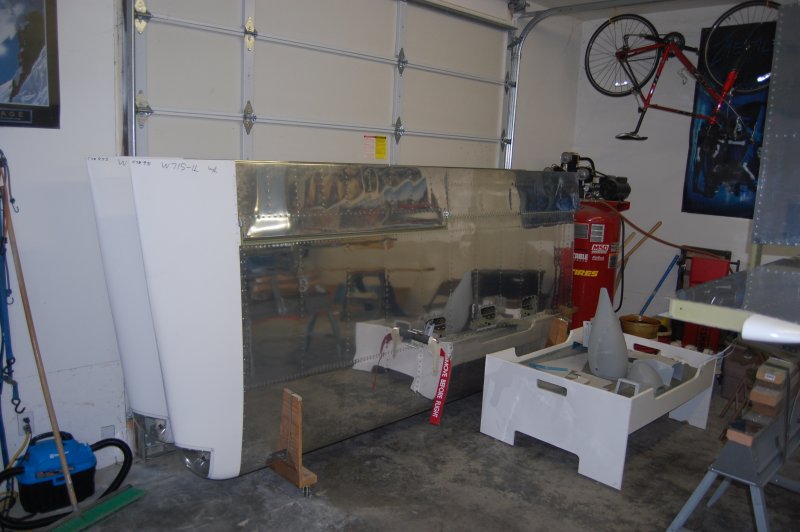
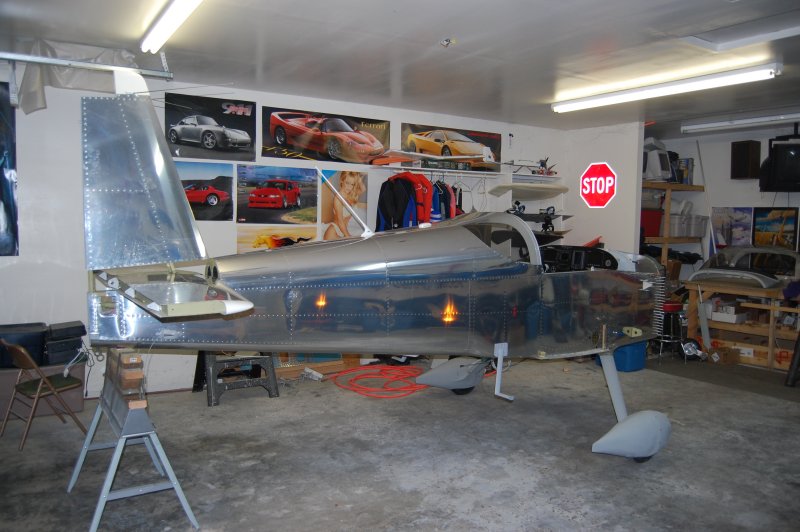
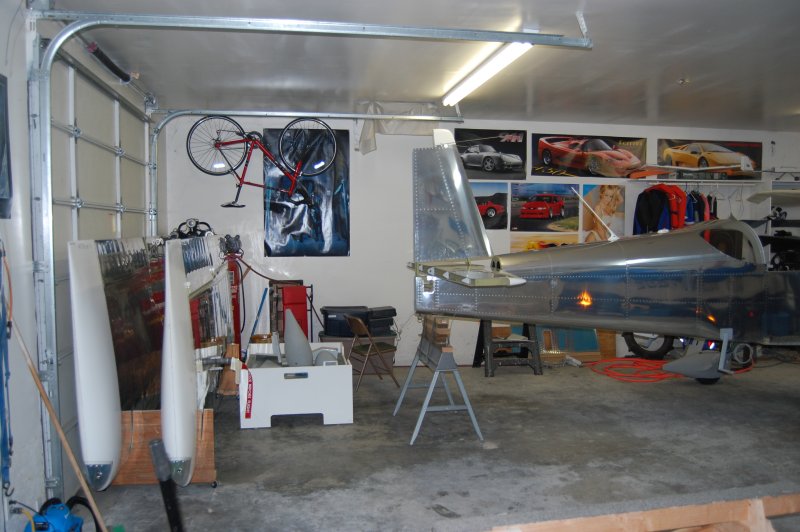
Big move in the shop in preperation for the highly anticipated engine arrival. (Sometime in February)
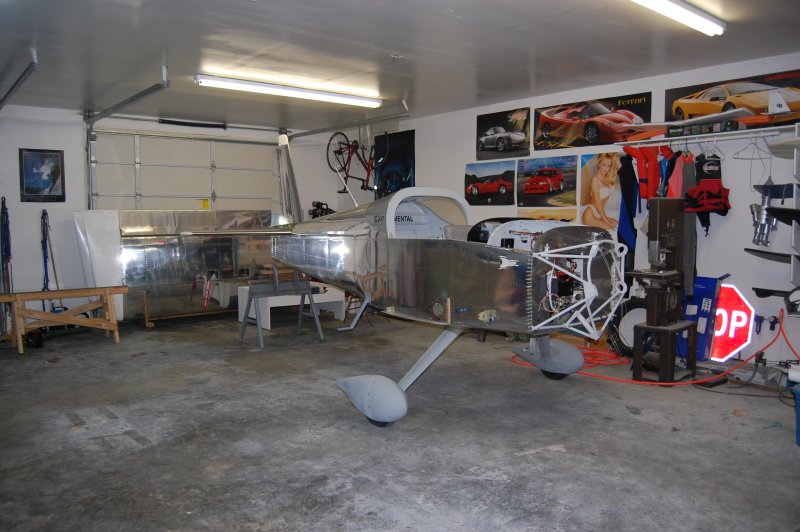
In an effort to save space and hopefully eliminate "hangar rash", I re-mounted the flaps, ailerons, and wingtips.
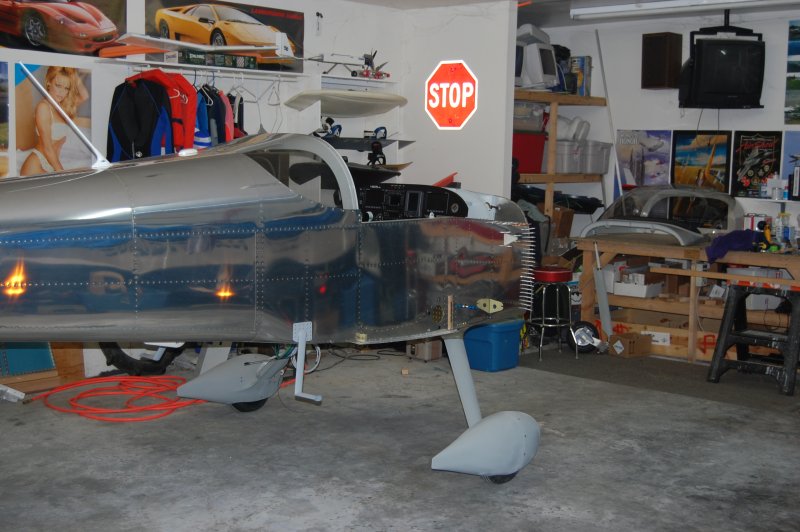
First time the tires are on the ground
Back