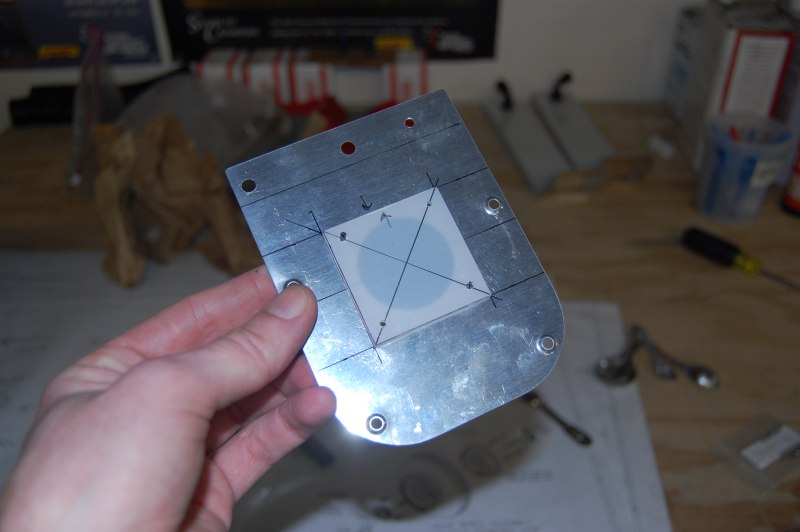
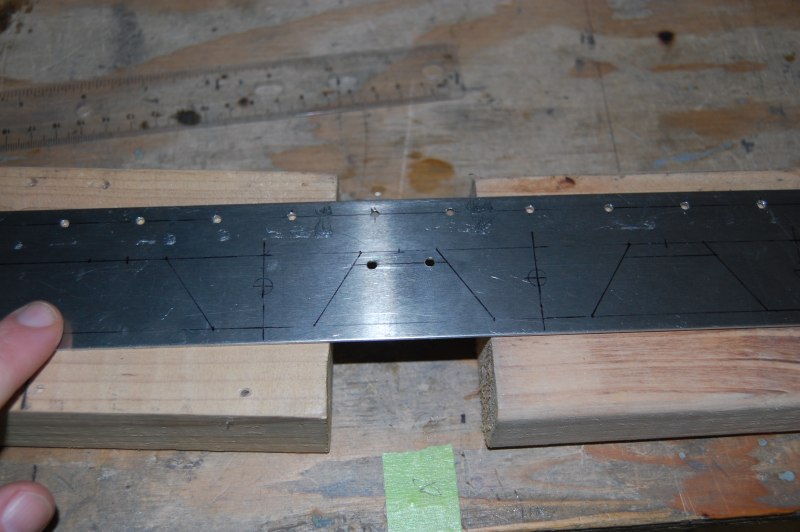
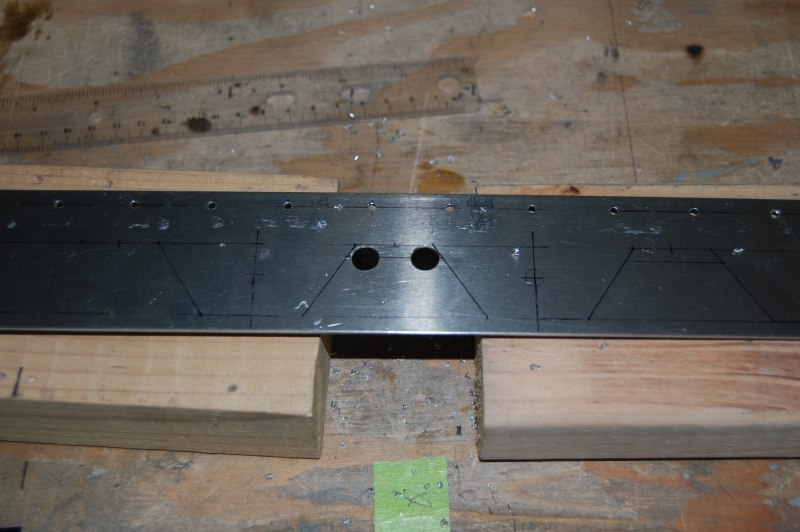
Had to enlarge these couple of holes for hose clamps. I guess they don't tell you this when your actually building the firewall in case you go with an alternative engine setup.
This hole too, for another clamp
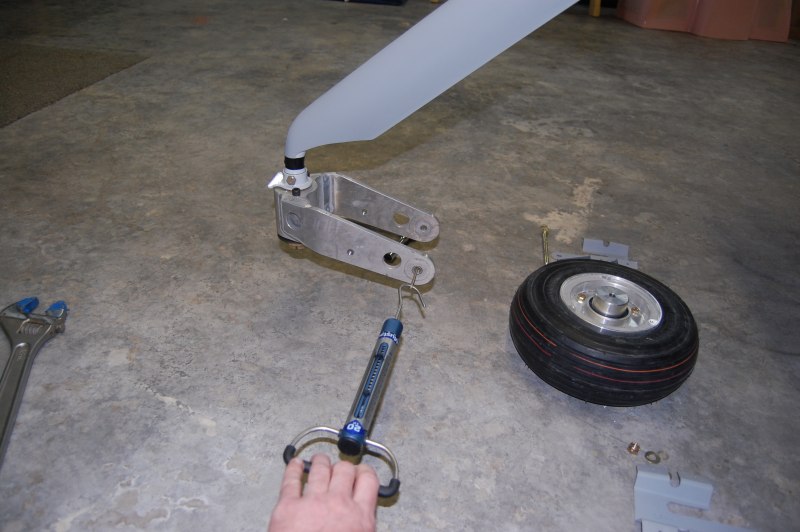
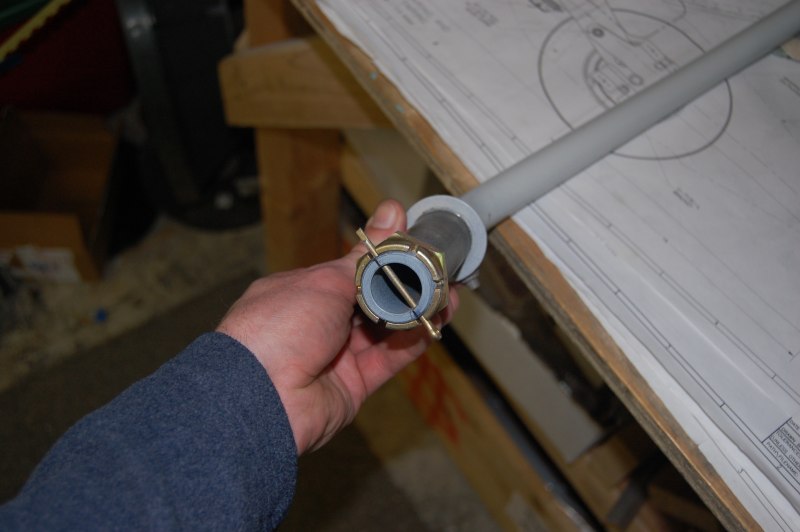
This is a fish scale used to set the break out force on the front gear. You tighten the big nut until it takes 22 lbs of pull to move it. Actually once you're over the initial pull, it moves relatively easy.
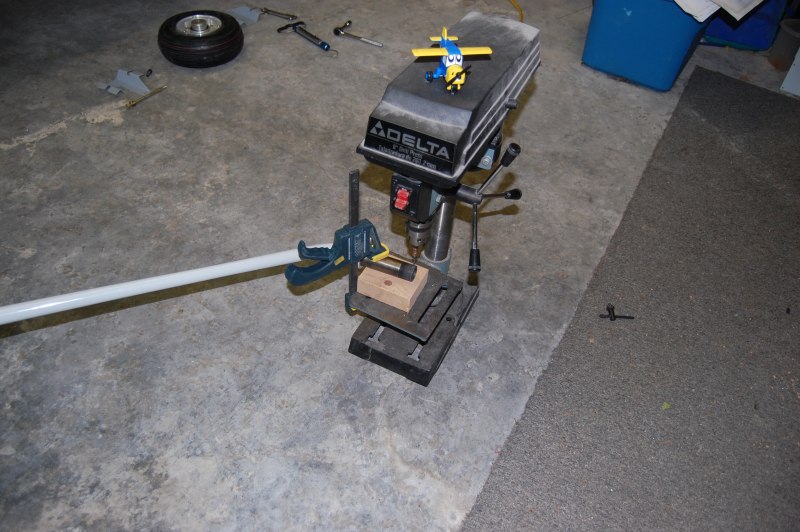
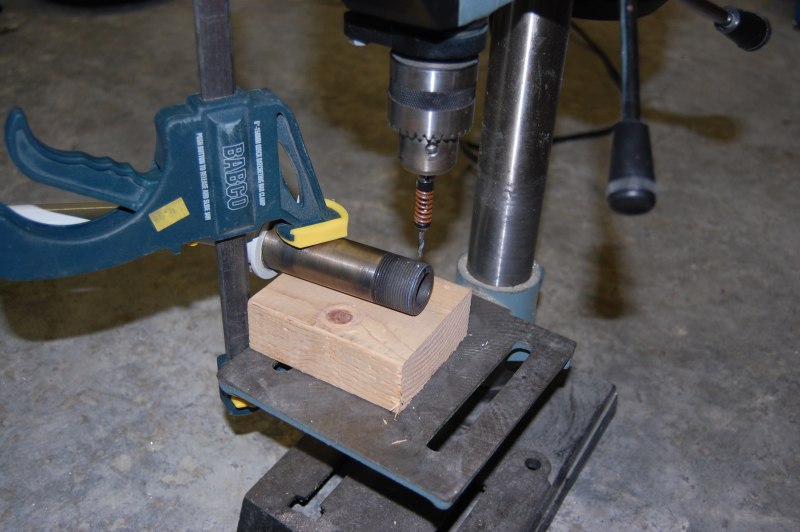
Drilling for the cotter pin
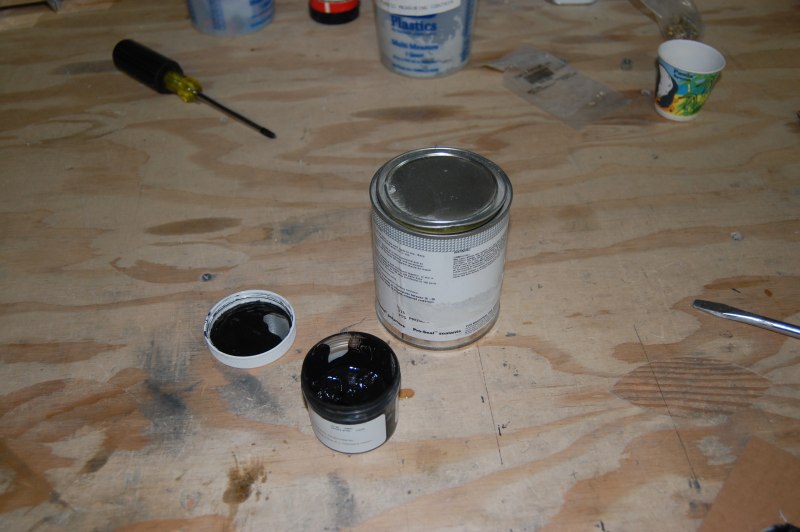
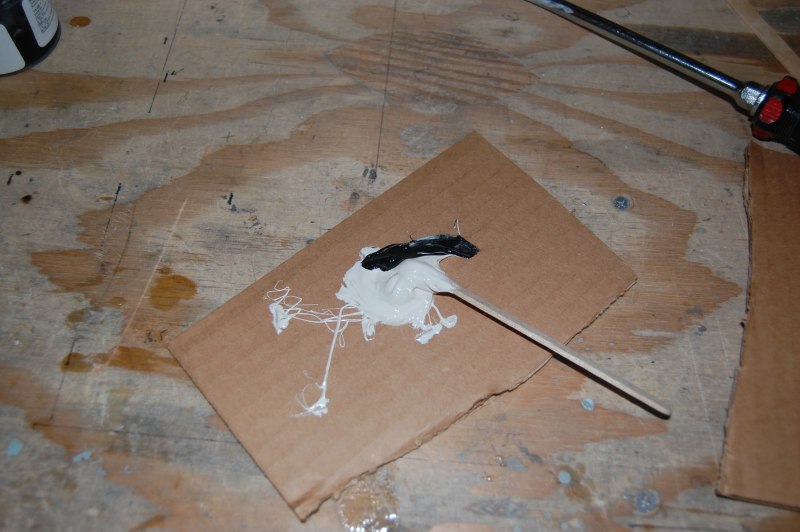
Proseal?? Oh no, I thought I'd never see it again!! Actually this can is about toast, it's expired and I had to dig deep for some soft stuff.
These are kitchen sink screens I got from Mclendon Hardware and Aircraft supply. The screens get cut and prosealed to the ends of the fuel tank vent lines. They keep bugs from crawling inside for a look.
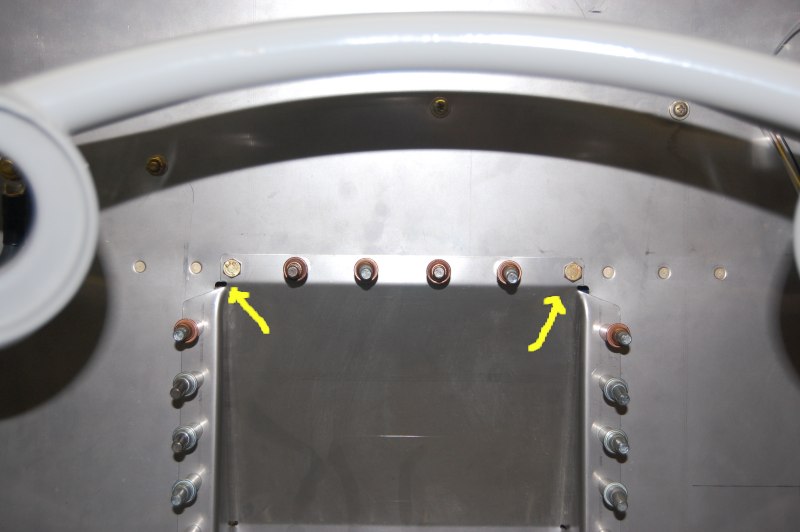
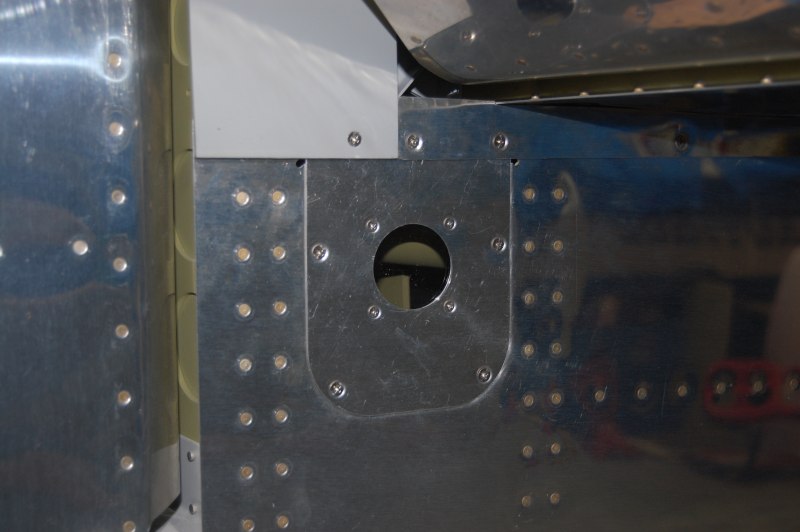
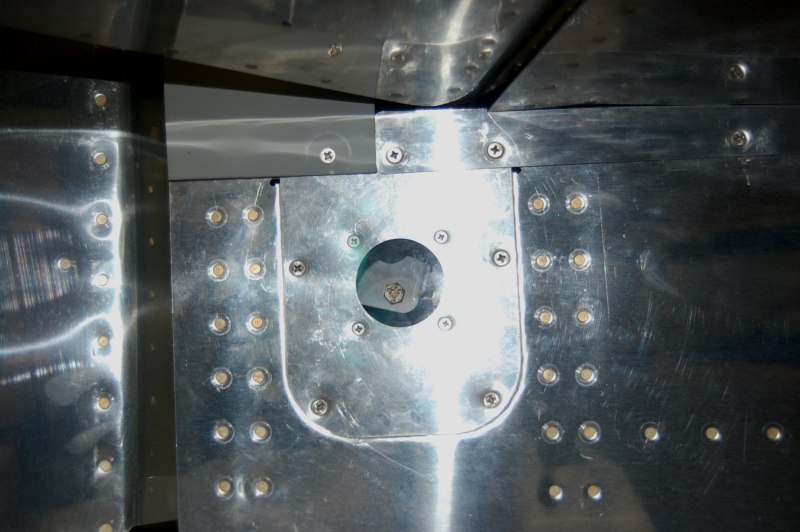
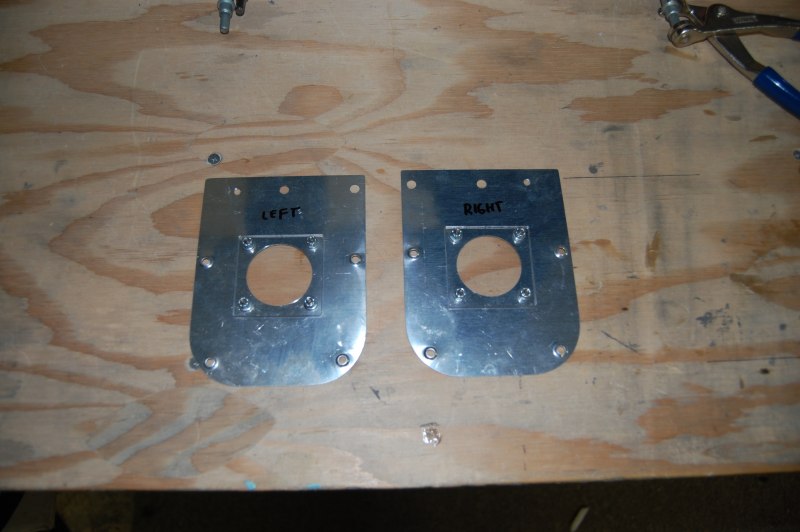
I saw something I really liked on my friend Dan's RV-7. These side inspection plates cover and provide access to "The Bolt". "The Bolt" is what connects the pushrod tube to the elevators. No Bolt? No up or down. On Cessna's and Pipers you can have a look at these bolts during a preflight, but on a Van's you'd have to bring your screwdriver.
Anyway, a great place for a plexiglass window.
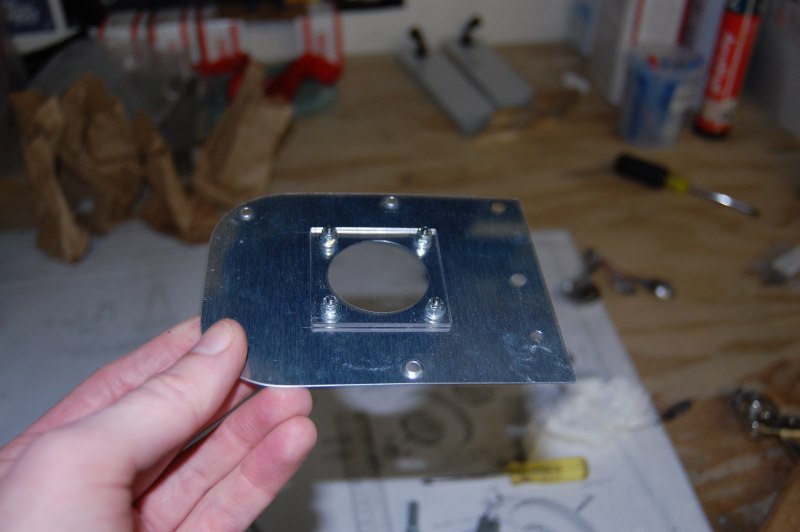
I'm going to do the same thing to the other side too, to see the nut and help let some daylight in.
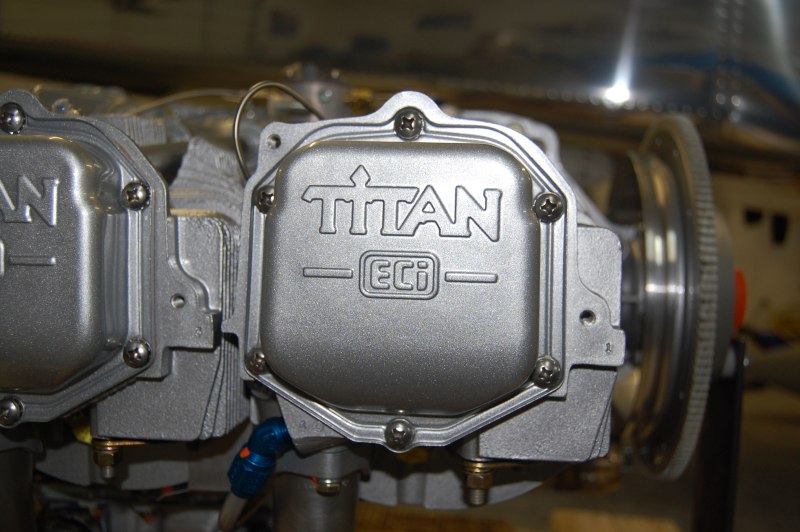
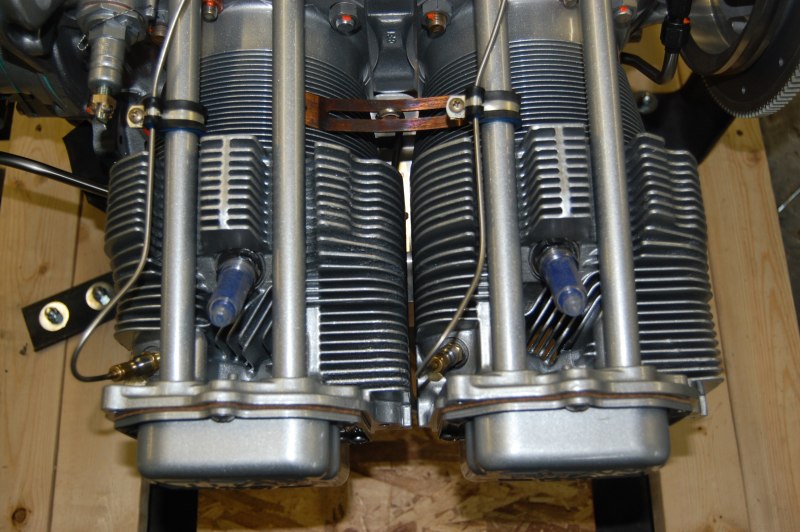
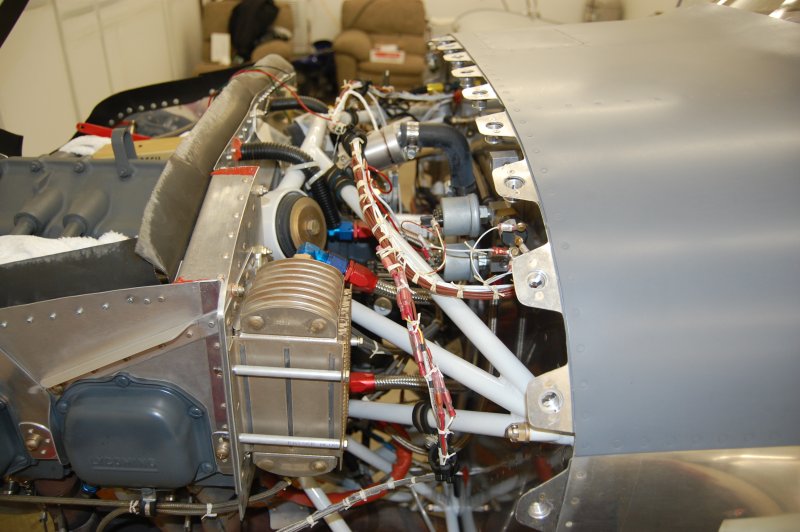
Got a bunch of fire wall forward goodies from Van's
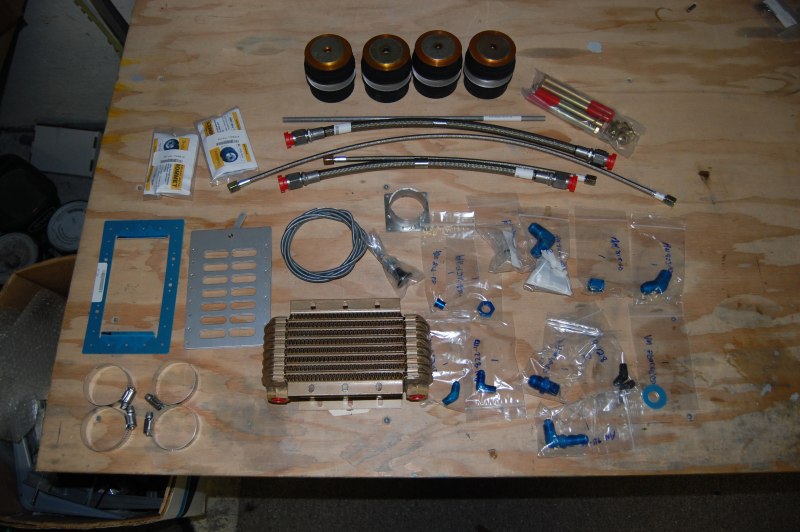
Engine mounts
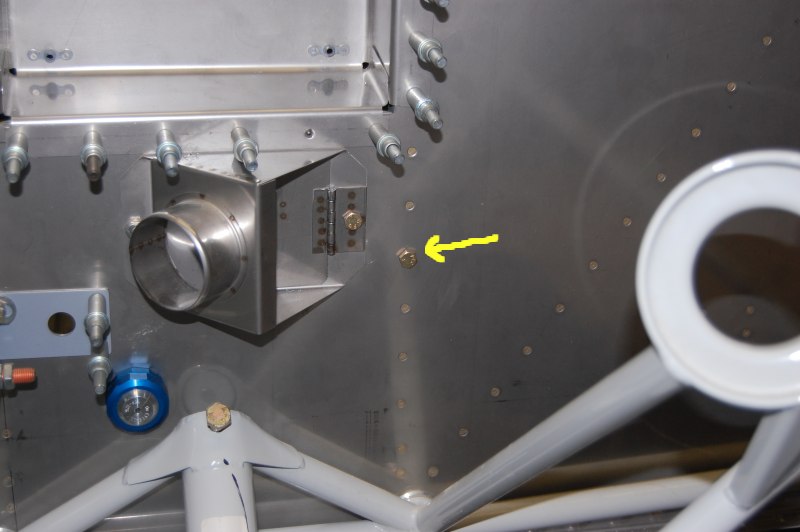
Finished the other window
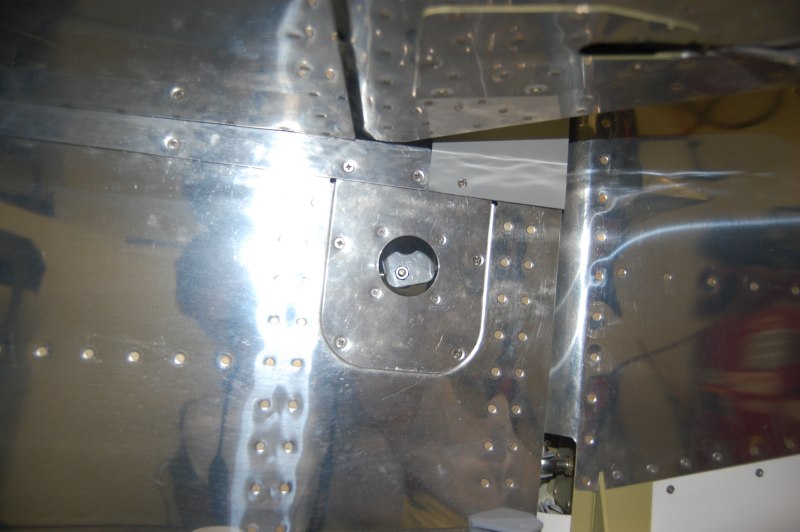
I like it!

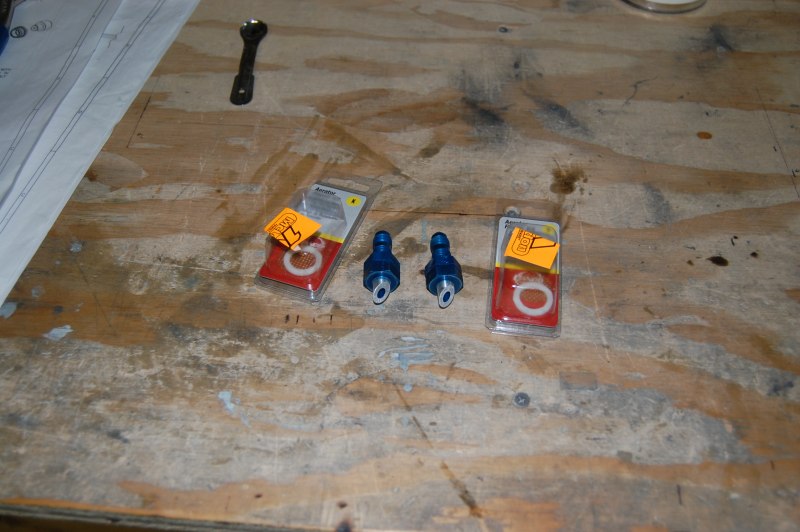
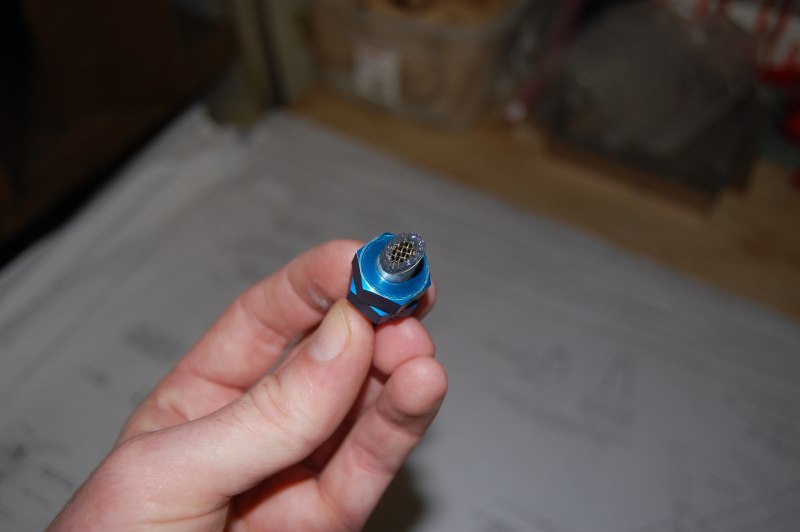
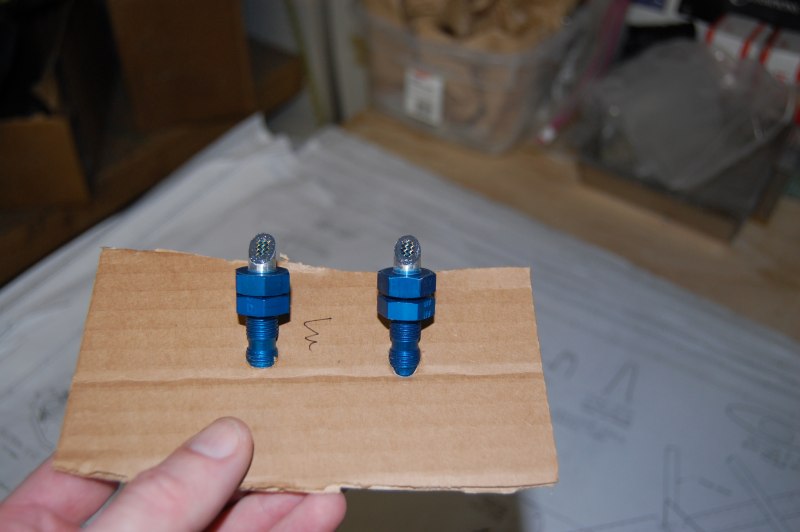
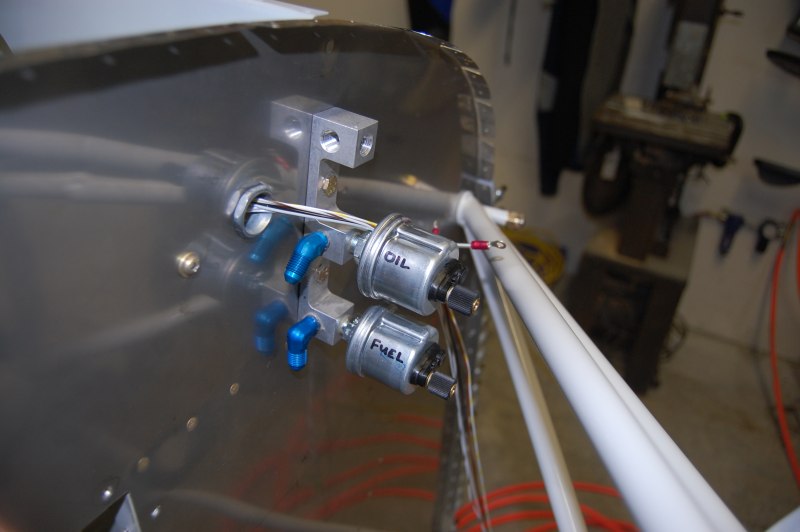
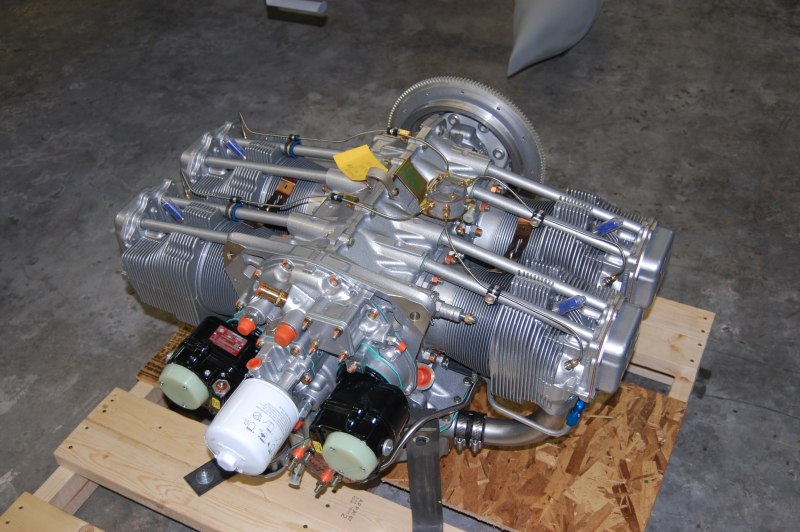
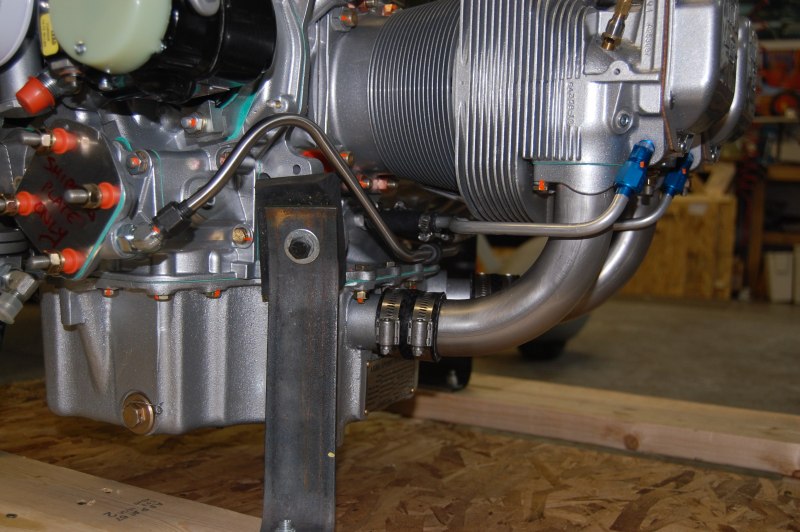
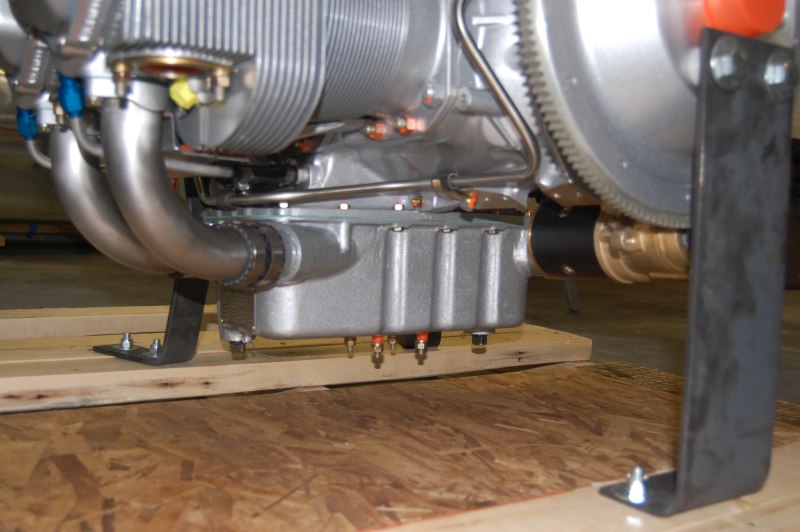
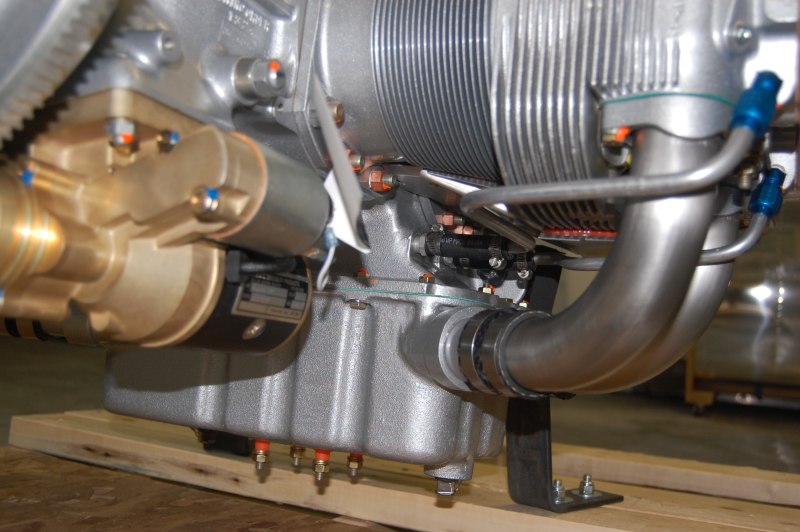
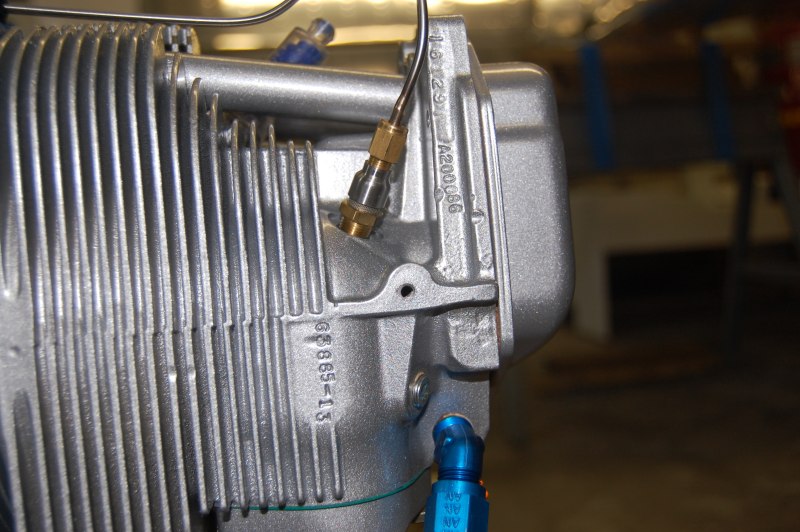
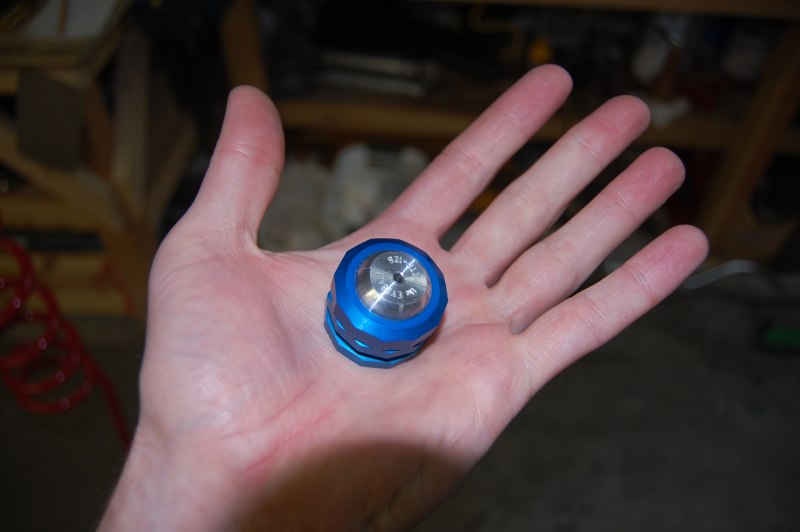
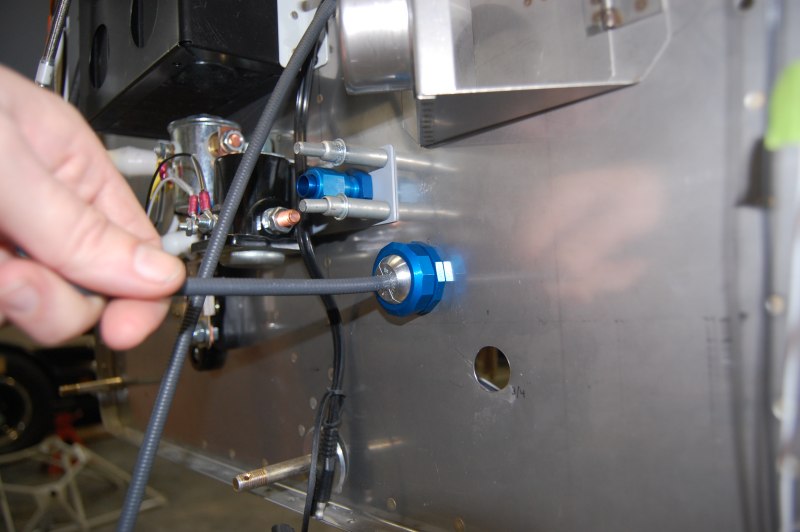
Fuel and oil pressure fittings
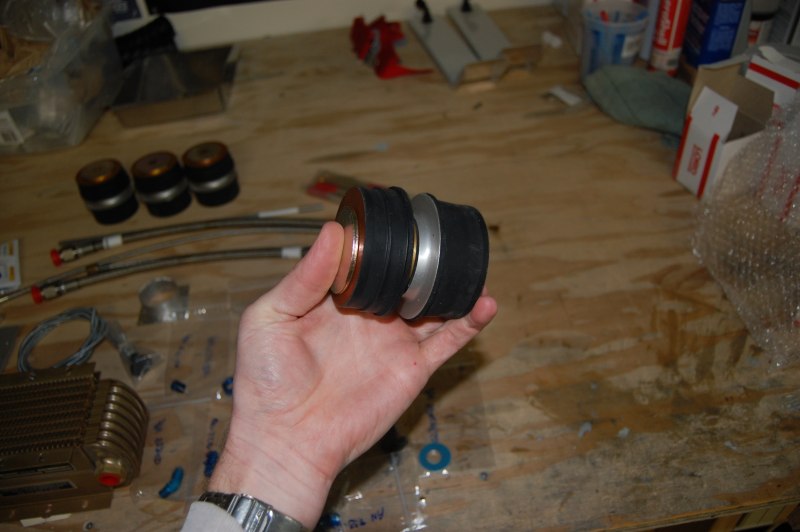
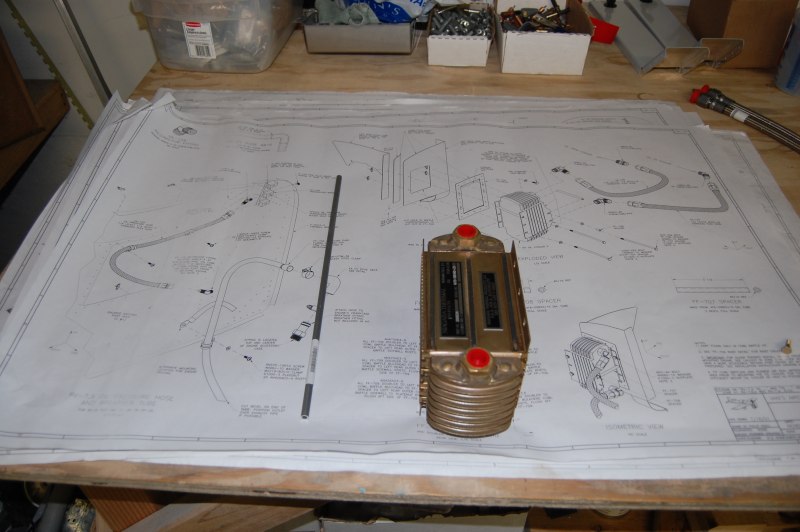
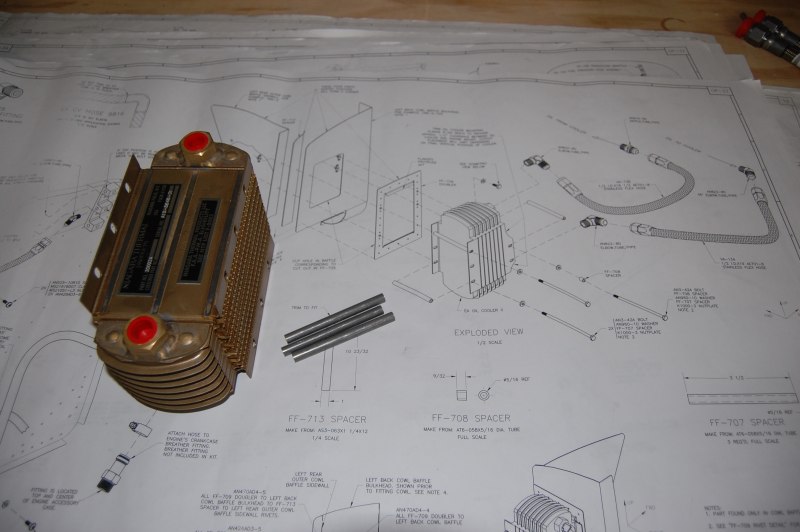
Made the oil cooler spacers
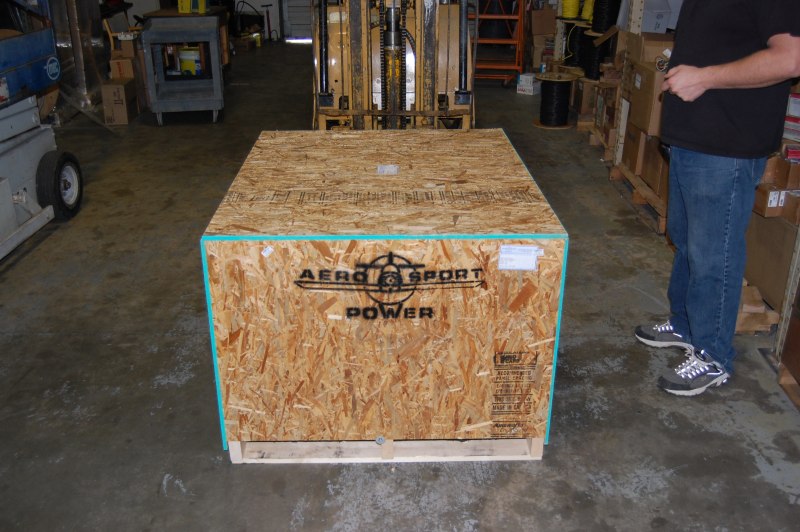
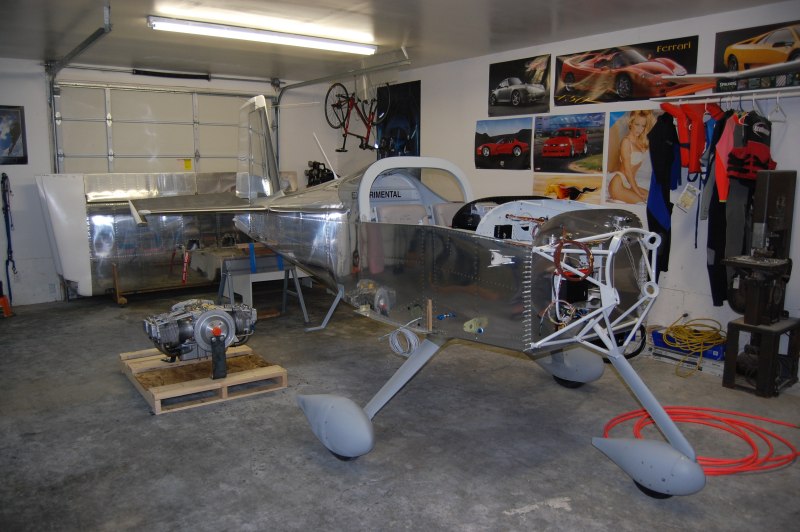
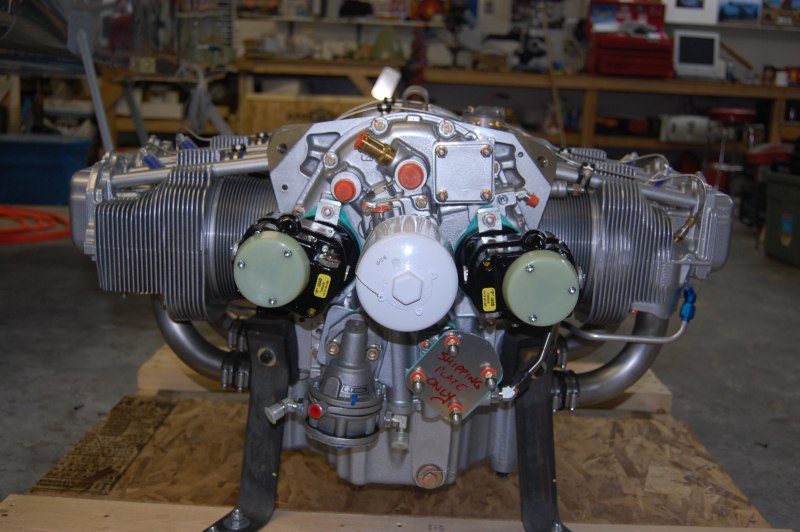
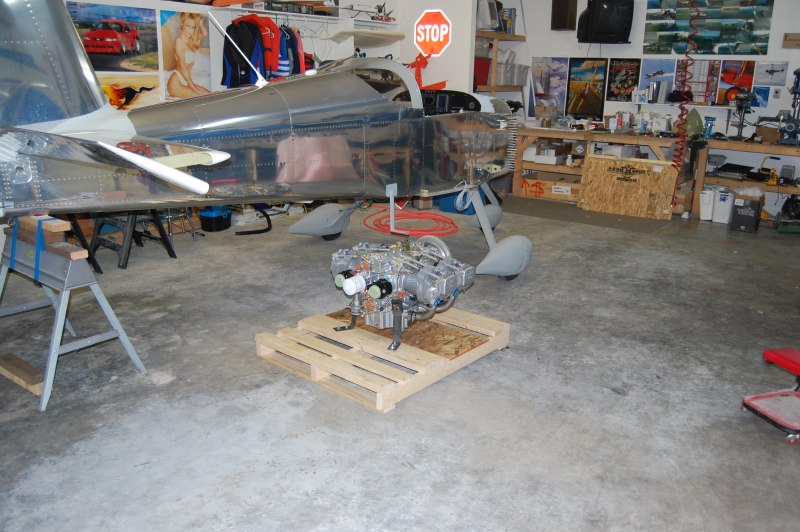
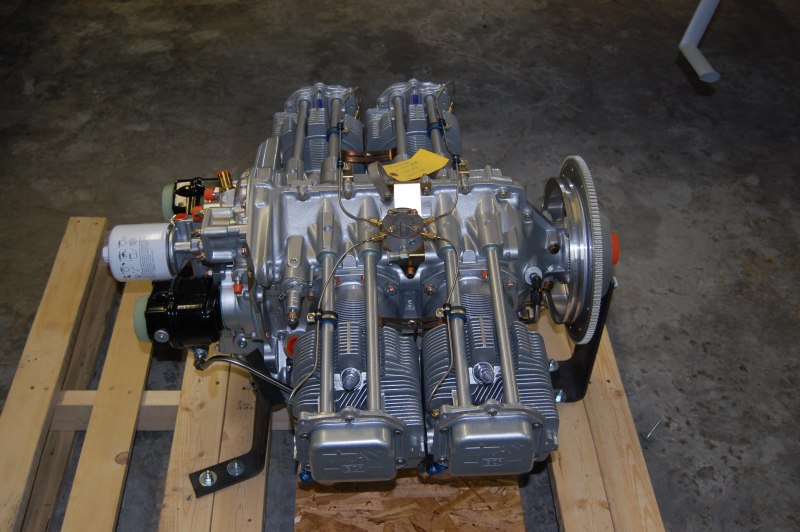
2/10/10 Big day today!! It's here!!
Small fanclub
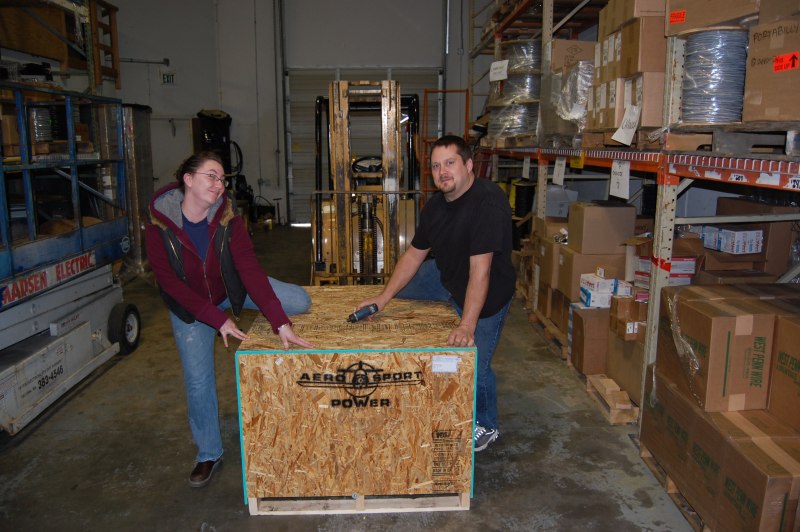
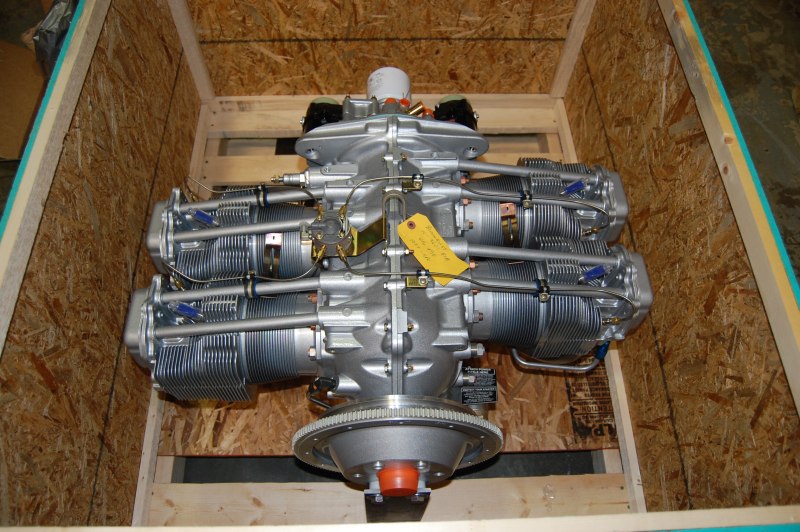
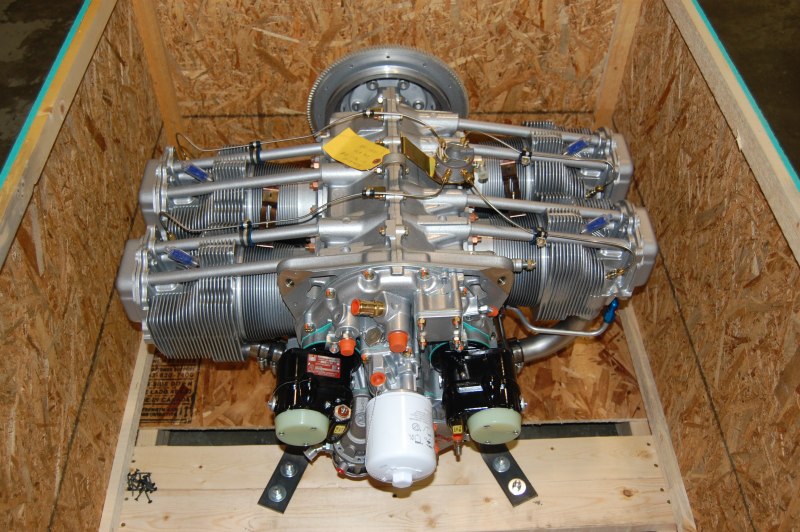
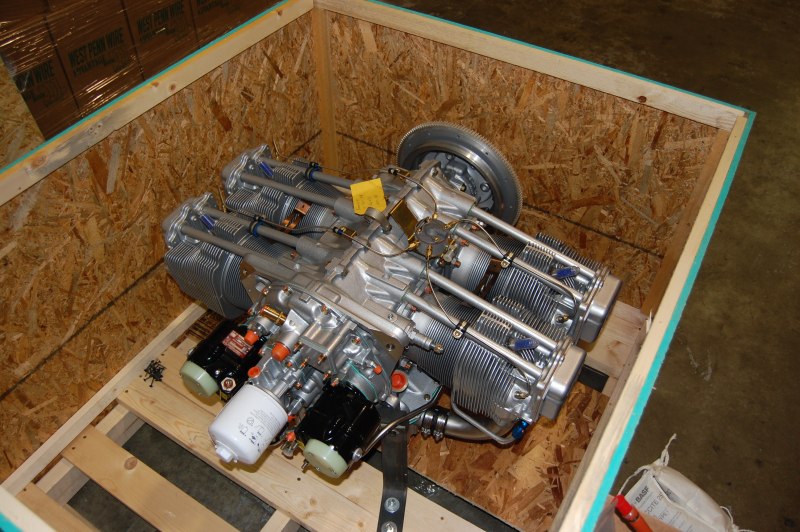
Got it home and took the sides off the crate. Lots of random pictures.
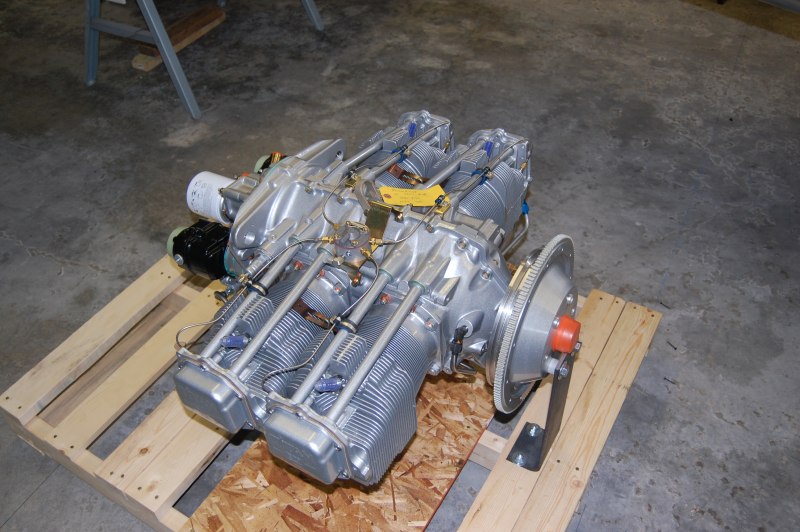
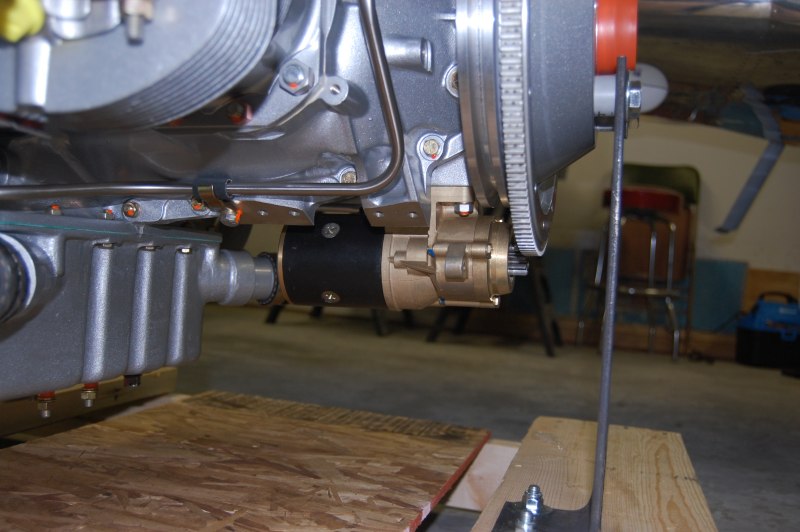
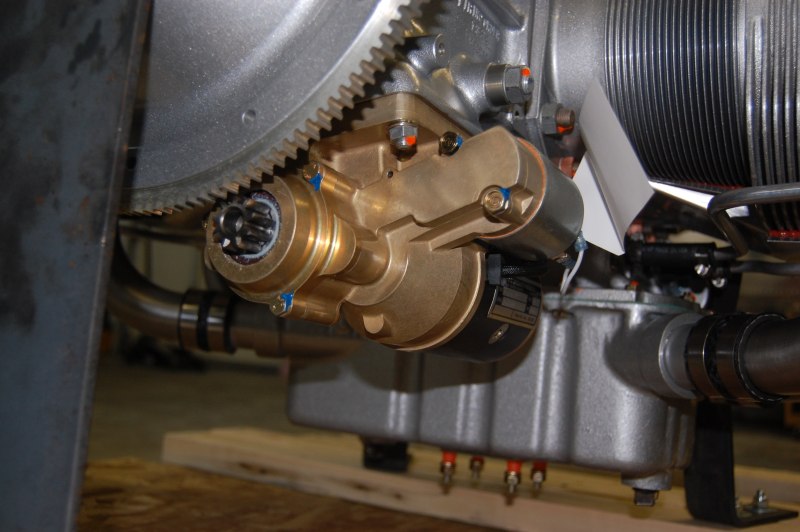
I upgraded to the B & C starter. My friend Dan highly recommended this as he has been through 3 Skytech starters in 400 hours.
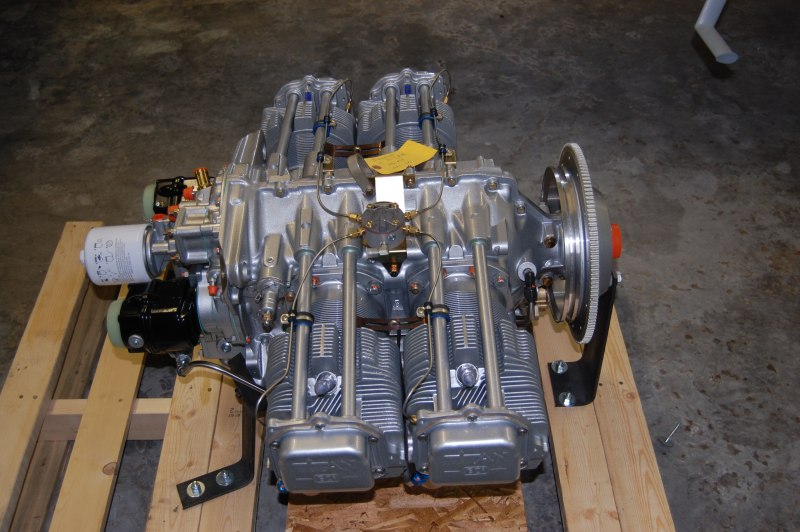
Dipstick, plug wires, and plugs

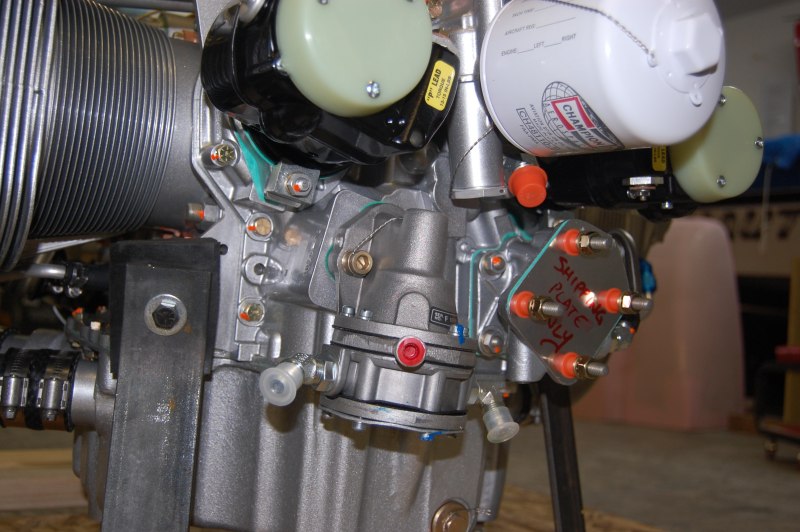
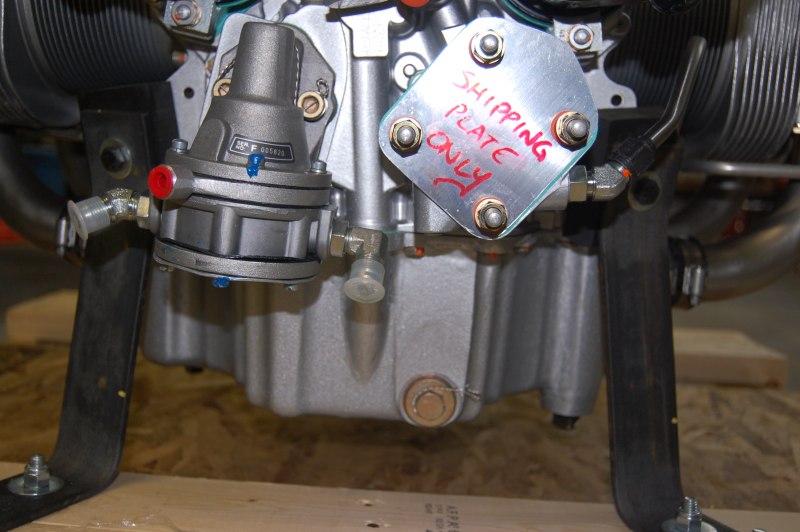
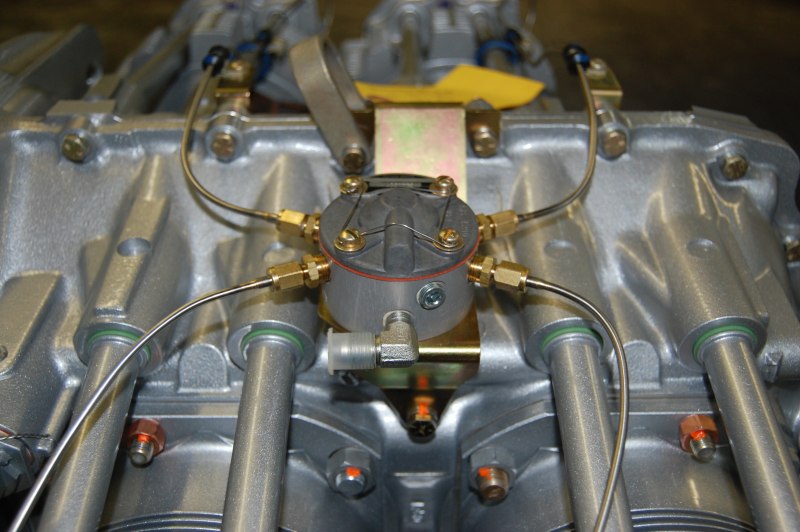
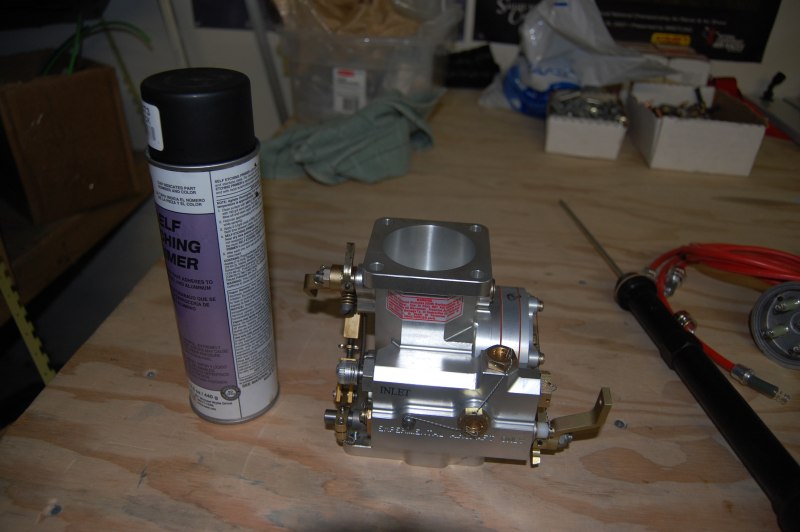
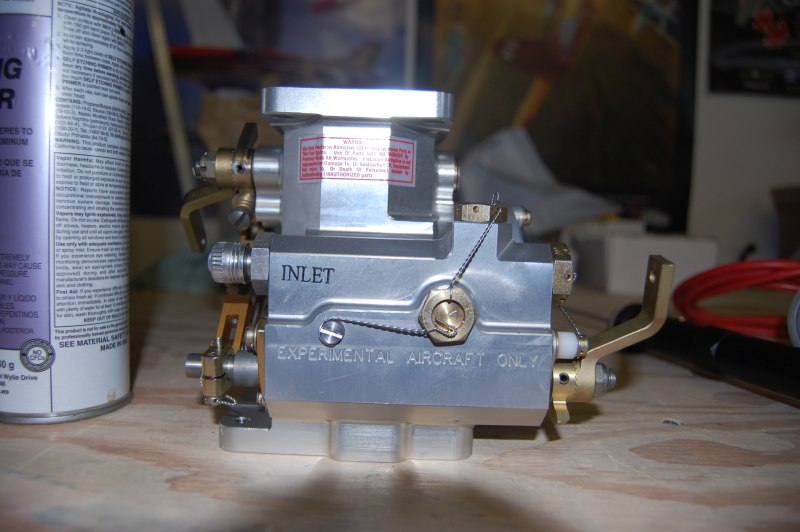
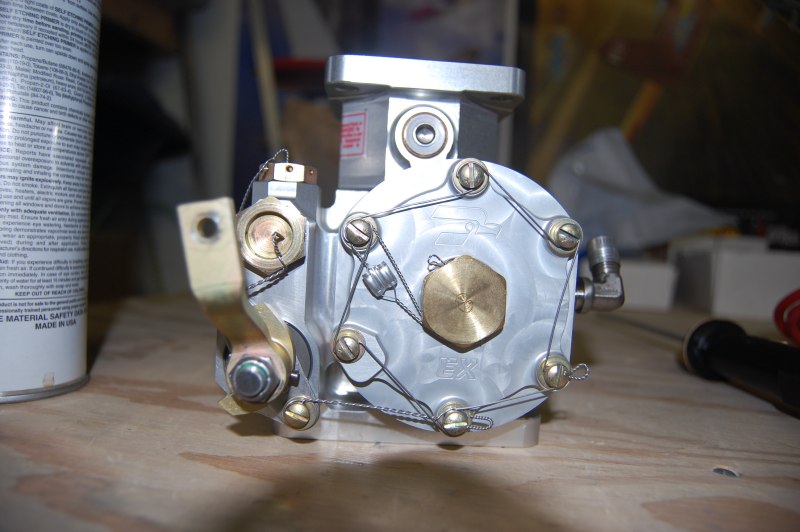
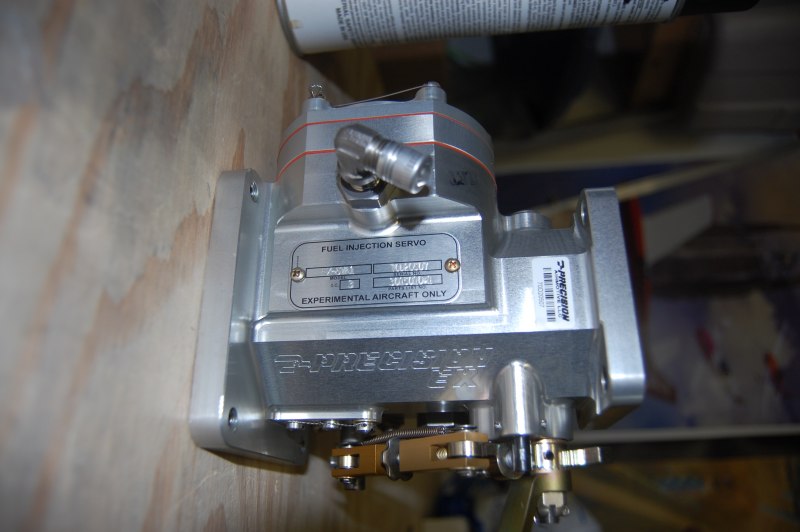
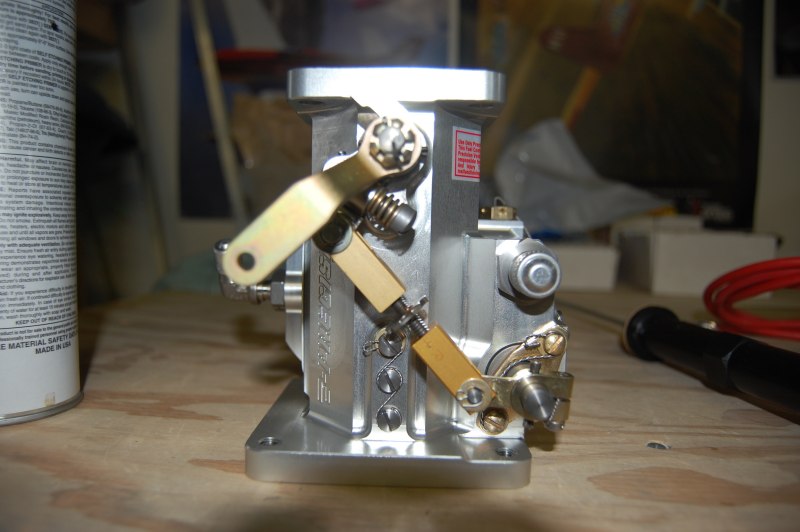
Fuel injection servo. I'm not priming it, just have the can there for size reference.
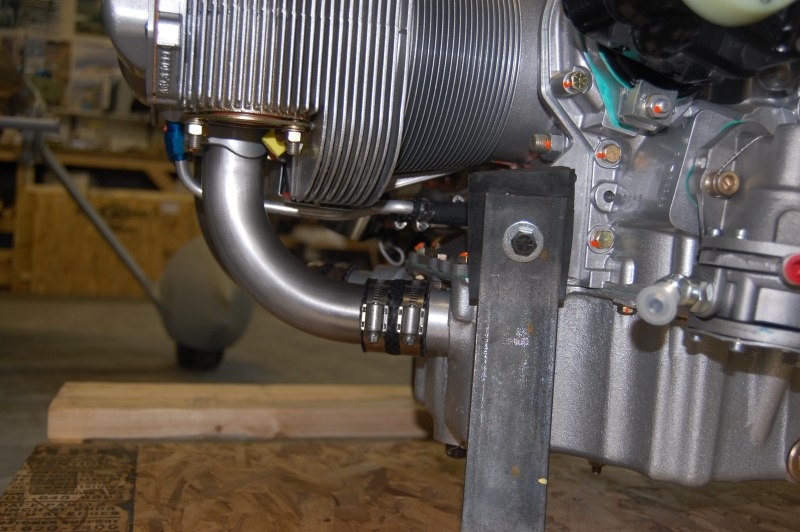
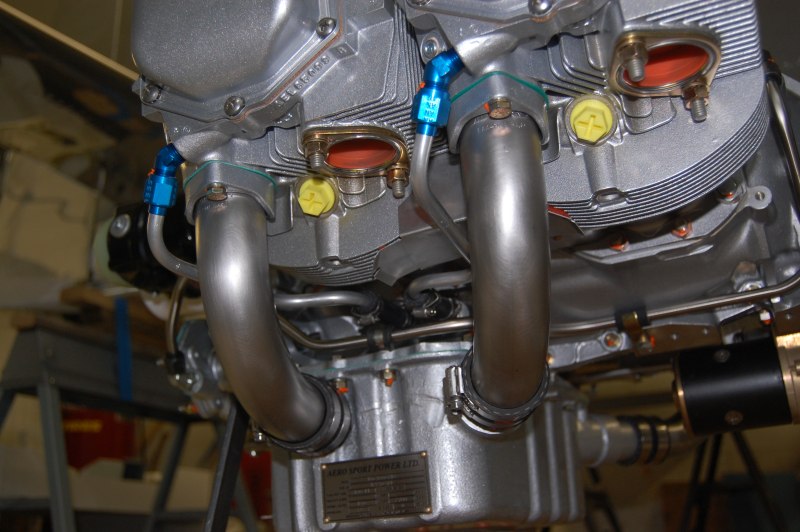
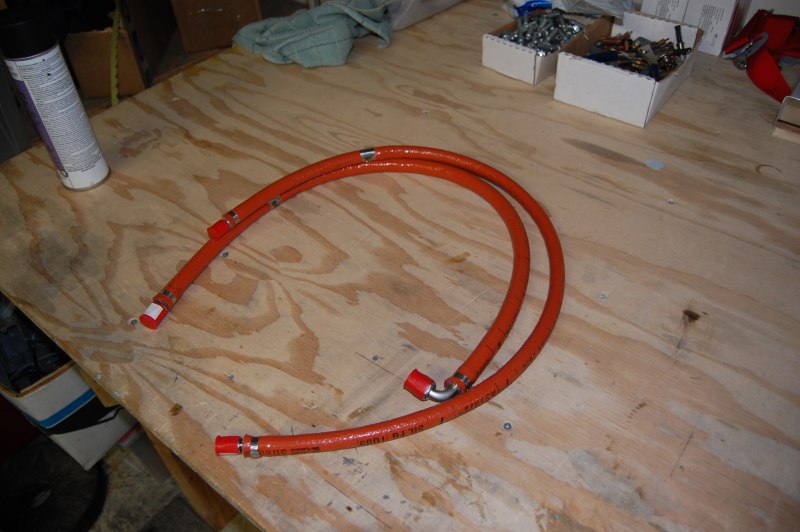
Fuel lines
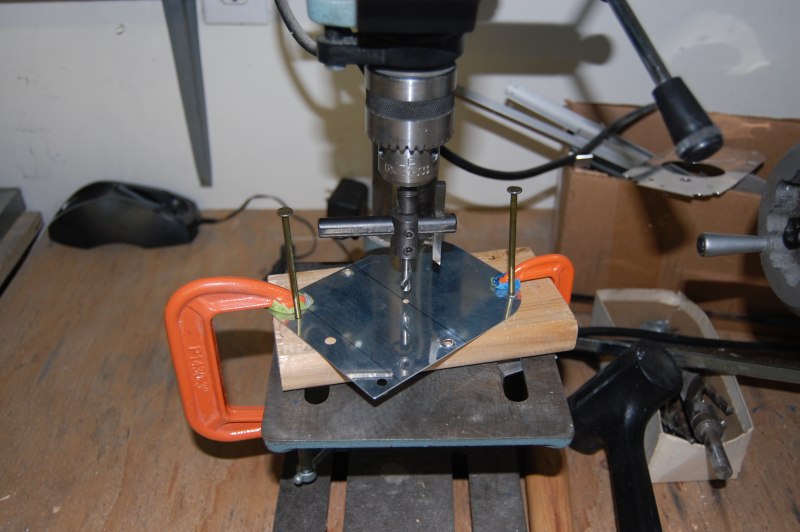
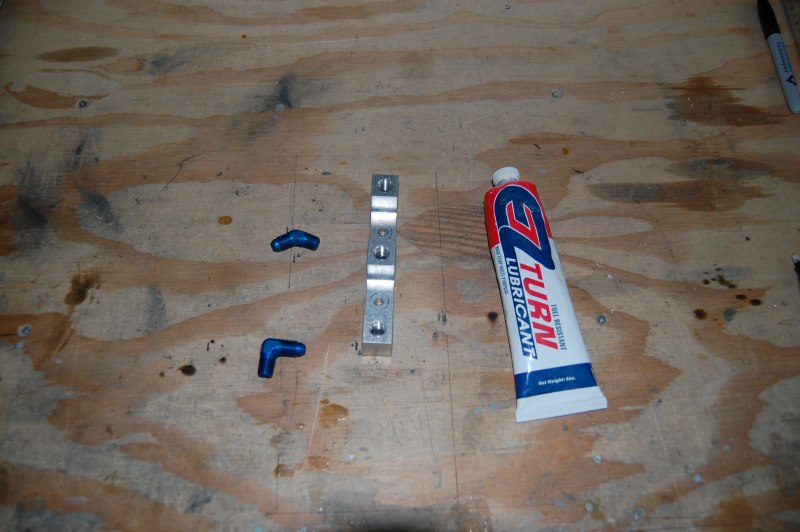
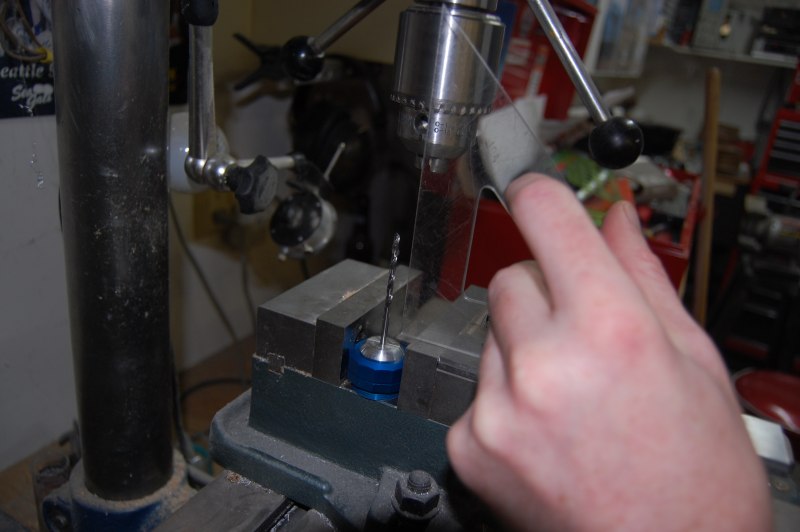
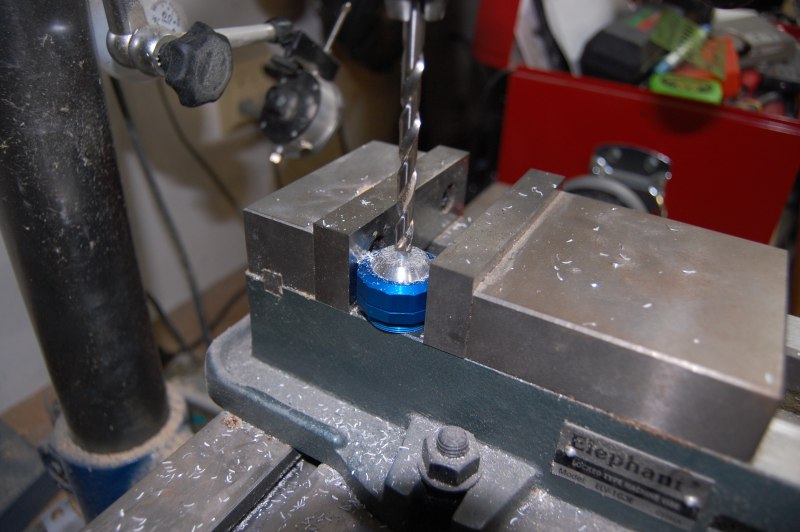
These cable eyeballs come with 1/8" holes and need to be drilled to size
I used a 1/8" drillbit to square up the hole

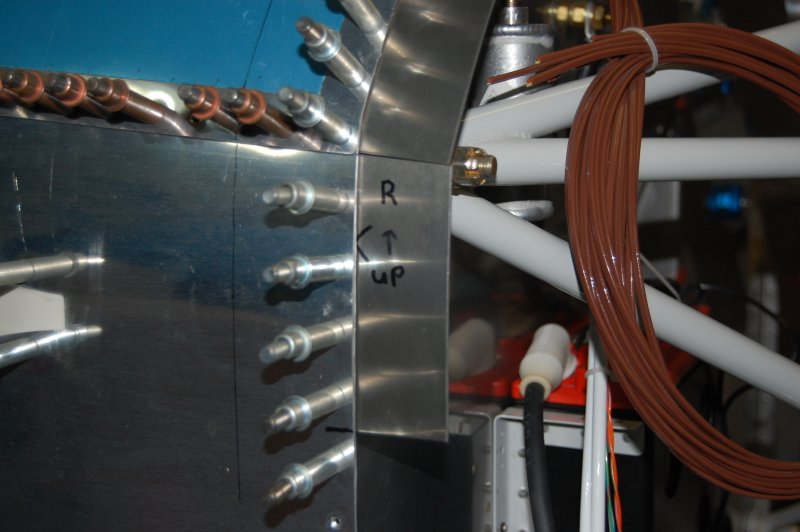
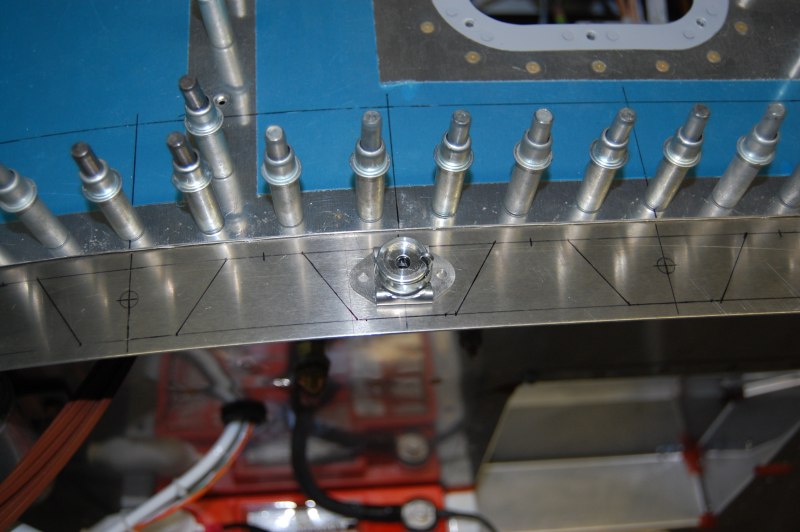
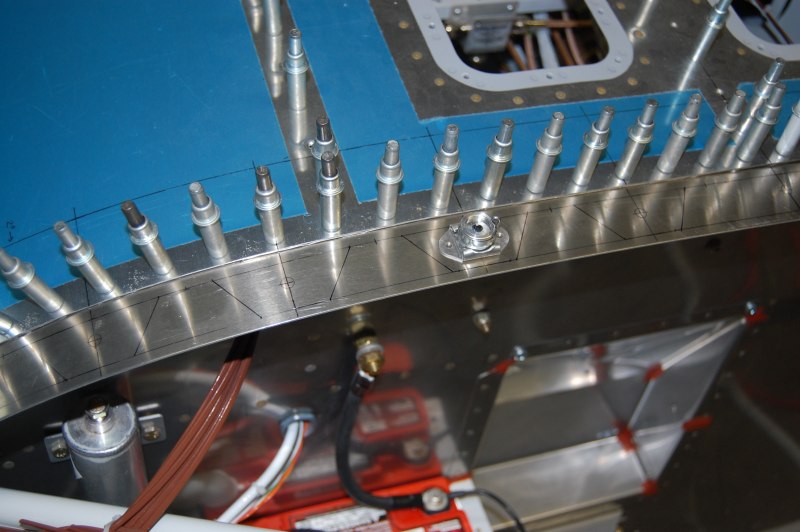
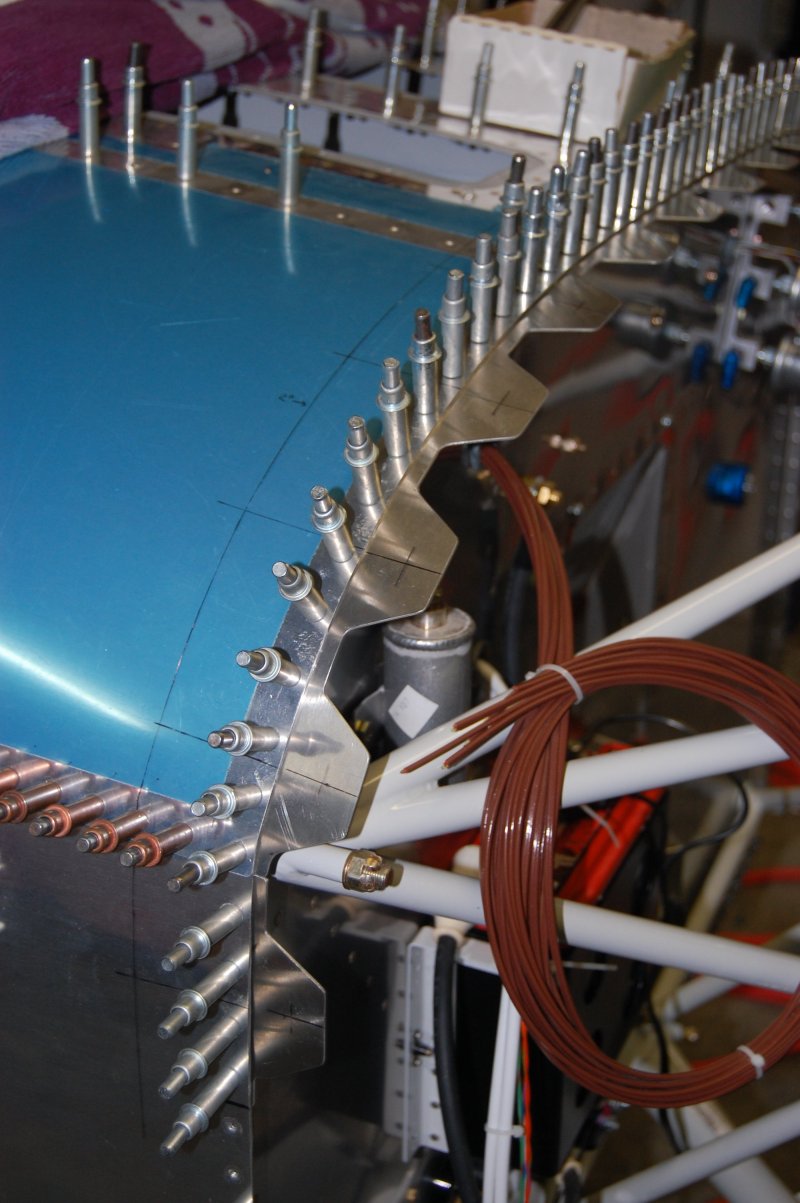
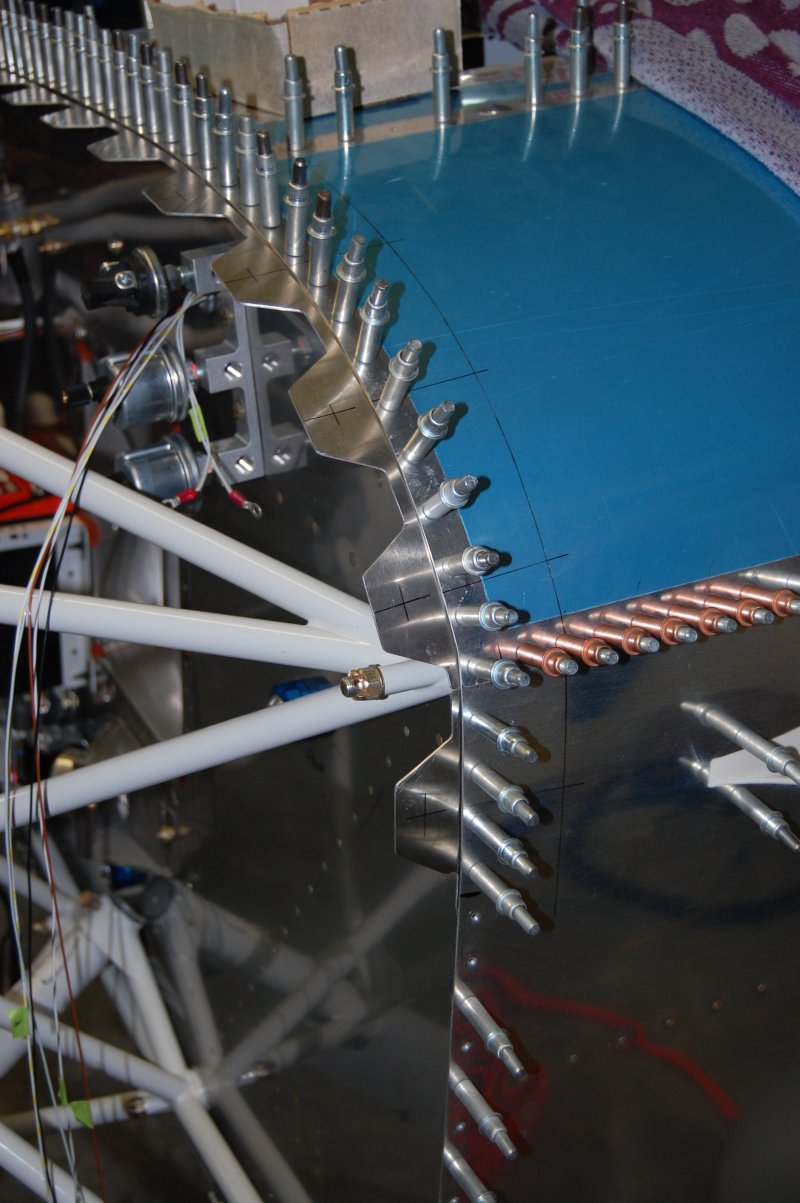
My friend Ryan came over and helped me rivet this recessed firewall area

Fire stopped the holes

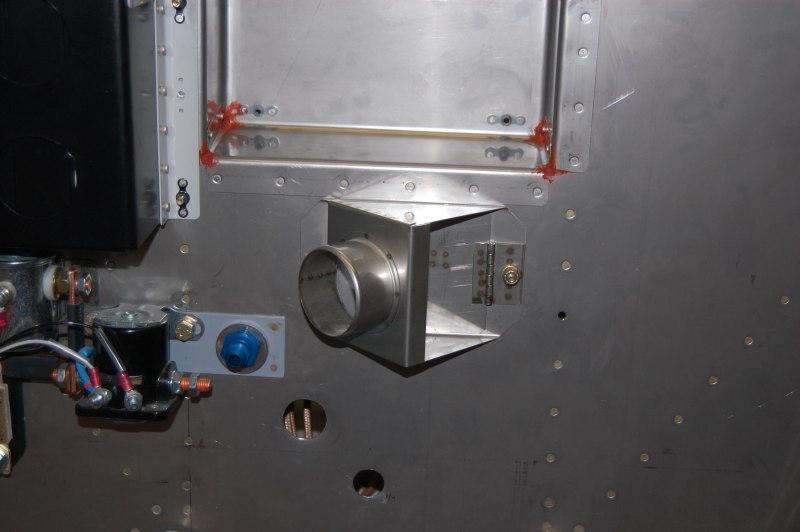
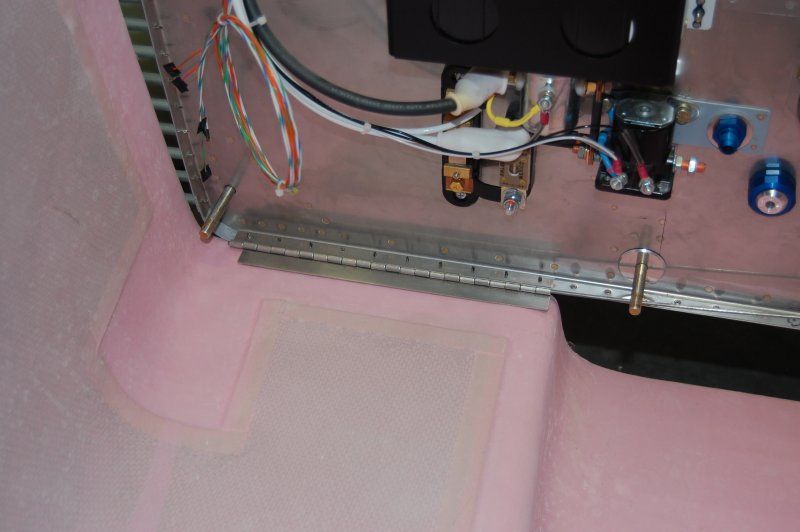
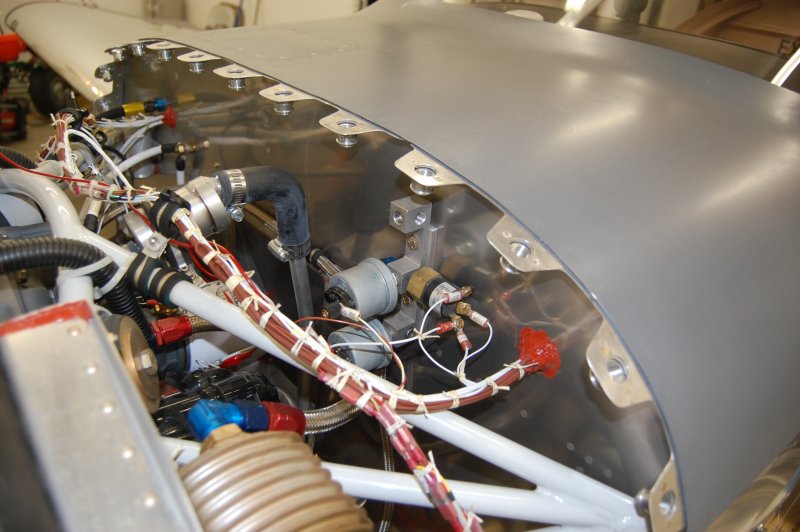
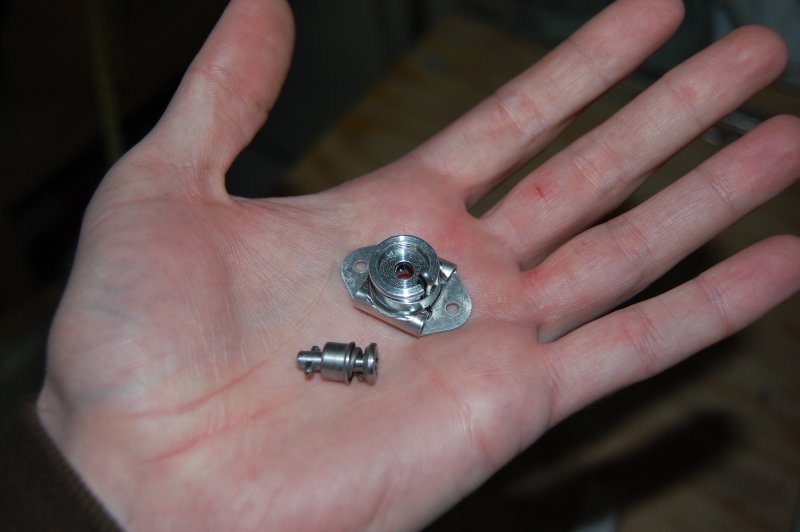
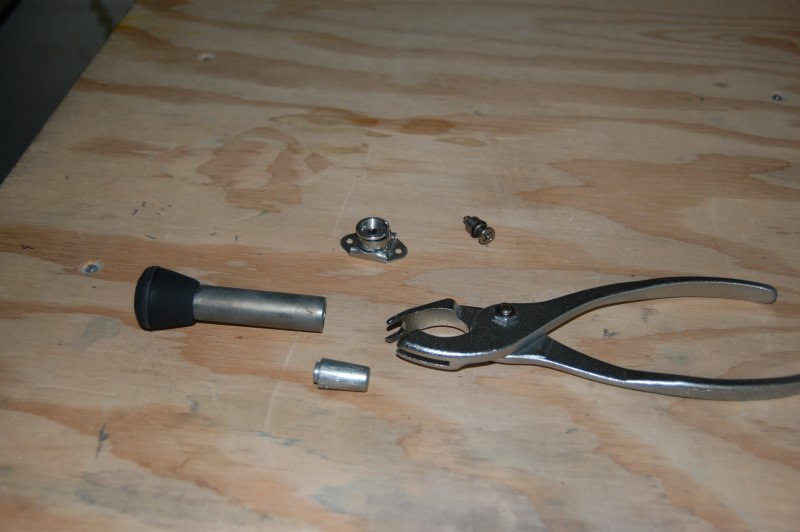
Re-installed heater flap box
Started marking a line 2" back from the edge of the skin. The cowl is too long and this line is used to measure off of for the cut.
Marked the edge distance
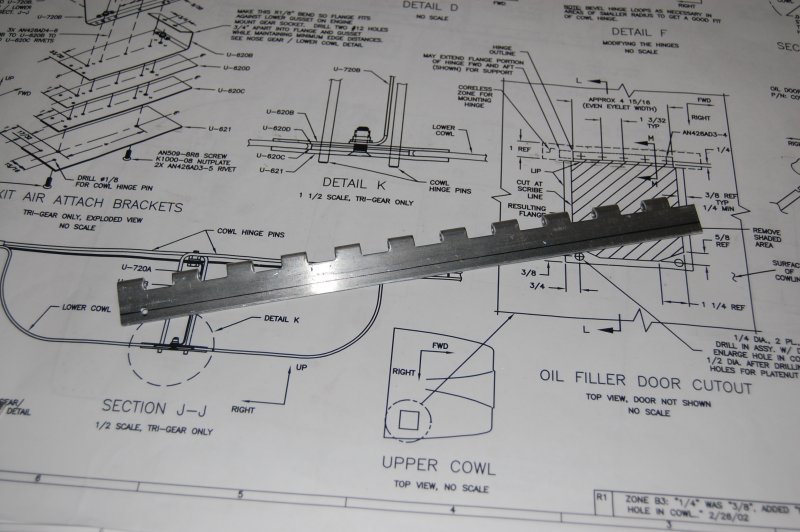
This hinge pin will attach the cowl to the bottom and lower sides of the firewall.
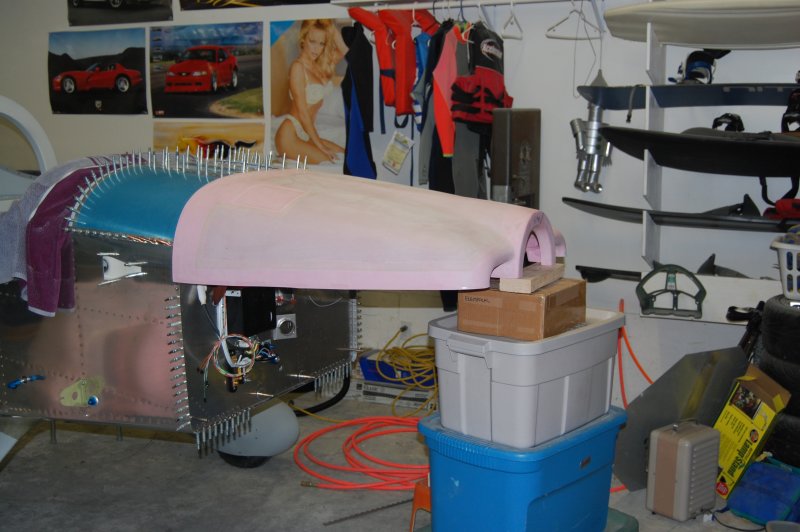
Just set the top cowl on to see what all I'm dealing with
I'm going to put quick realease camlocks across the top of the cowl since hinge pins in this location are pretty tough to get in and out. I went up to my friend Dave's hanger today and helped him start his annual. I took a ton of fire wall forward pictures and here you can see his camlocks.
This is what the camlock fastener looks like
Dave let me borrow his installation tools which will save me about $40.
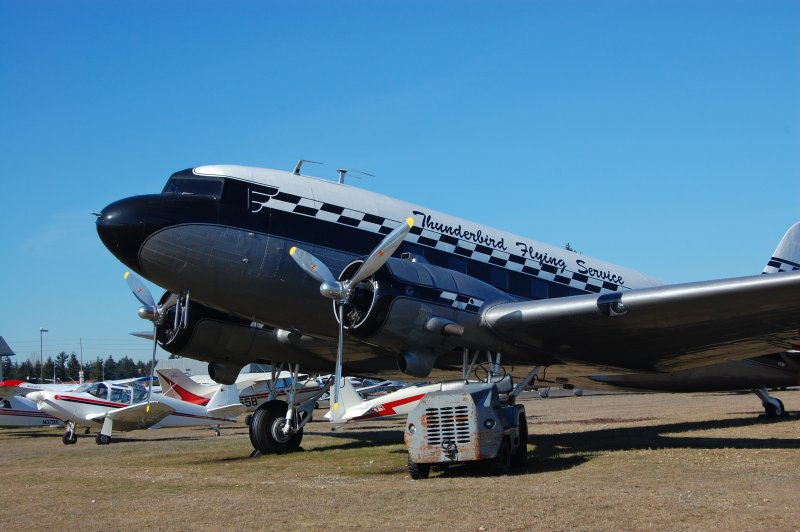
This DC-3 has been sitting at Pierce County Airport for awhile now. Really sweet!
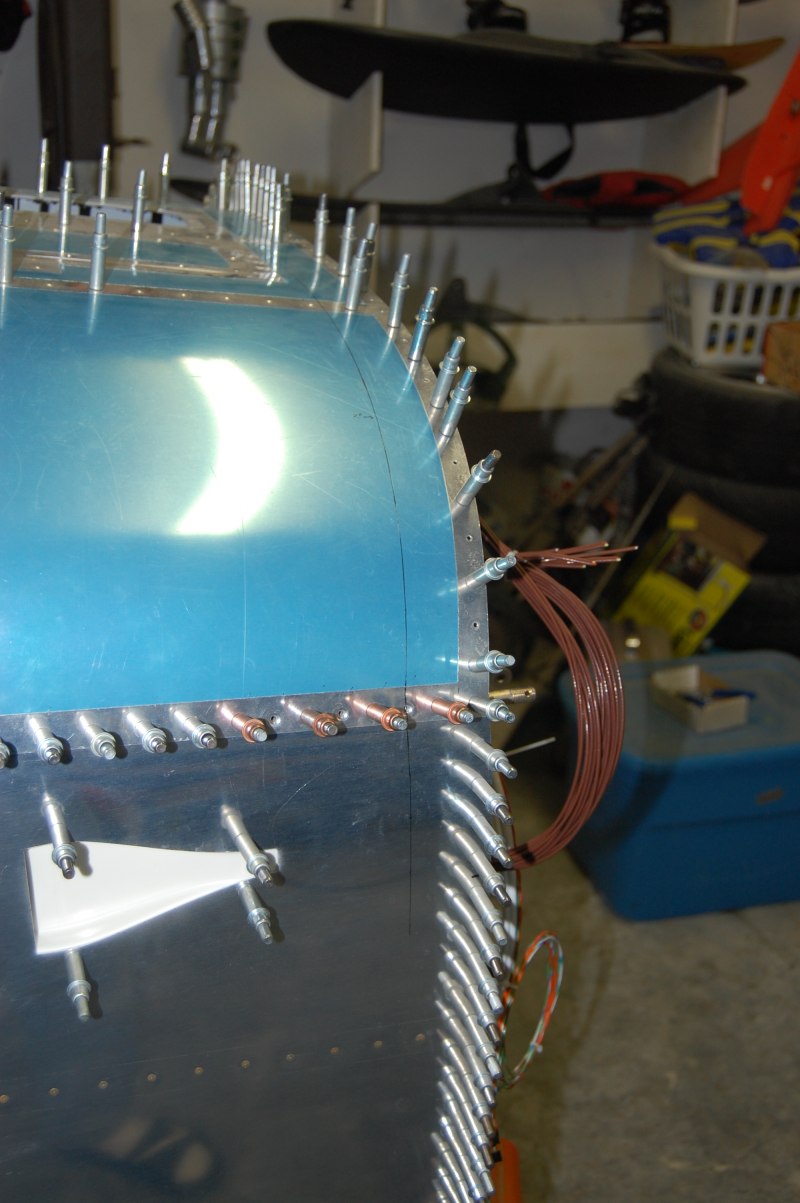
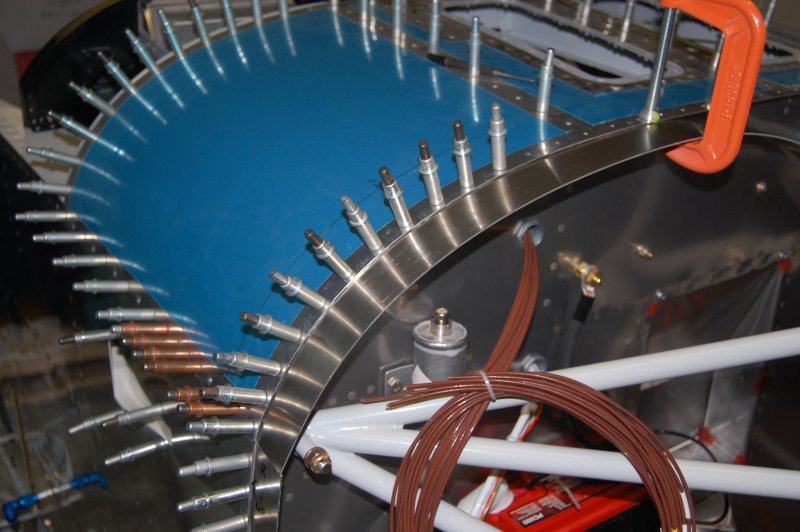
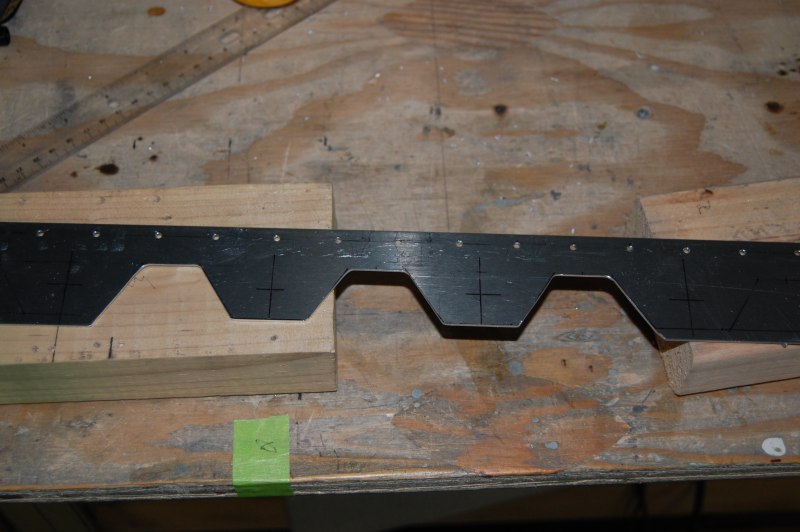
Starting on my camlock attachment strips. These will get scalloped a little later.
All drilled
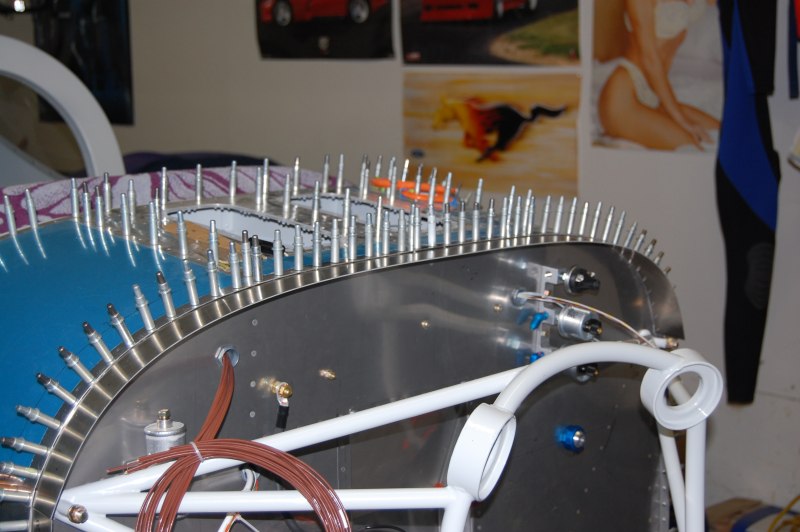
There will be a fastener every 3 1/2 inches
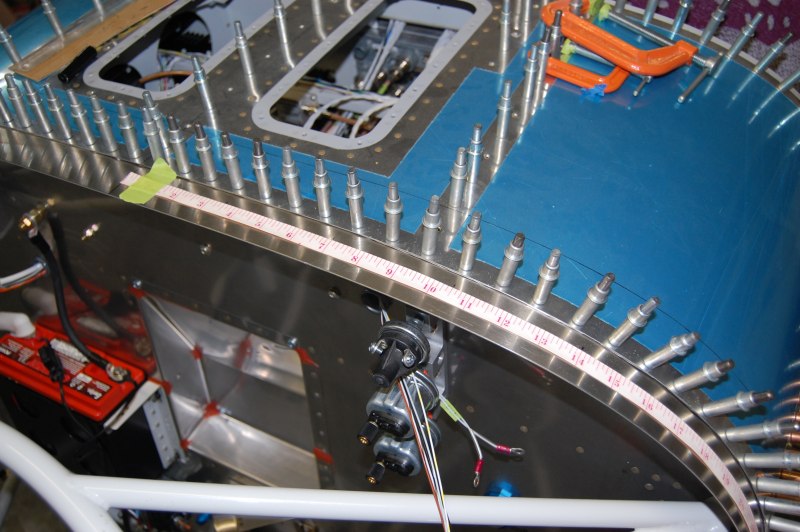
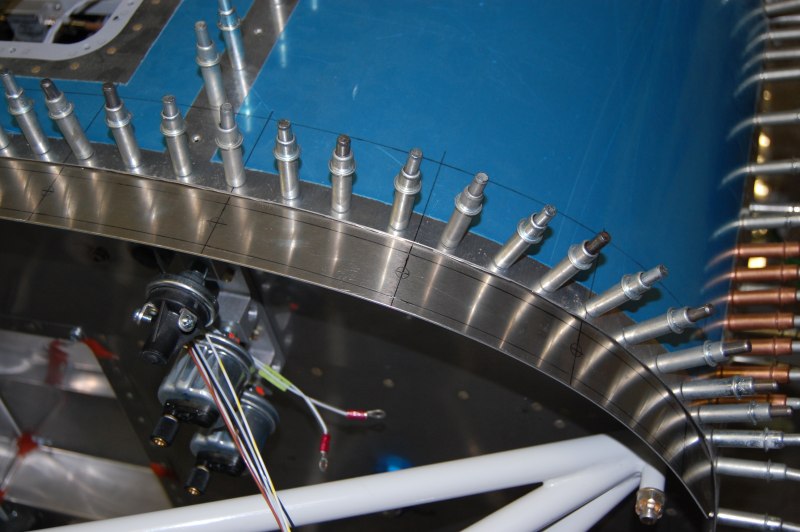
Marked the scallop
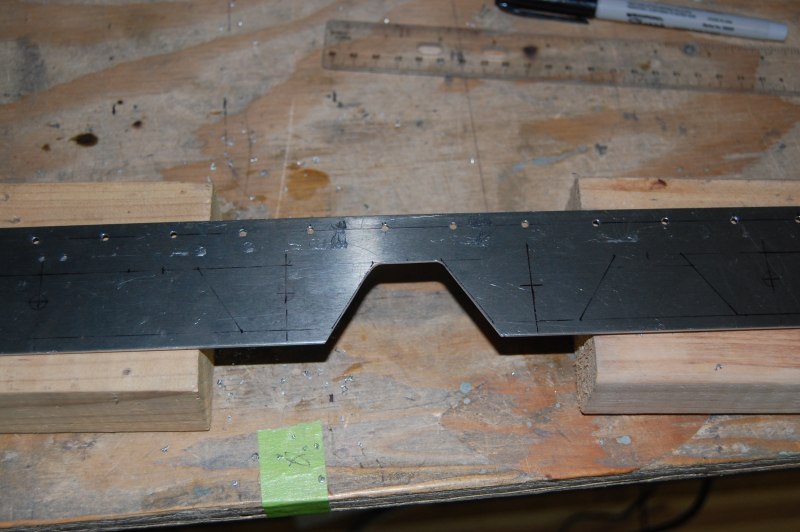
Lather, Rinse, Repeat.
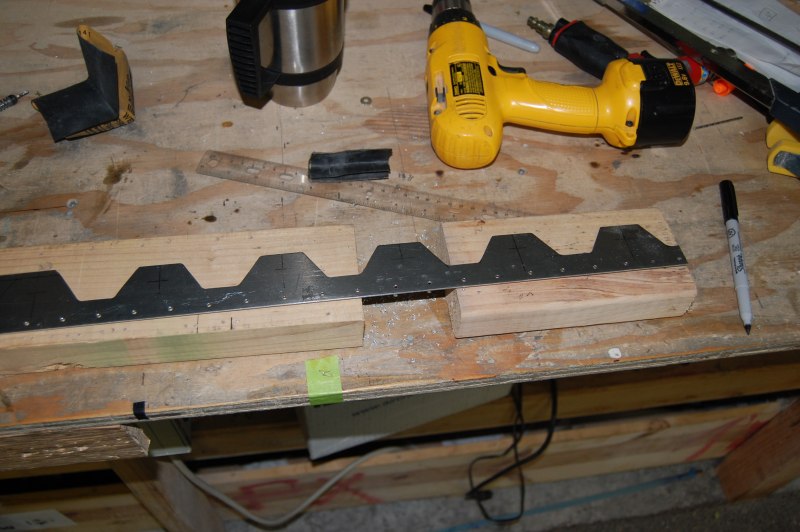
Well that's enough for 1 day, I put it back on to see how it looks.
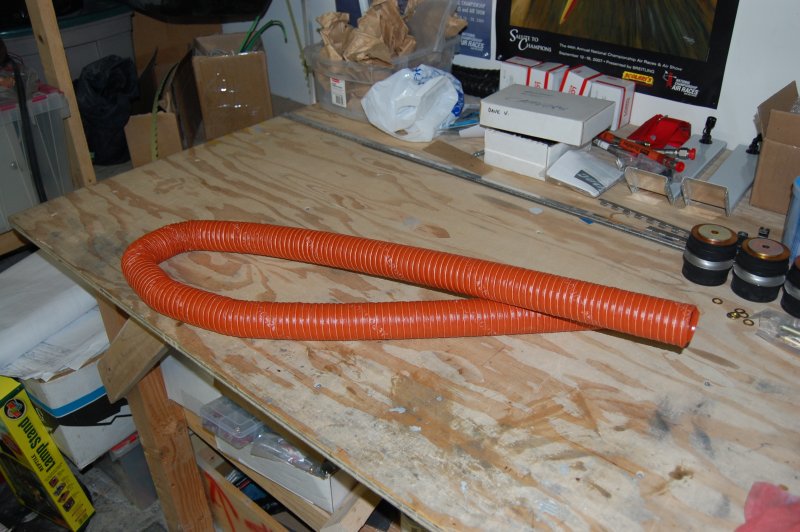
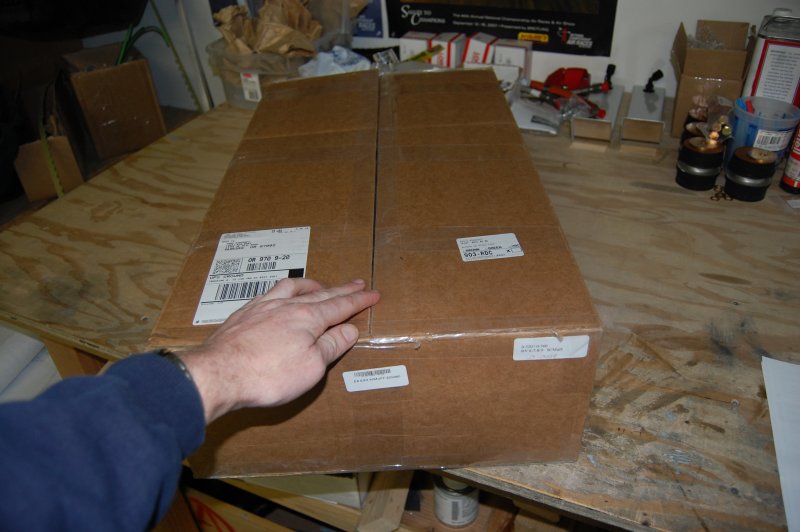
Got some more firewall forward goodies. Believe me I've spent my fair share on overpriced airplane parts, but this heater hose is ridiculous. 56 Bucks!! WTF
Hey wonder what in here?
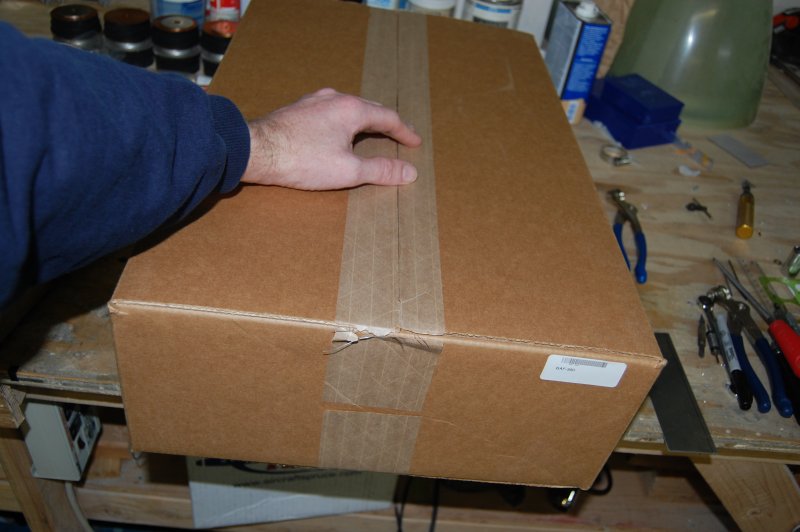
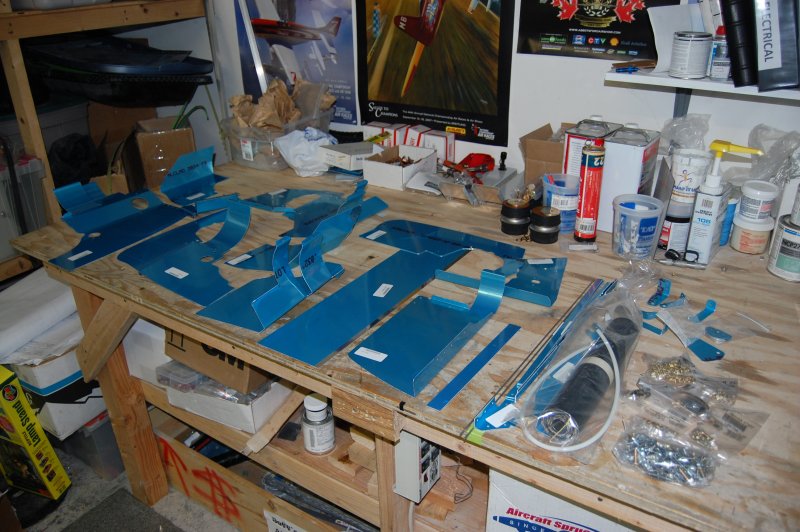
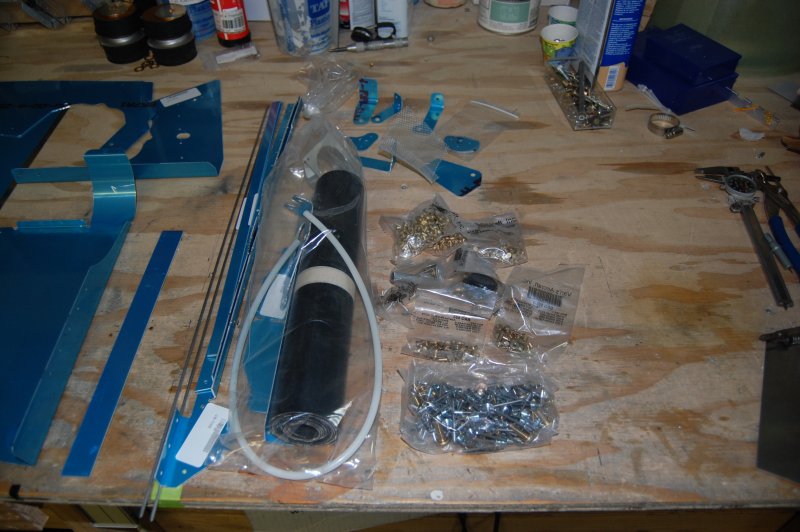
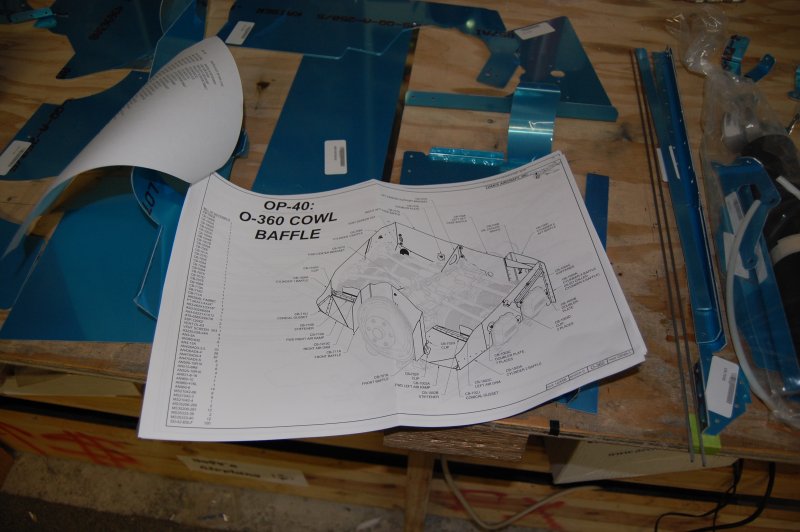
The baffle kit! Holy cow, I thought I was done with all the big stuff. There's almost as many parts here as in my tail! It does look like fun though. Something different!
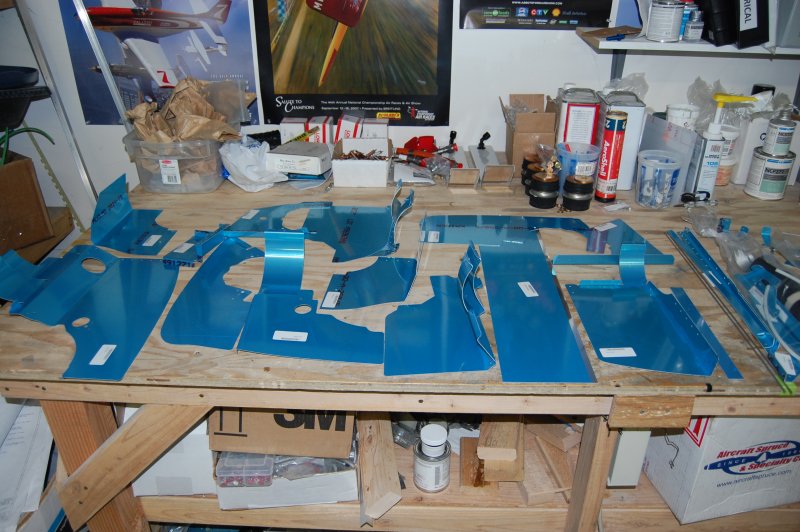
Fifteen pages of drawings / instructions just for the baffles!! Wow!!
Hmmmmmm
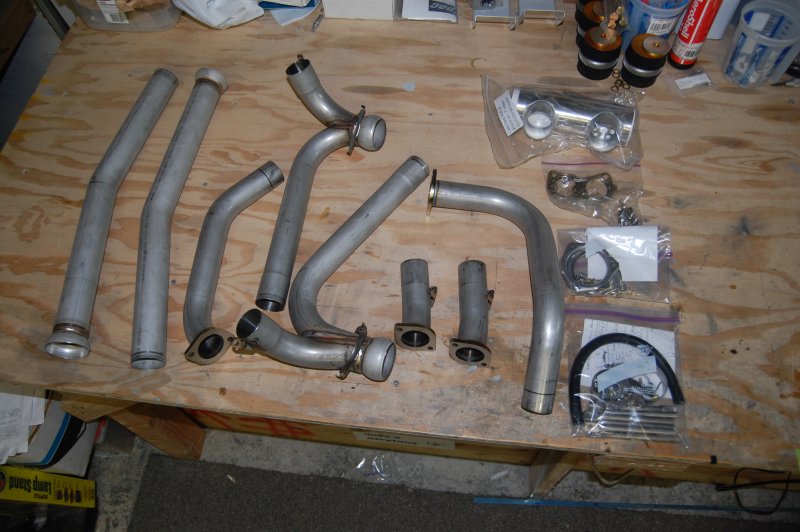
Exhaust!! Overpriced too, but very nice!
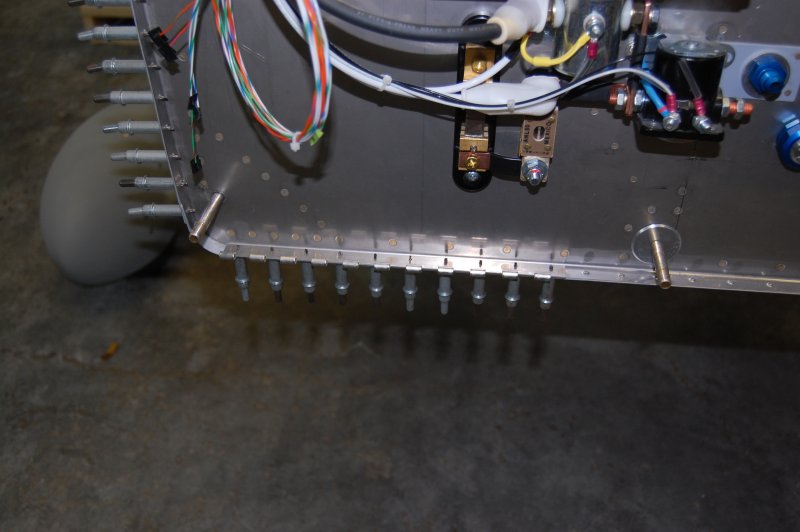
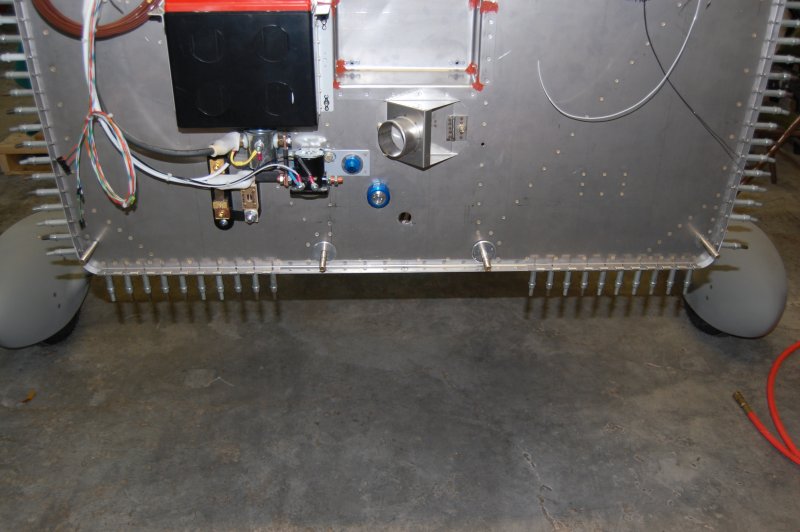
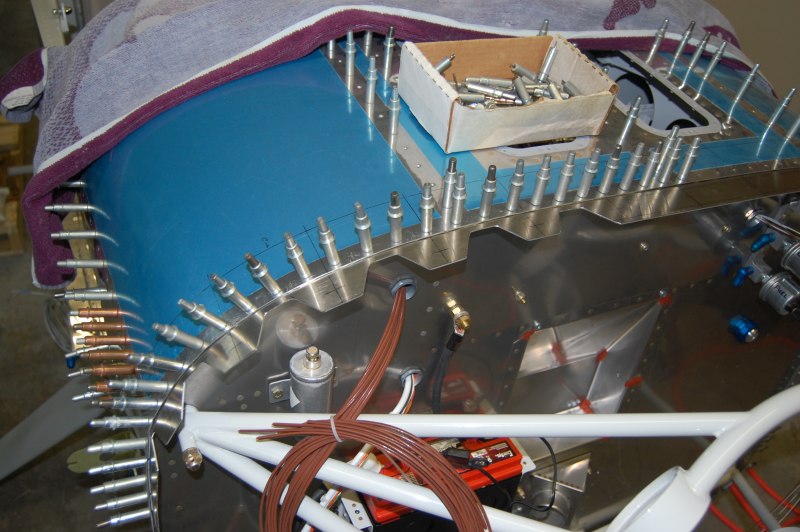
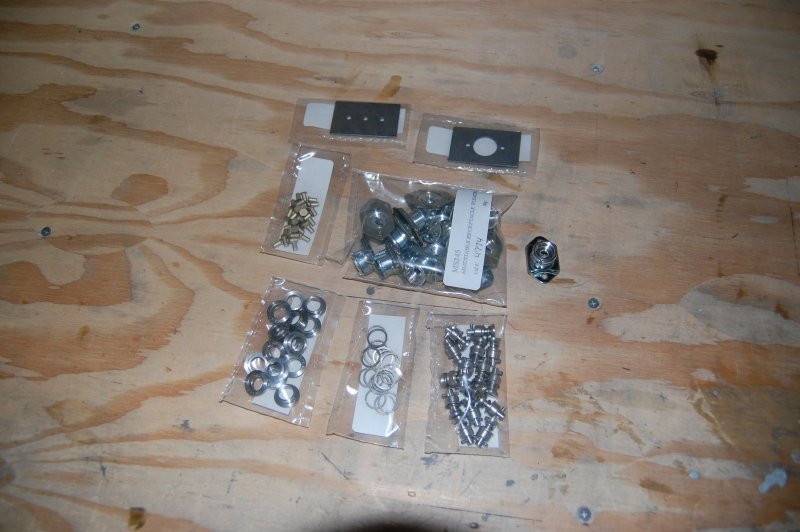
Got the rest of the Milspeck camlocks for my cowl
Finished cutting the camlock attach strips
Back