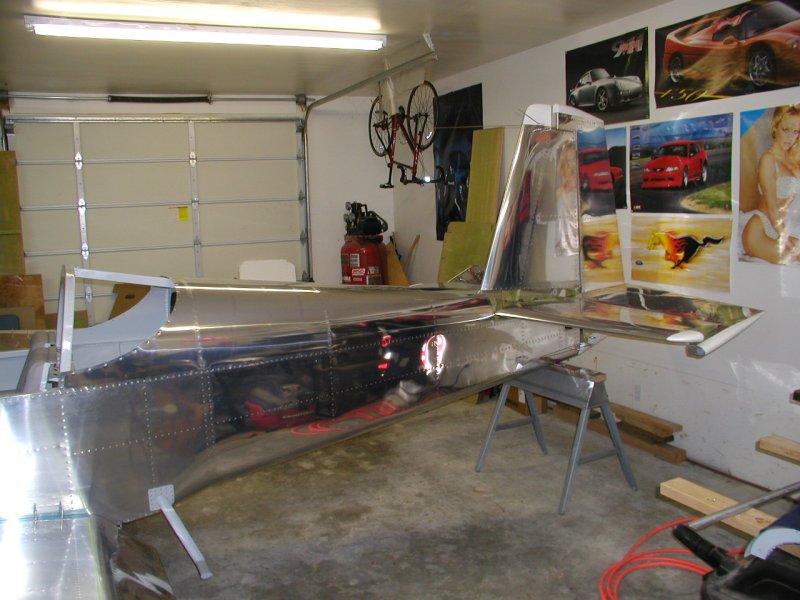
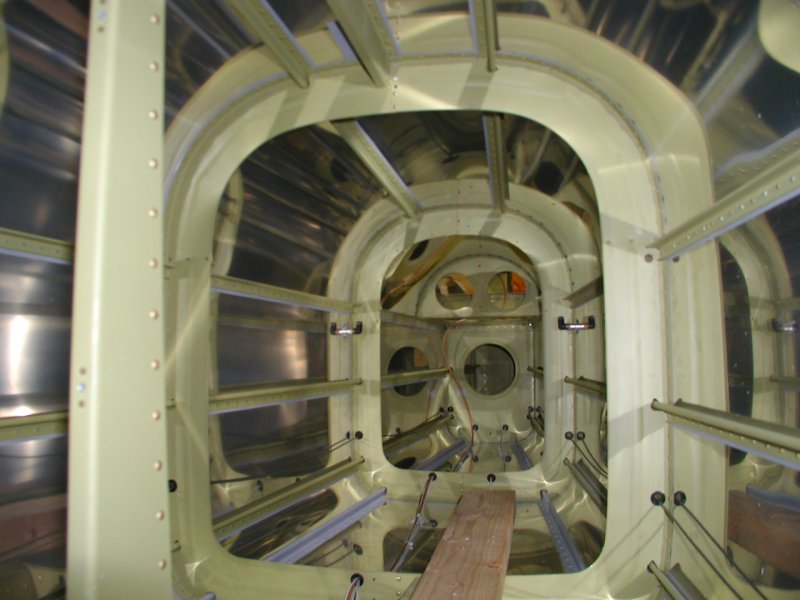
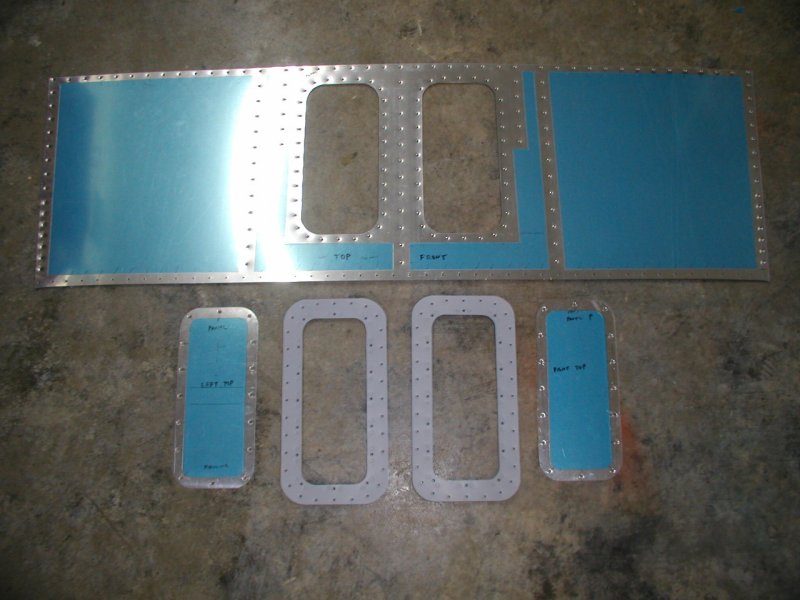
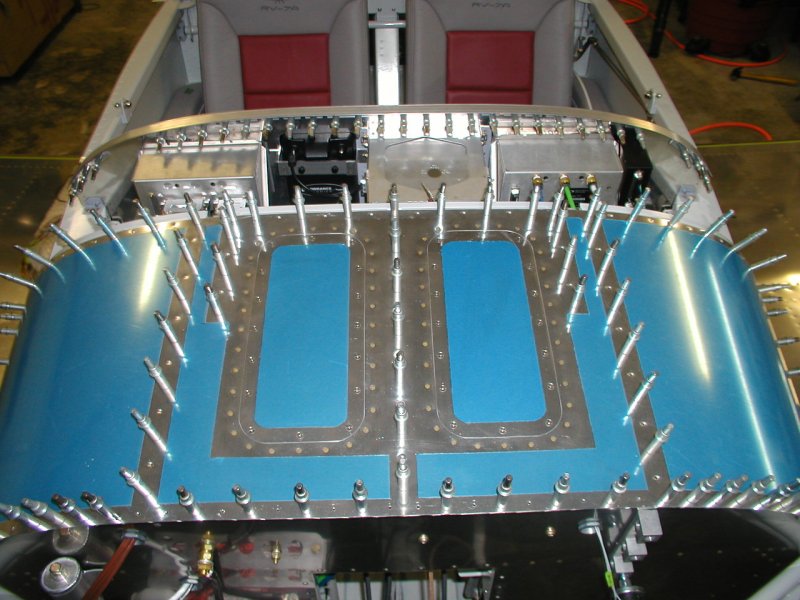
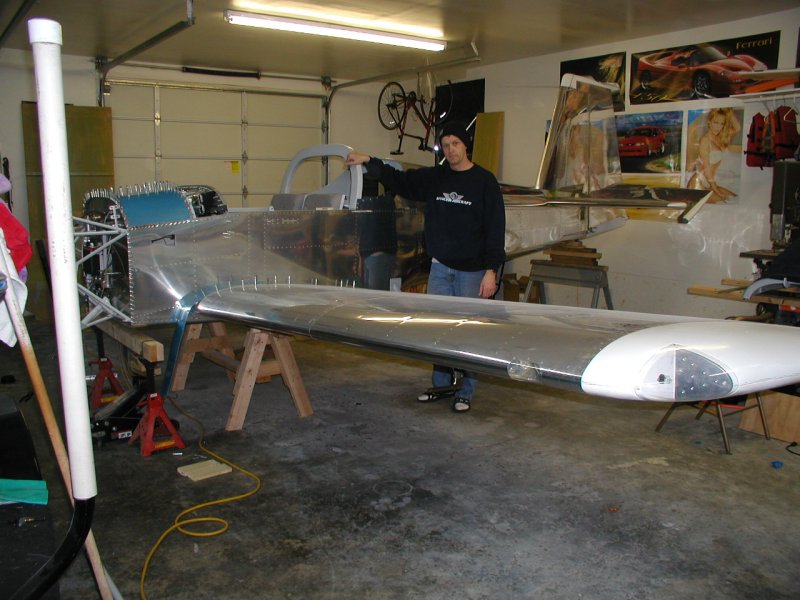
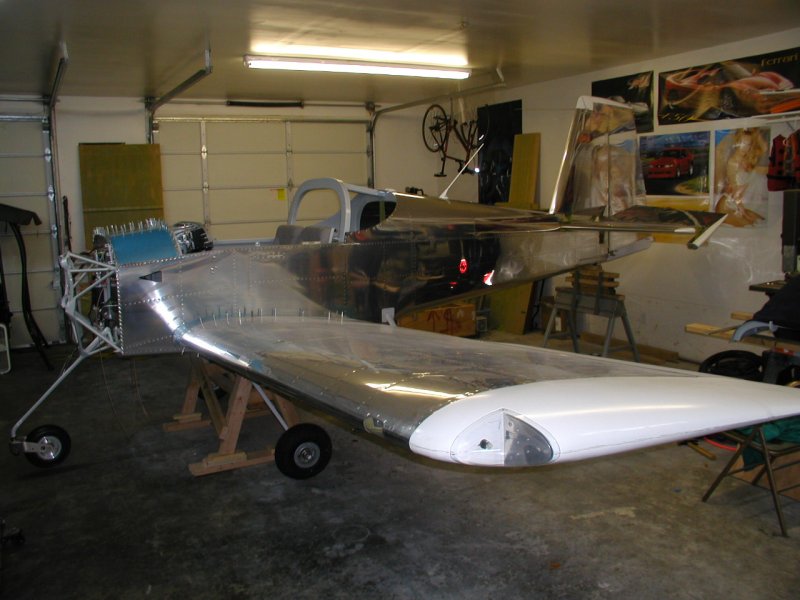
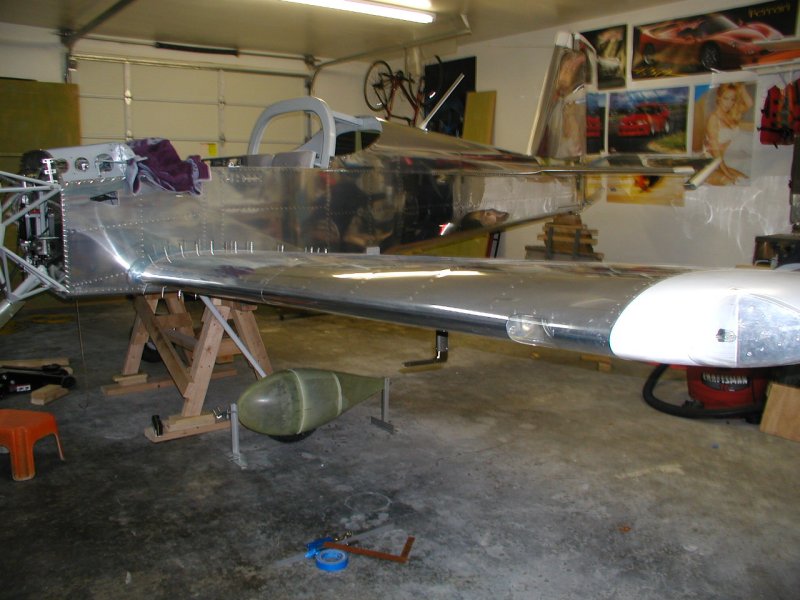
After 3 evenings of riveting, the top skins are finally done and they look awesome.
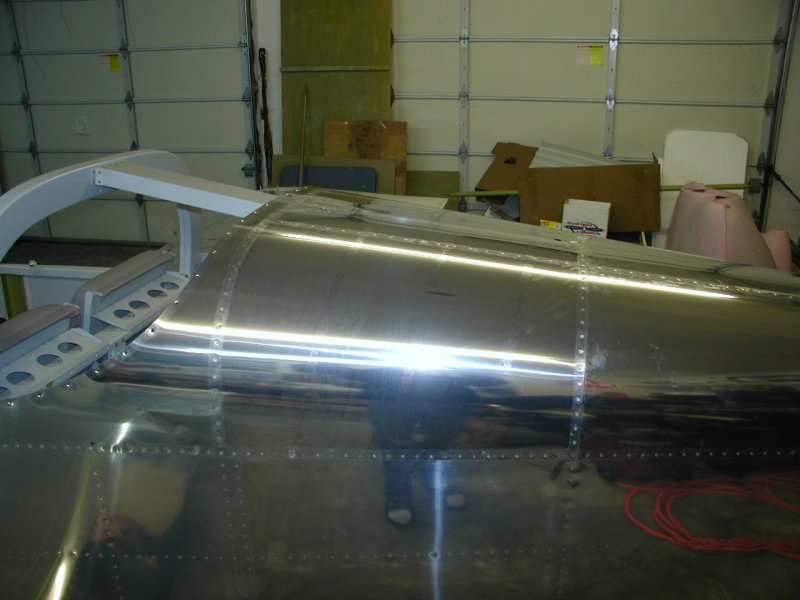

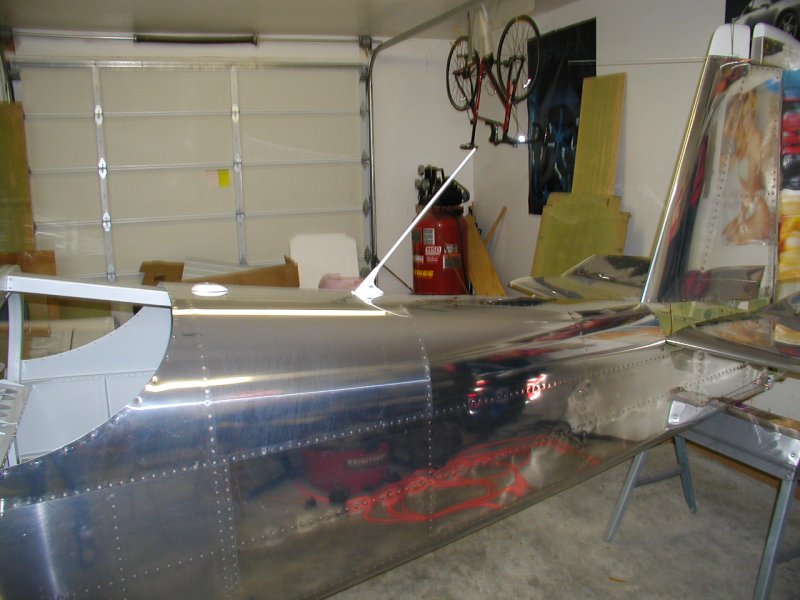
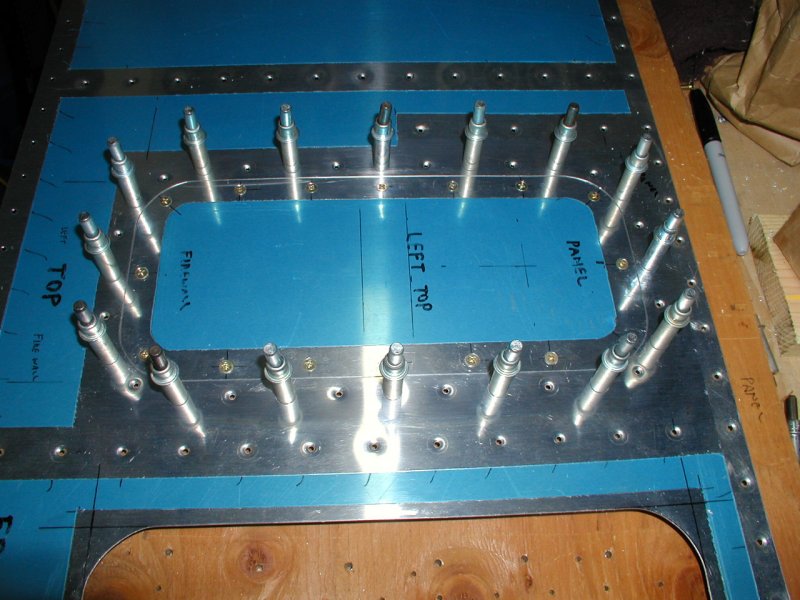
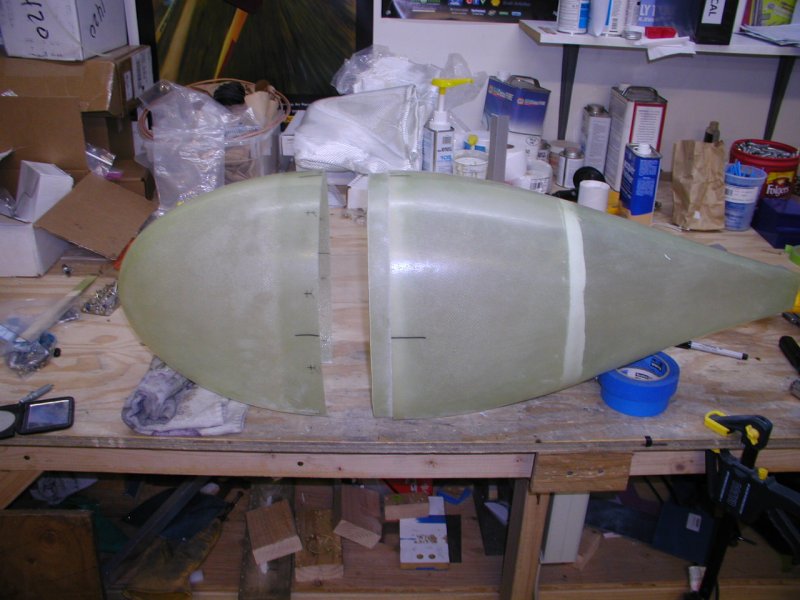
Back to work on the front tip skin access panels
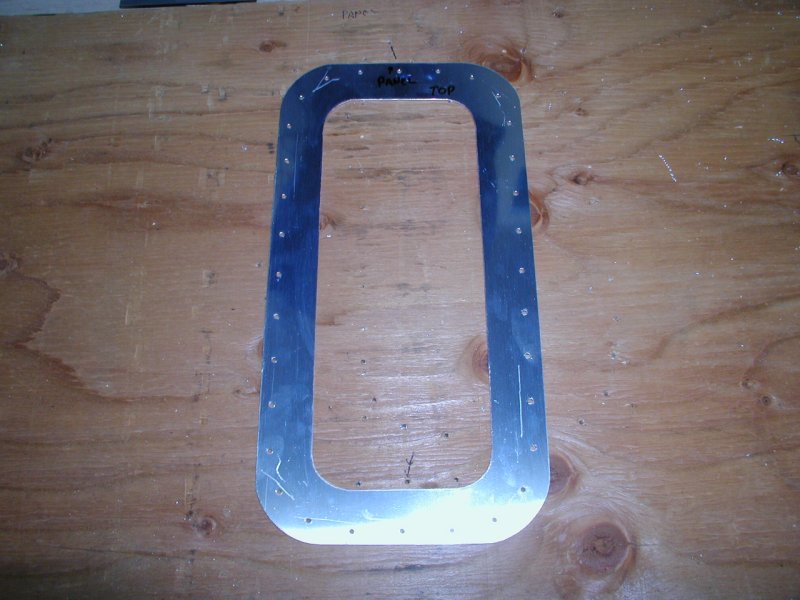
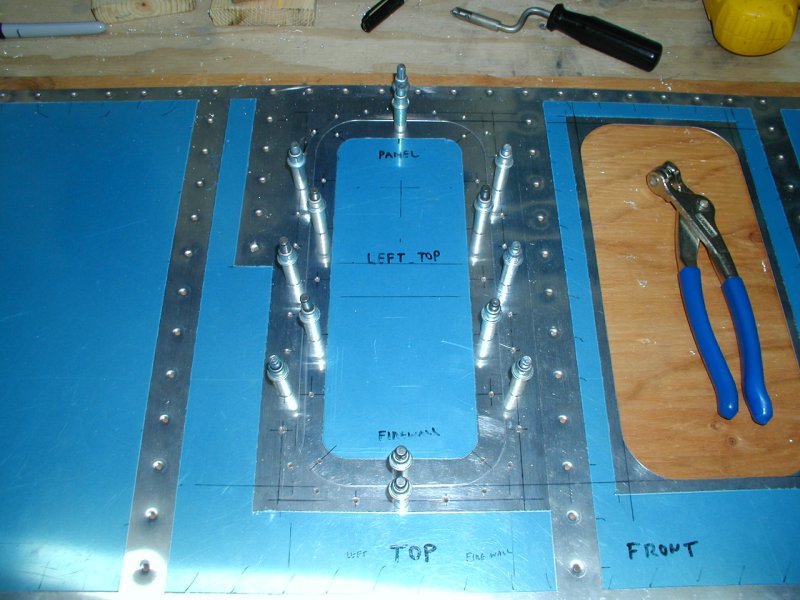

Here's one side completed with the exception of riveting. I figure I'll wait so it'll lay flat while I do the other side. Man there is a ton of work on these access panels.
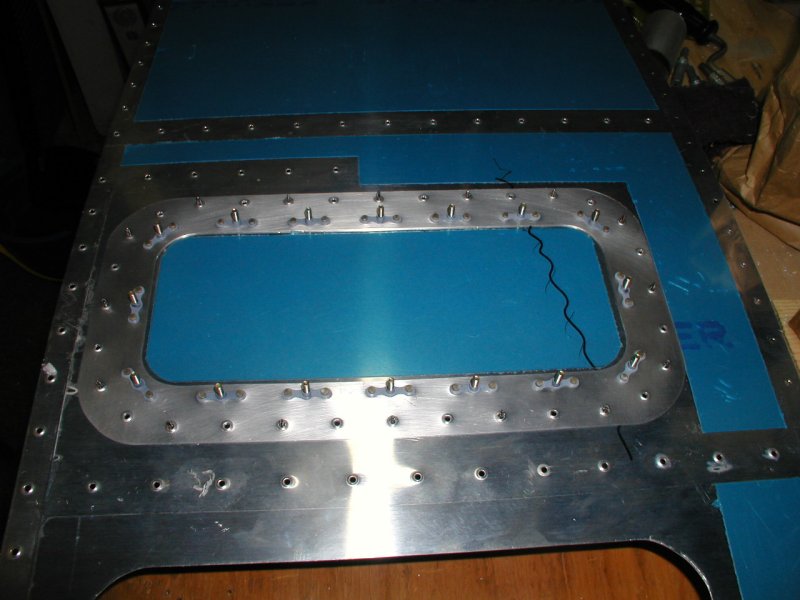
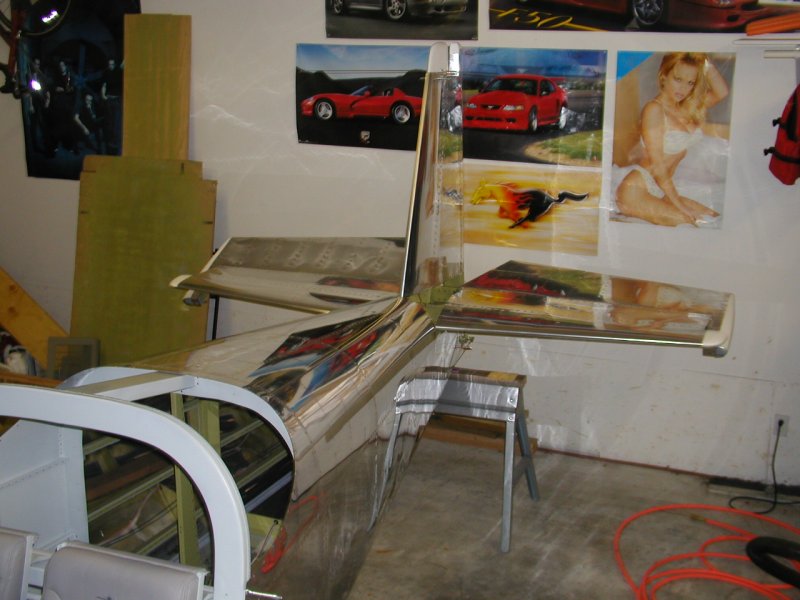
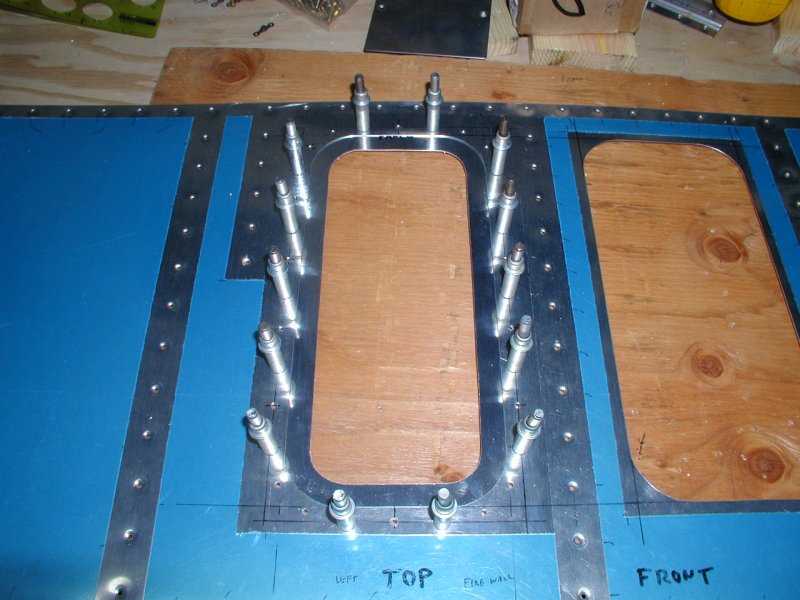
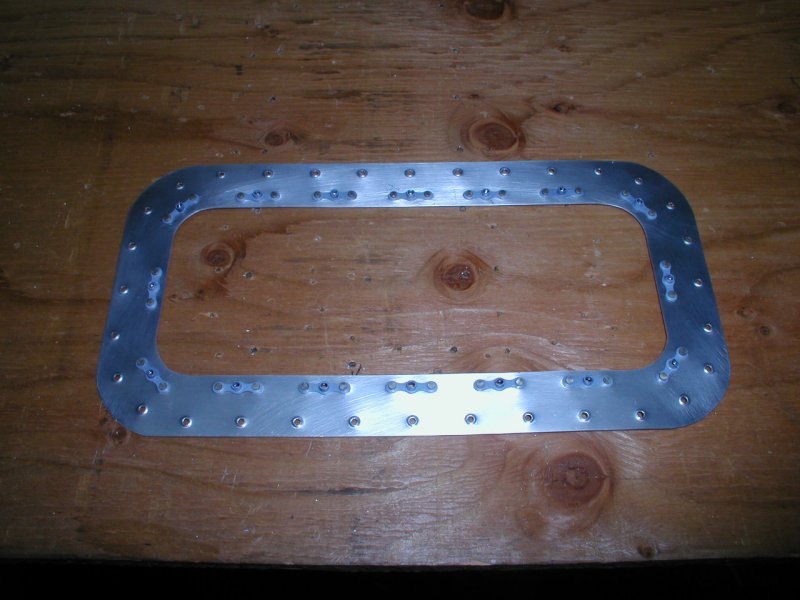
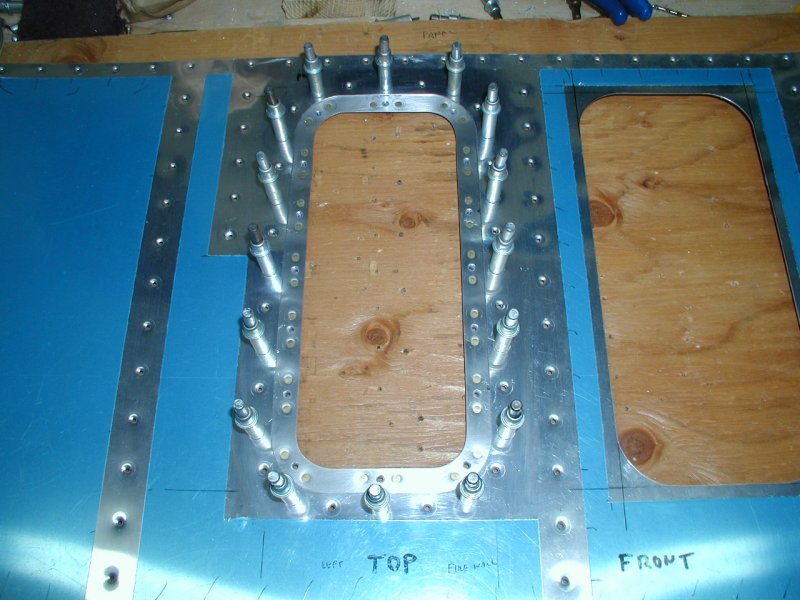
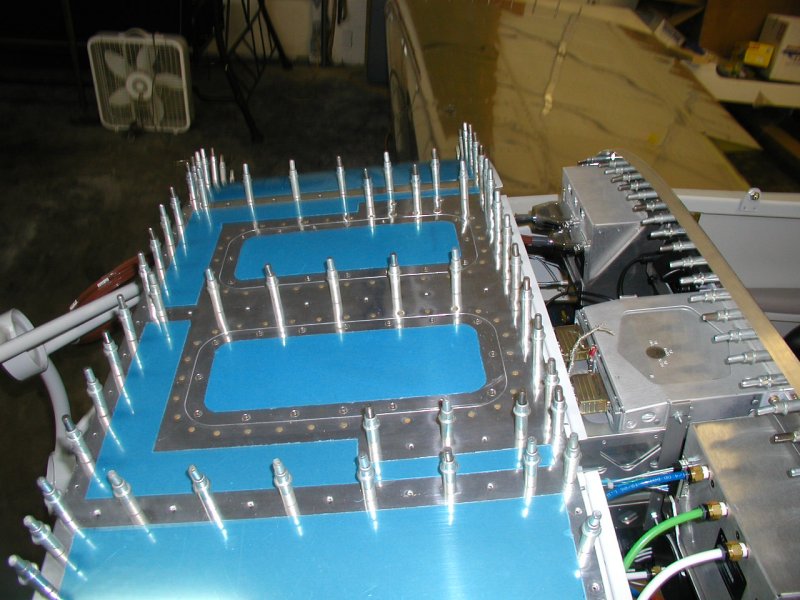
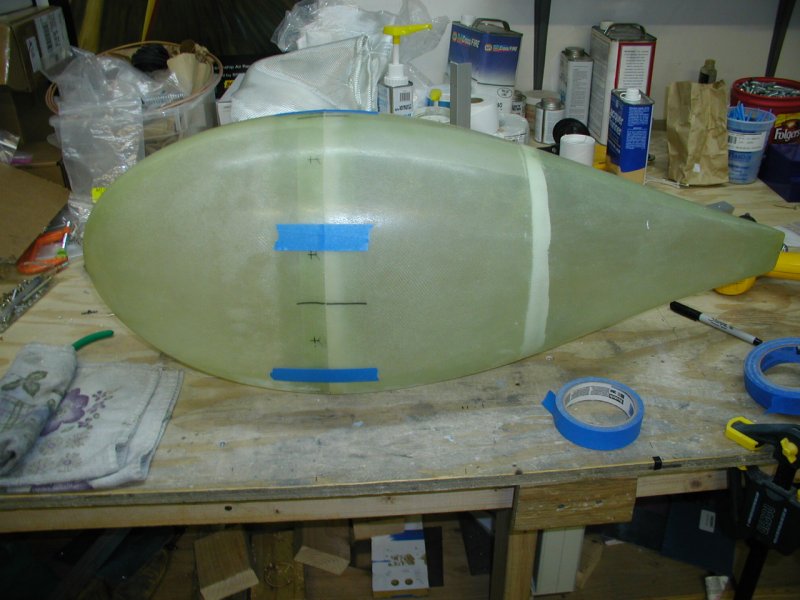
Both sides ready
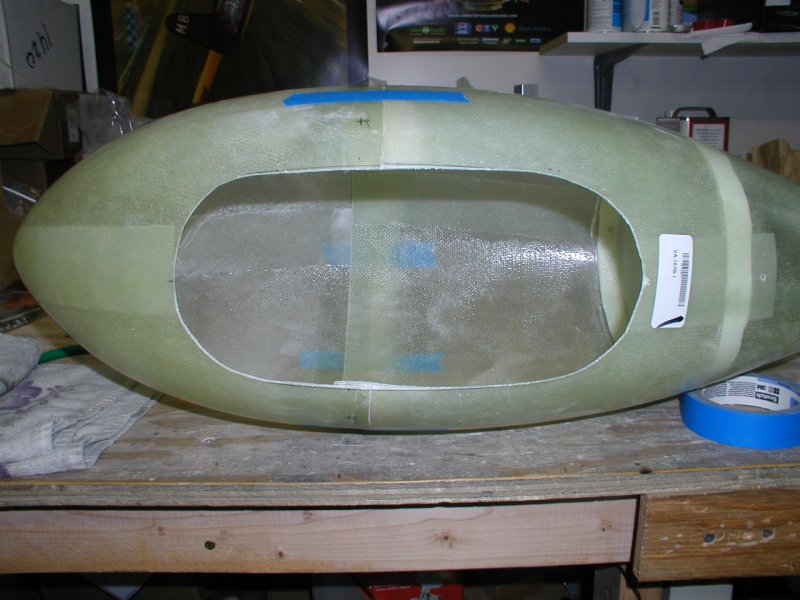
and now riveted
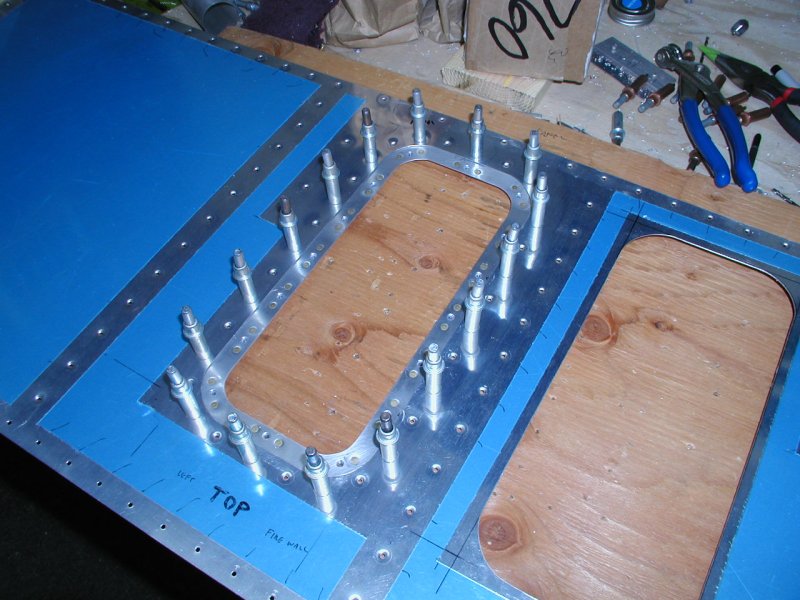
and now screwed. They turned out great!
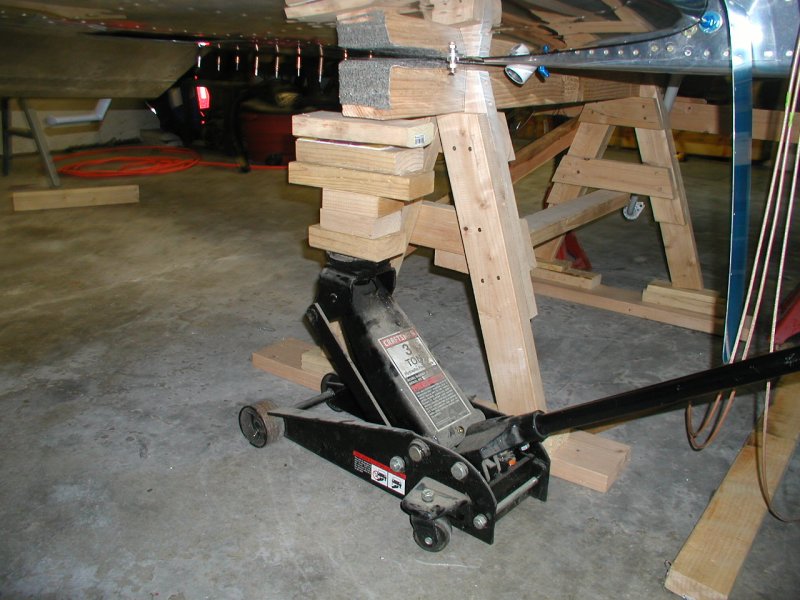
In order to install the landing gear, the whole plane needs to go up around 18". Not super easy, I'd compare it to jacking up a large dinner plate or flying saucer. There aren't many spots you can jack and you always want the plane resting on at least three points so it doesn't slip out or fall over. The other problem is most jacks and jackstands are for cars that aren't very high off the ground. Everthing gets a little more tippy when all the way extended. Anyway I decided to jack under each side of the firewall and under the tail systematically. It worked well.
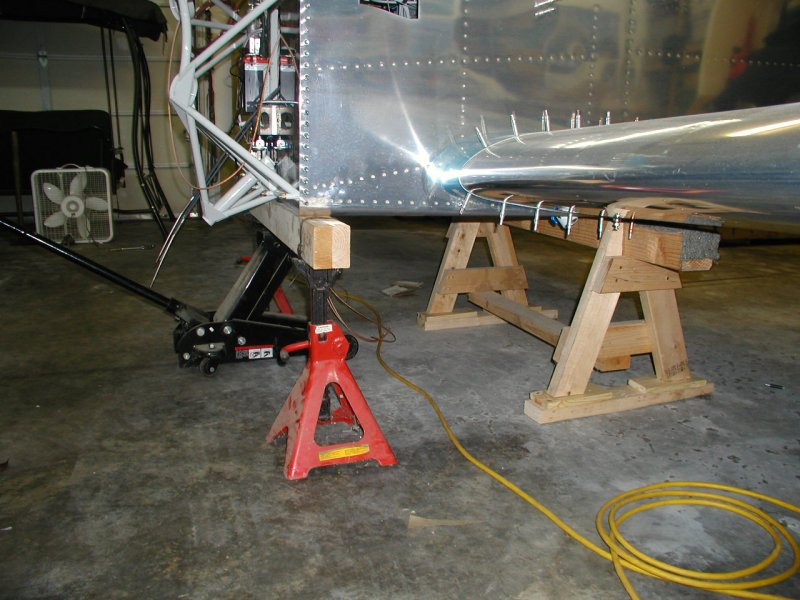
Once up as high as possible, I quickly removed the spar sawhorse and extended its legs. It was a real releif to get it reinstalled under the spar. Good enough for one morning but will still need to be higher before the gears can get installed.
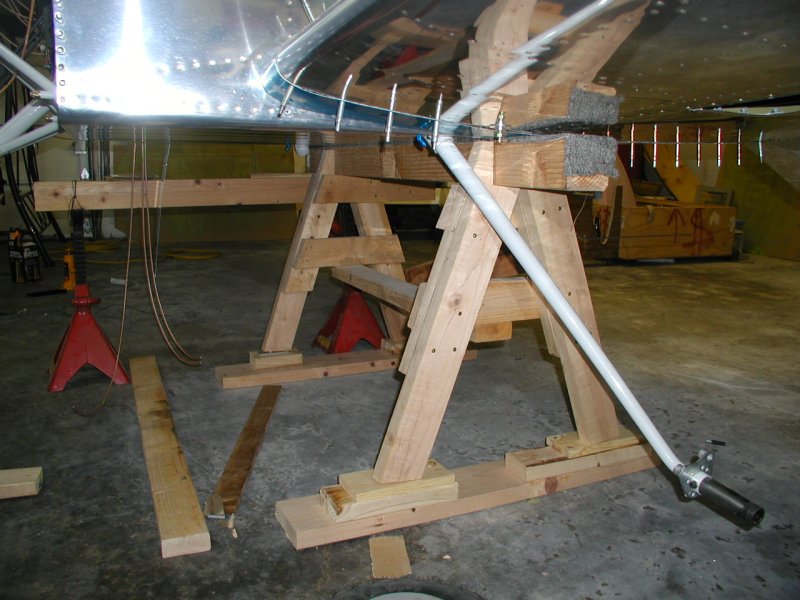
In order to go up the rest of the way, I supported one side of the spar sawhorse with the jackstands and jacked up the other side.
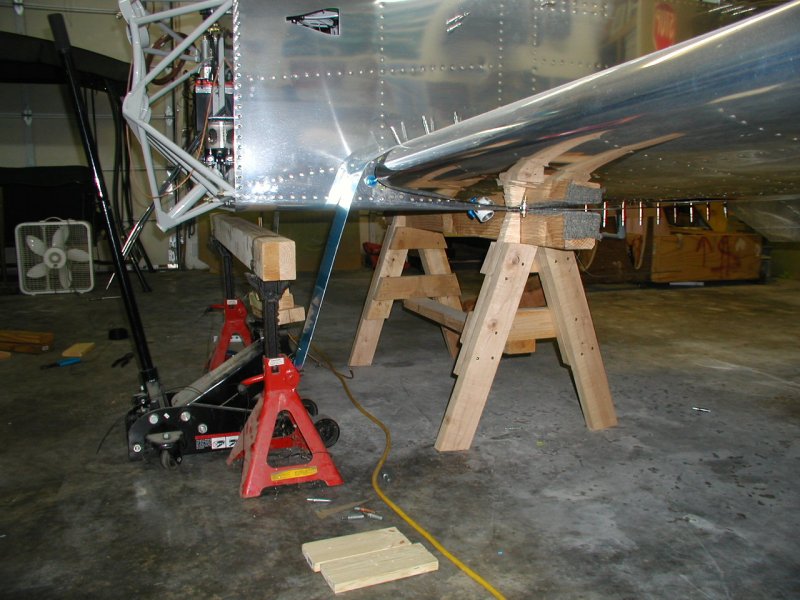
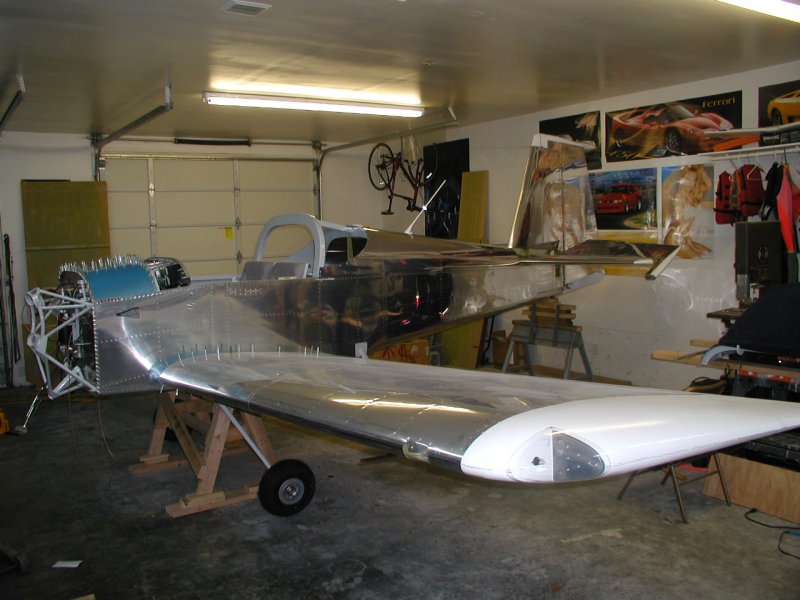
Not super pretty but finally high enough to slip the gears in.
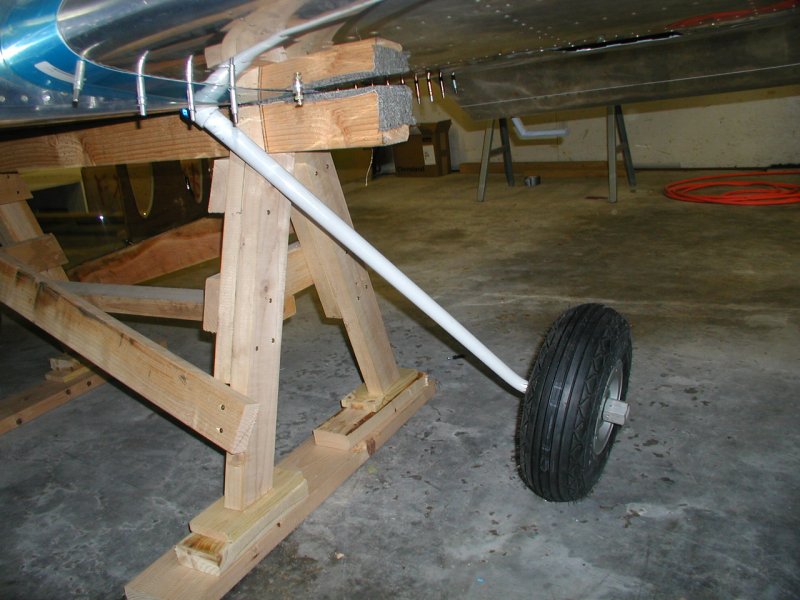
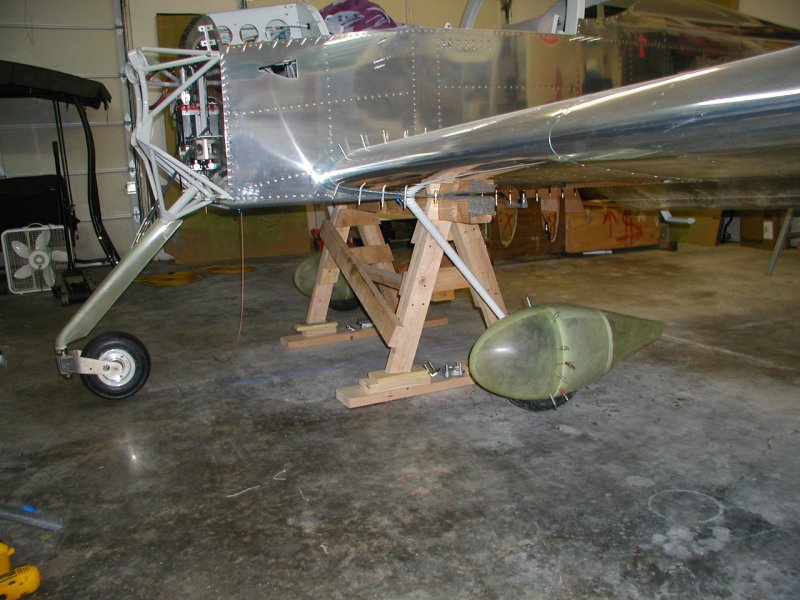
Hard to tell but the tire is about 1" off the ground. Lot's of camber (or is it caster?) but that's how it's supposed to be. Once the weight of the plane is on the gear it will be a lot different.
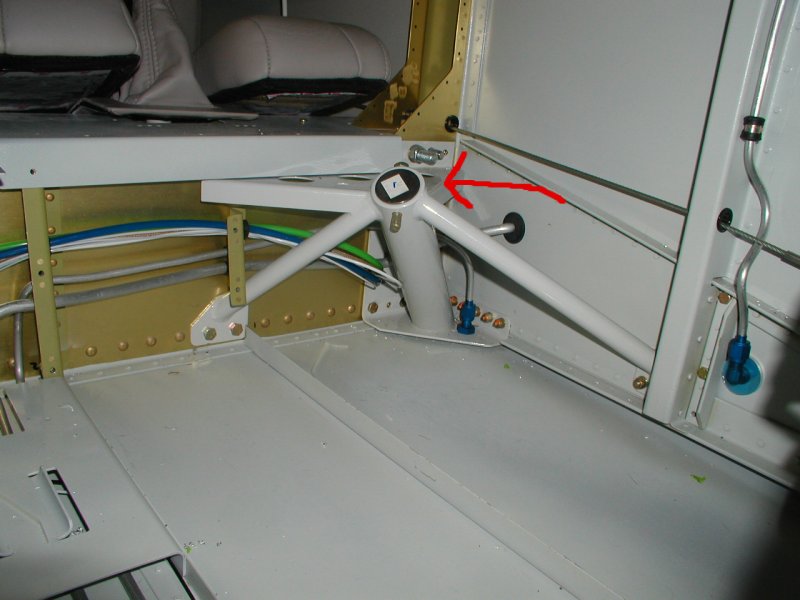
This is the top of the gear leg
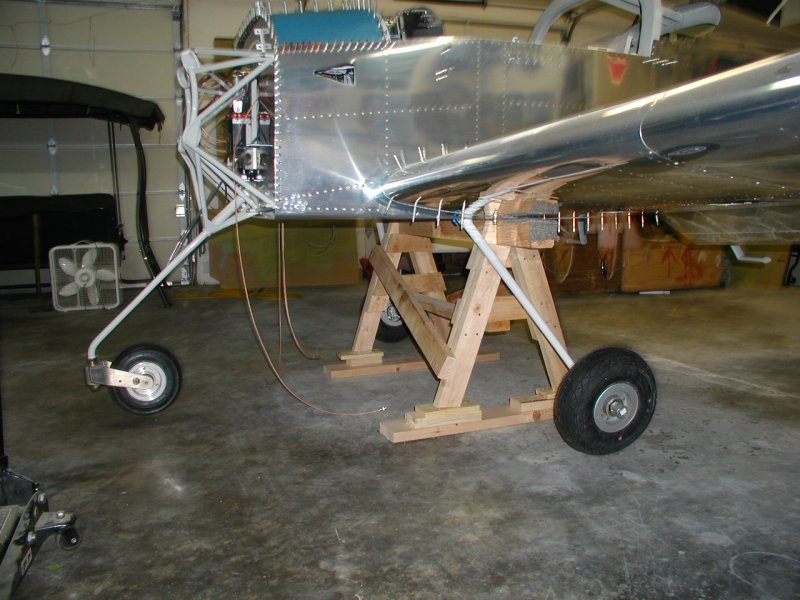
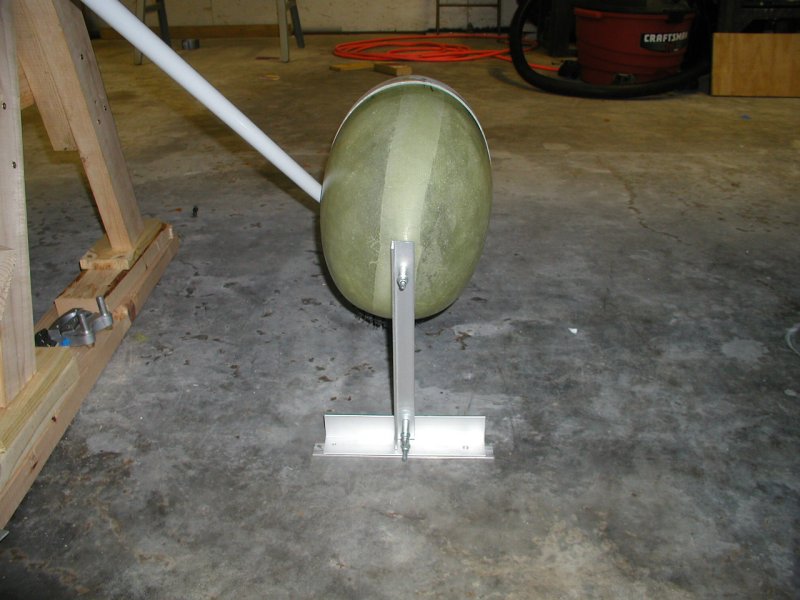
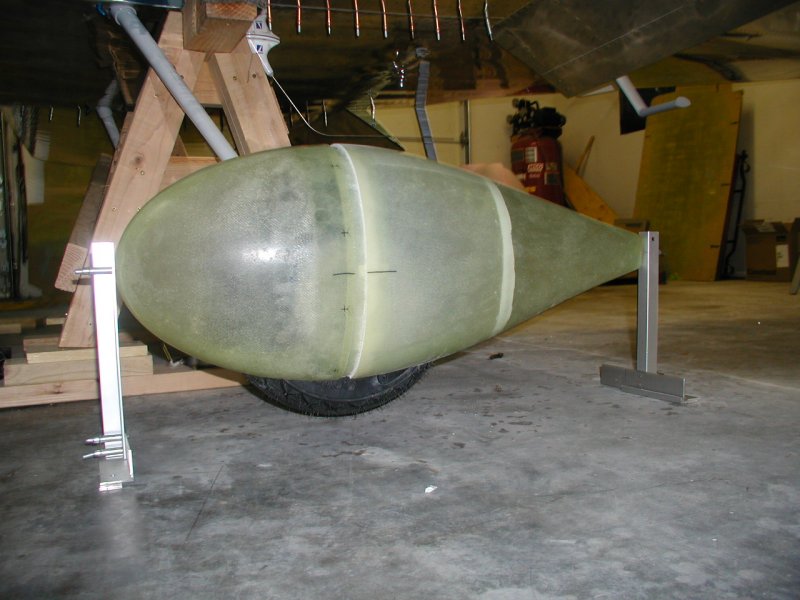
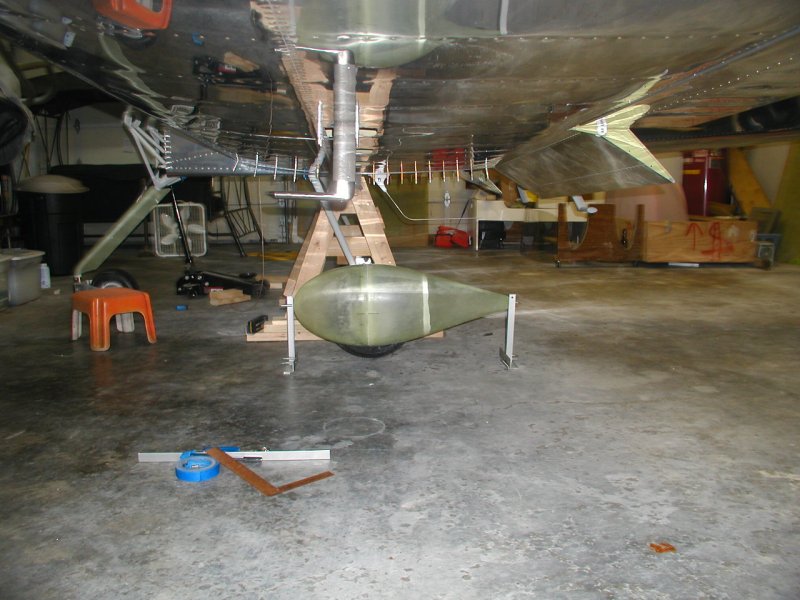
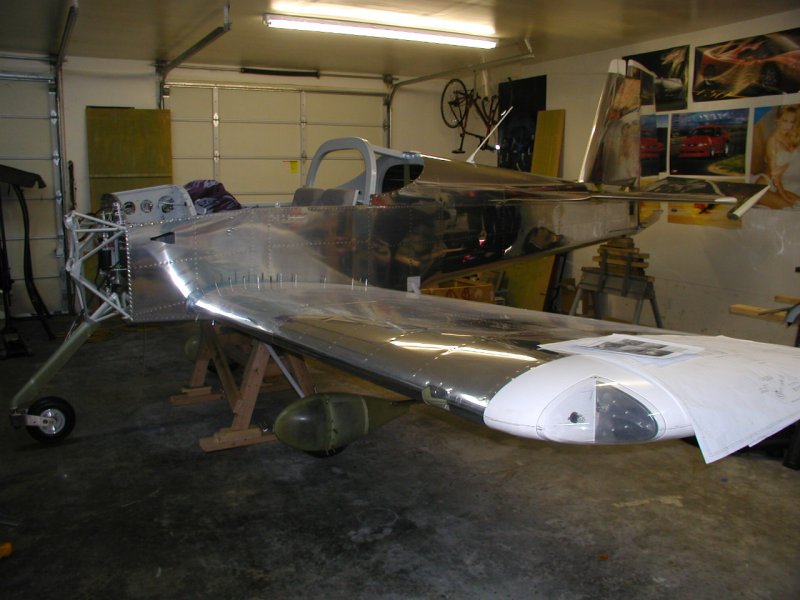
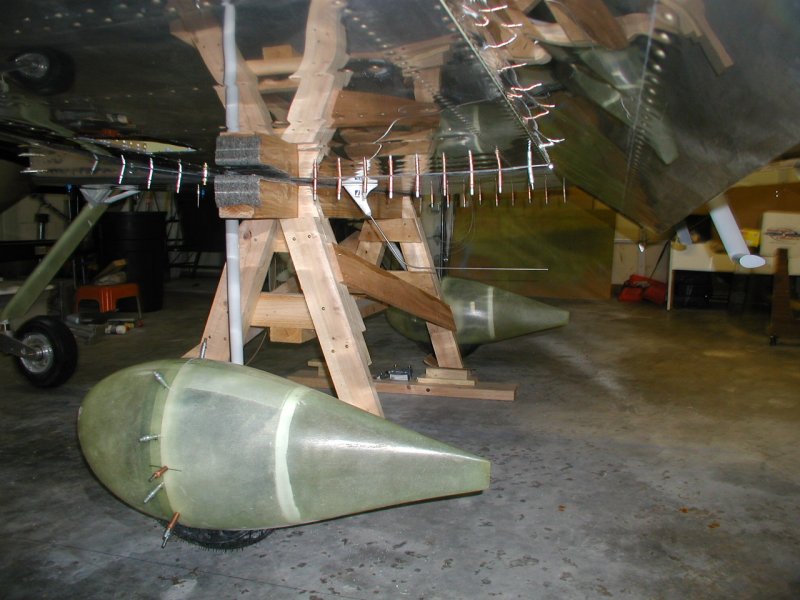
And here's my first low pass, just 1" off the ground. I plan to start on my wheel pants and fairings soon since they need to be properly aerodynamically fitted for "flying" not "taxiing".
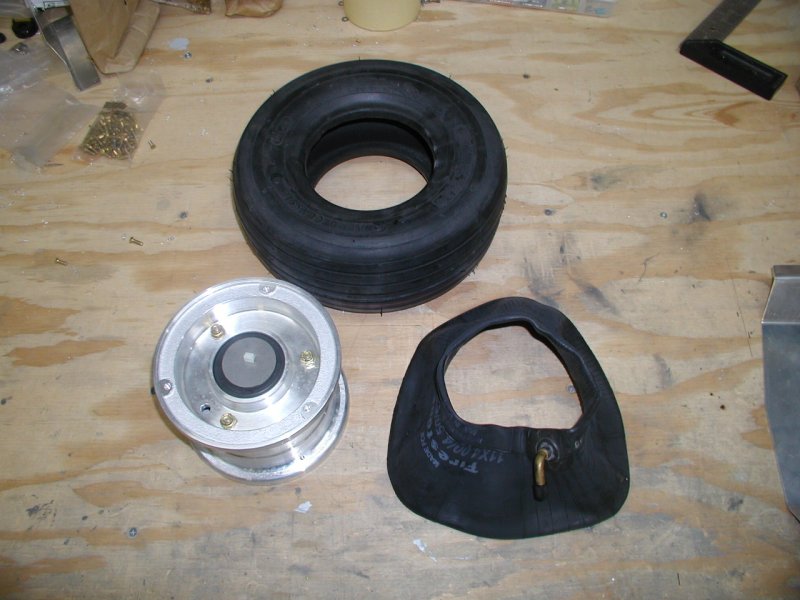
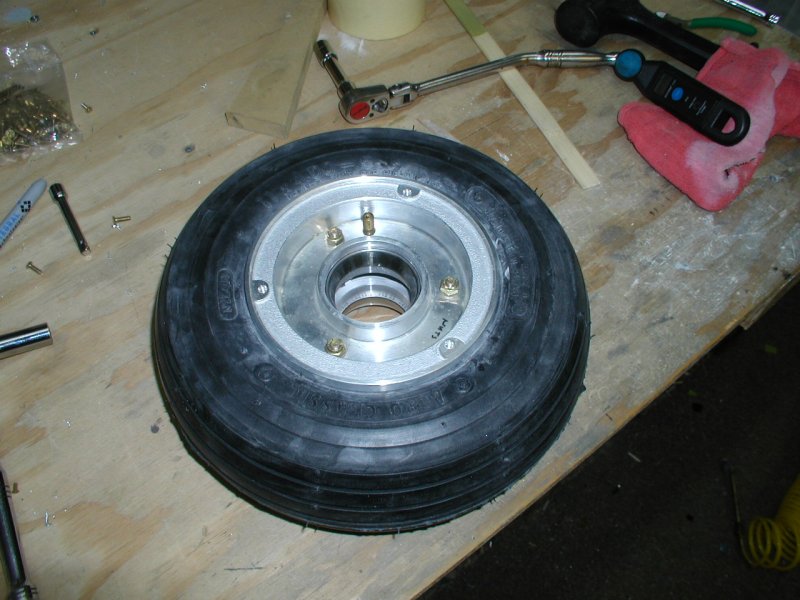
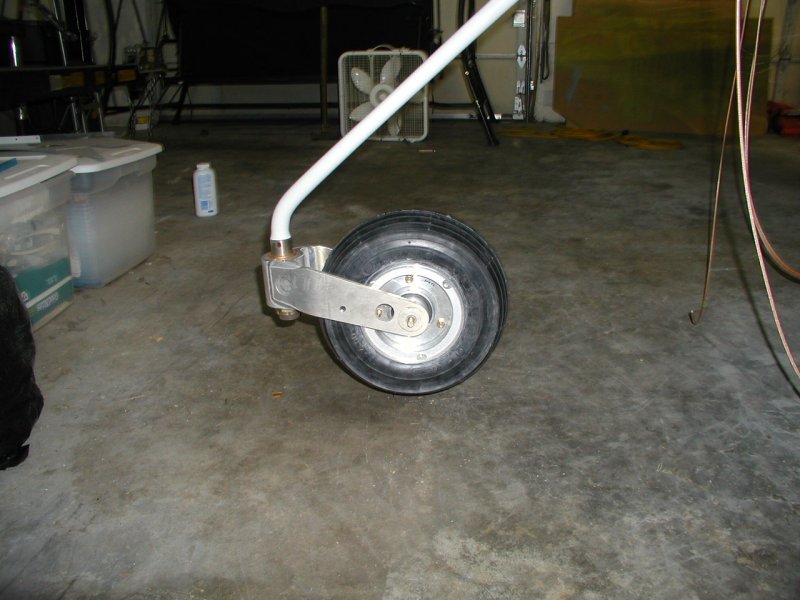
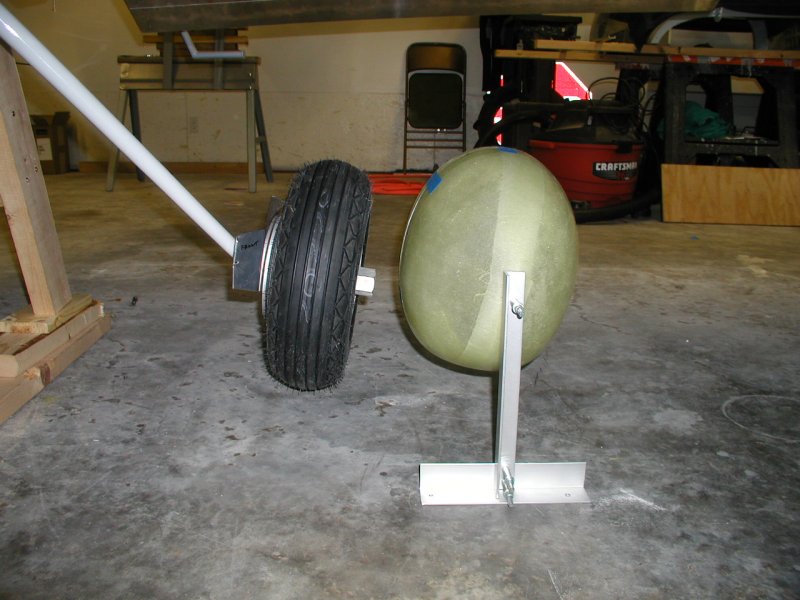
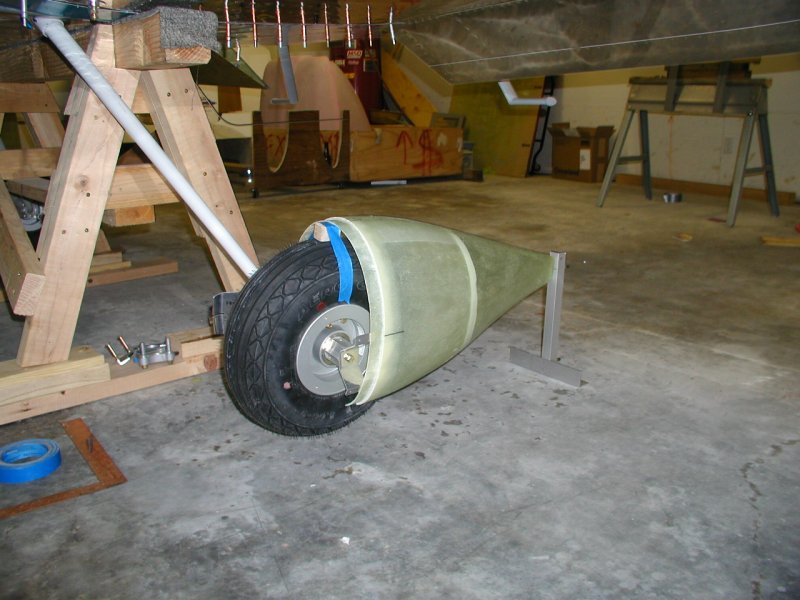
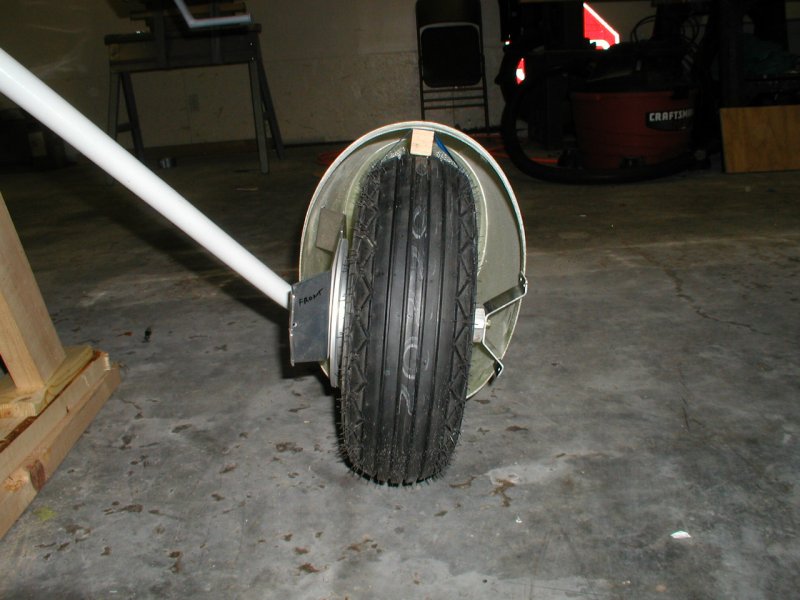
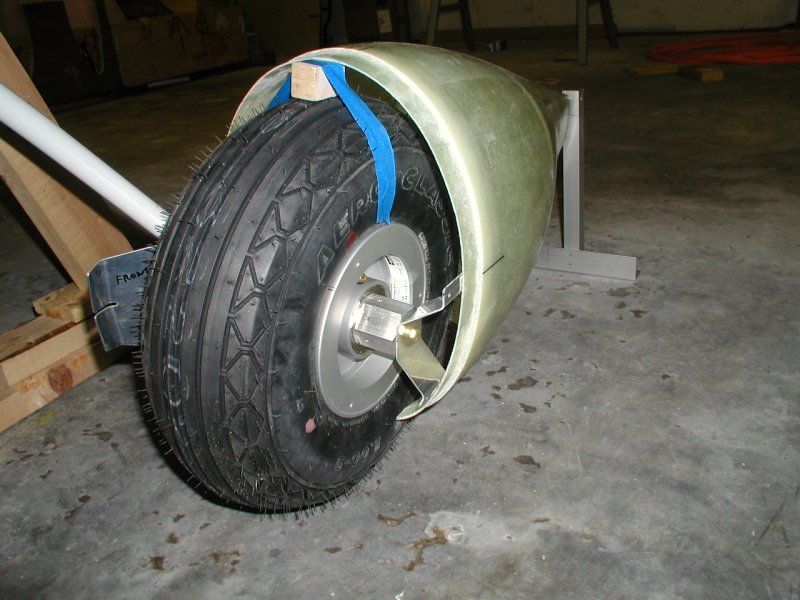
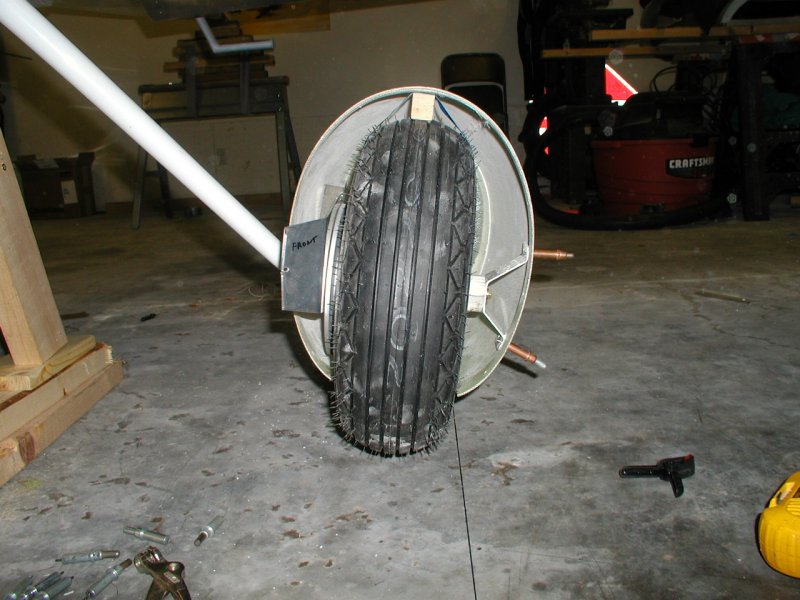
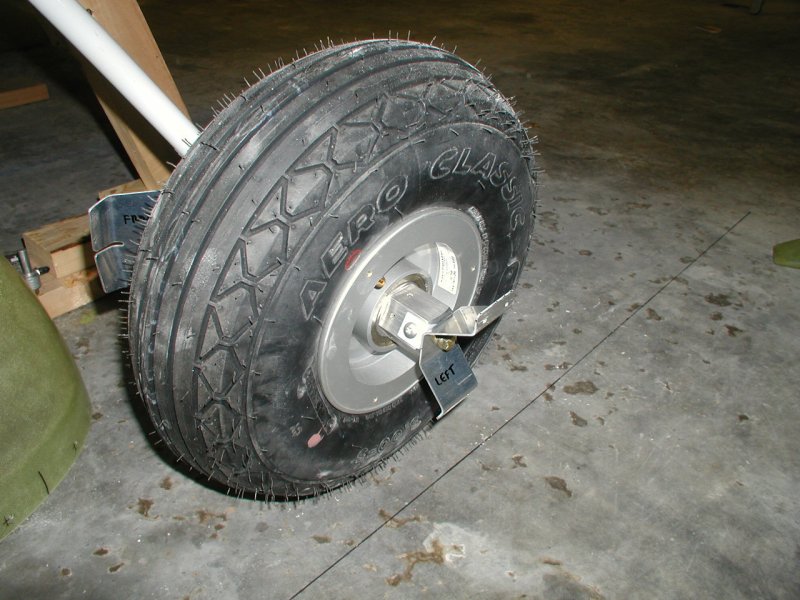
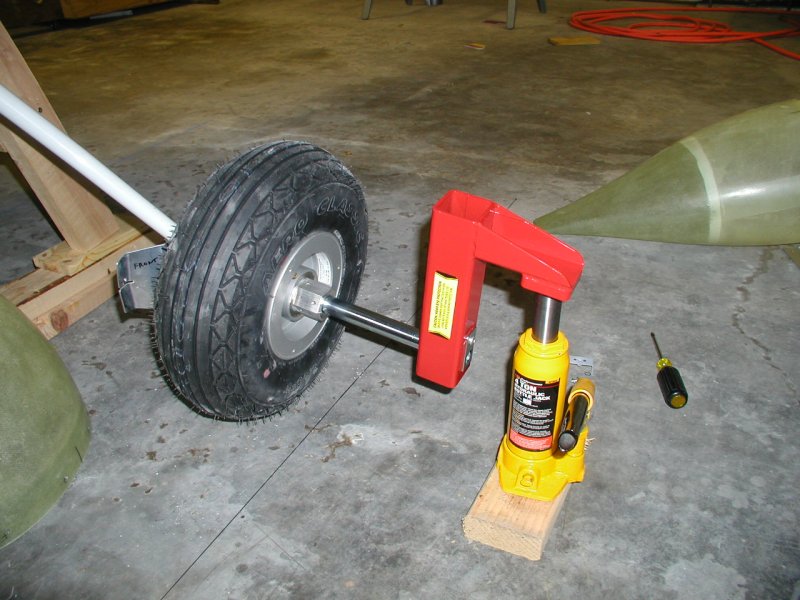
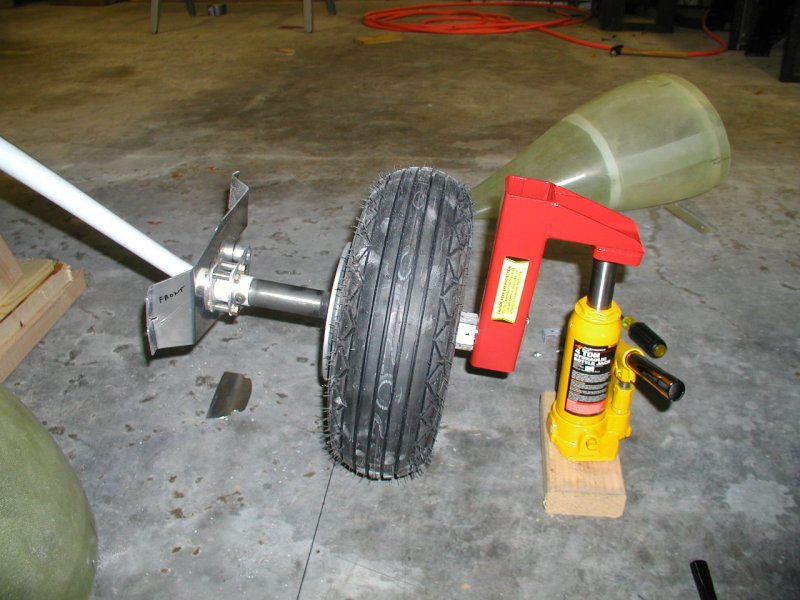
Front tire
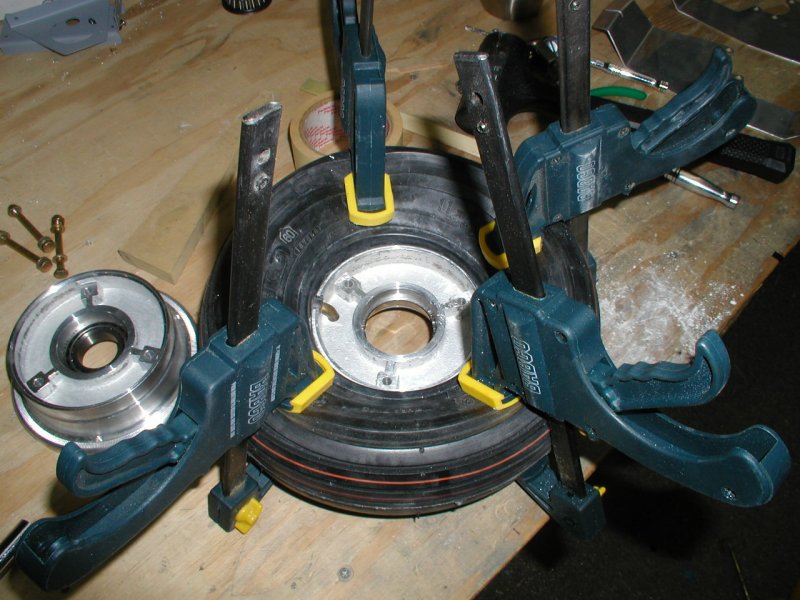
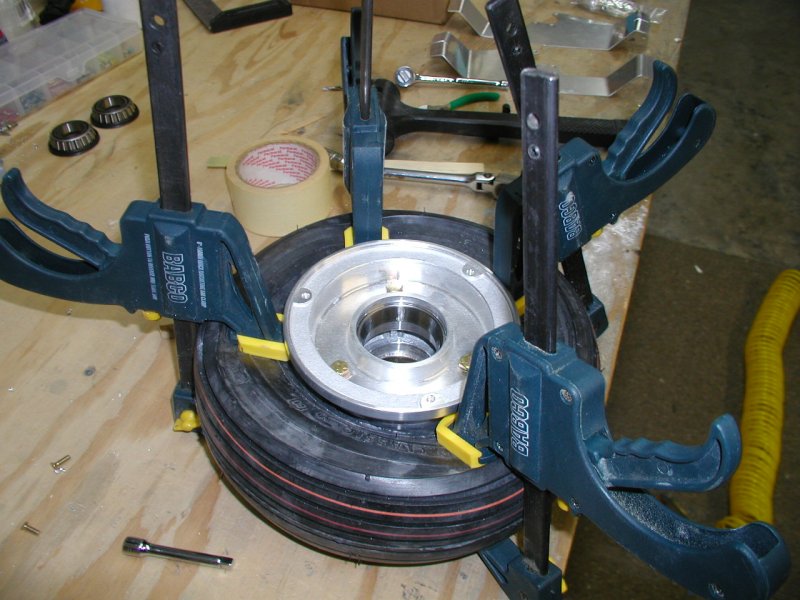
Assembling the front wheel is pretty difficult and most people pop there innertube by pinching it between the wheel halves. So much so that Vans even give's you 2 front innertubes with the kit. Some guy posted this method on VAF and it works awesome. Put 1 side of the wheel in the tire, install the tube and put in "some" air, then clamp the tire down just pass the wheel half. Then when you install the other half, there's no possiblity of pinching the tube. It worked great and was very easy!


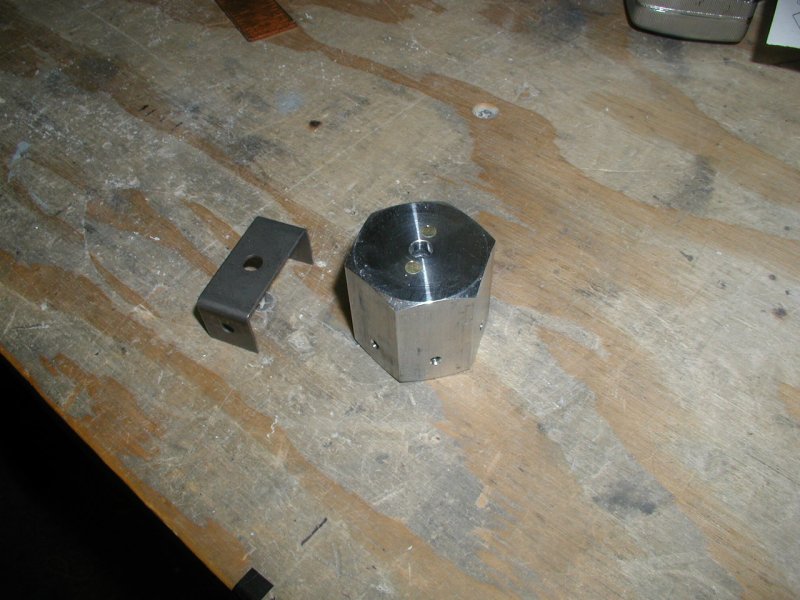
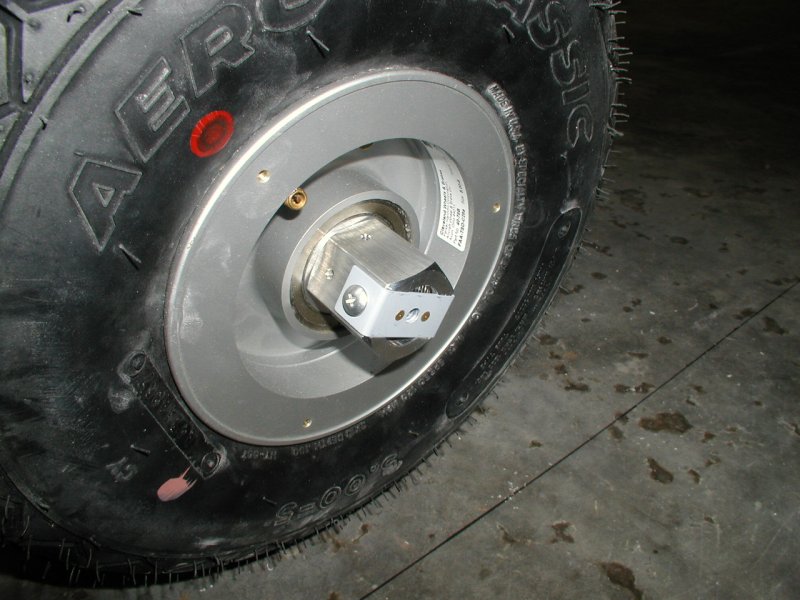
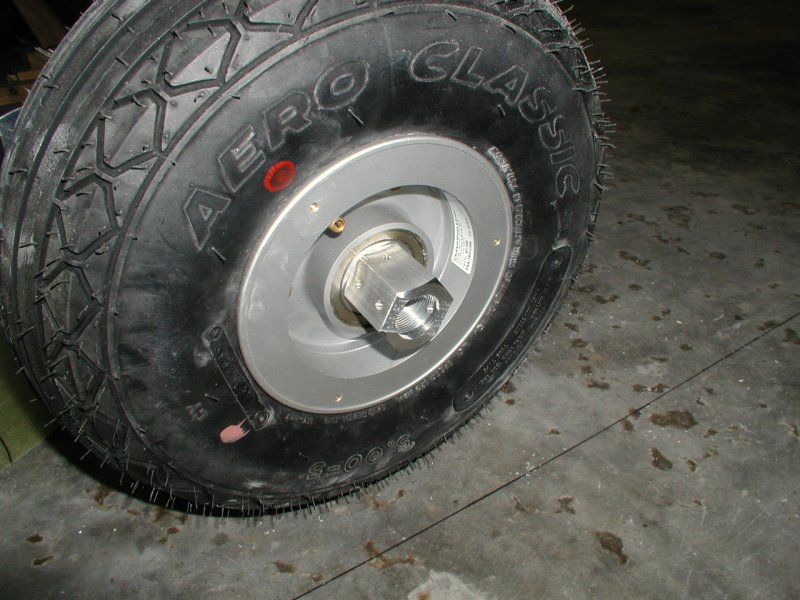
These axel nuts have to be modified so a gear jack can be used later to change or rotate the tires.
After drilling out the nutplate rivets, the hole has to be drilled to 1"
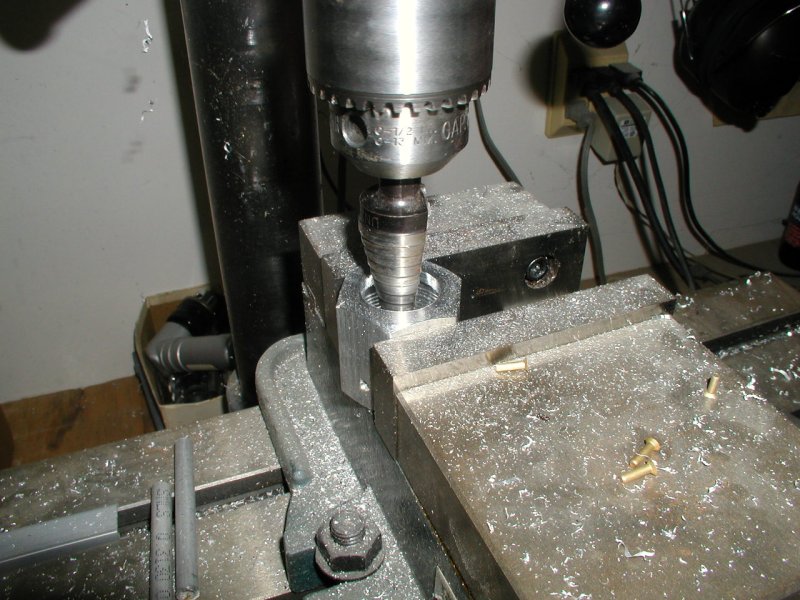
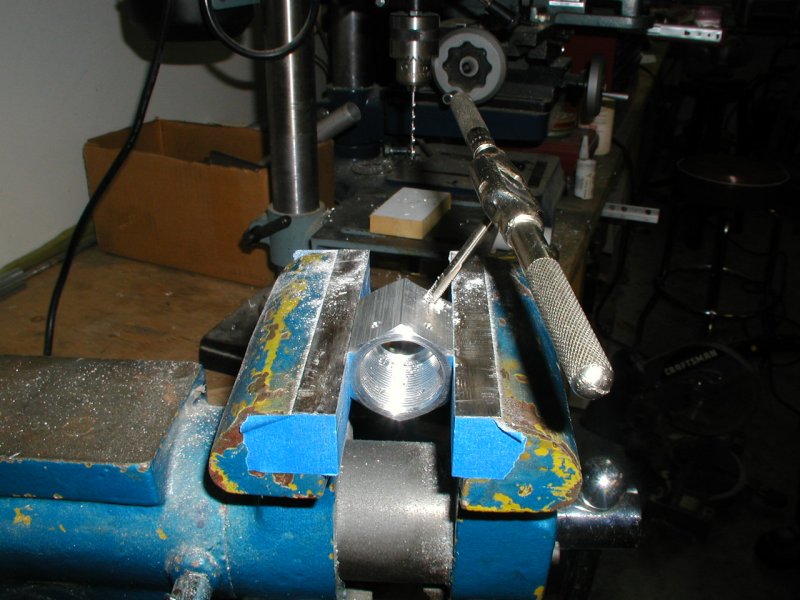
Then a channel has to be machined for the new bracket
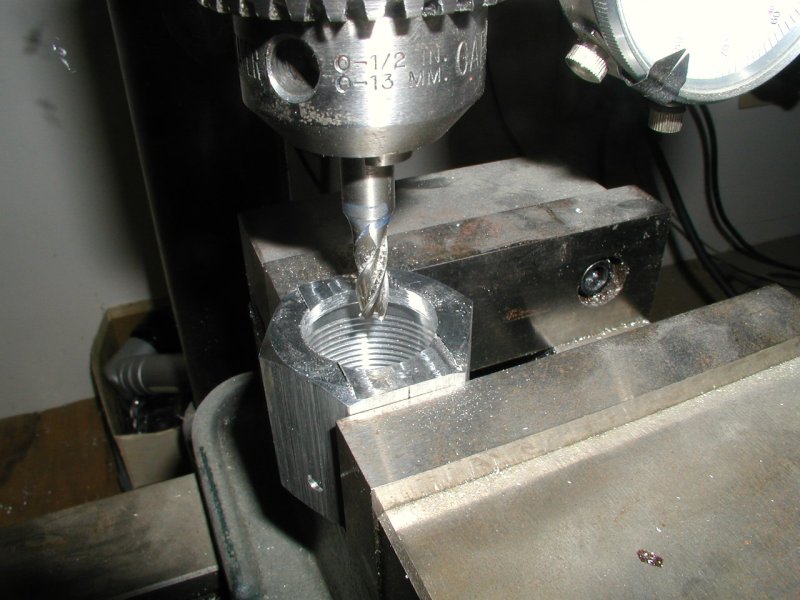
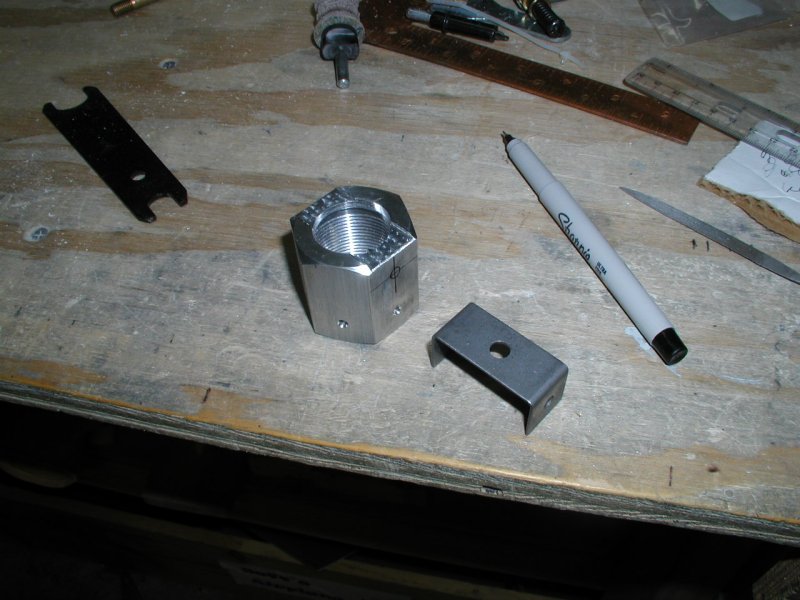
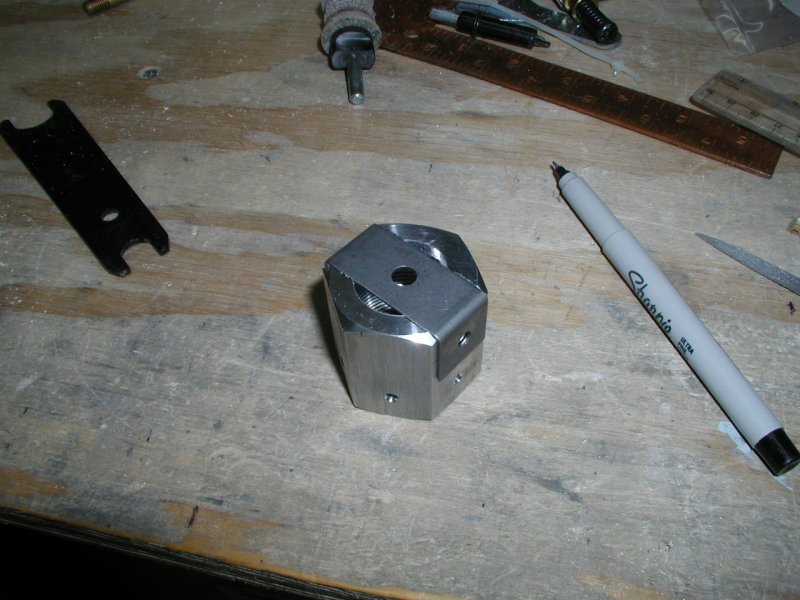
Then you have to drill and tap holes on the side
Complete!
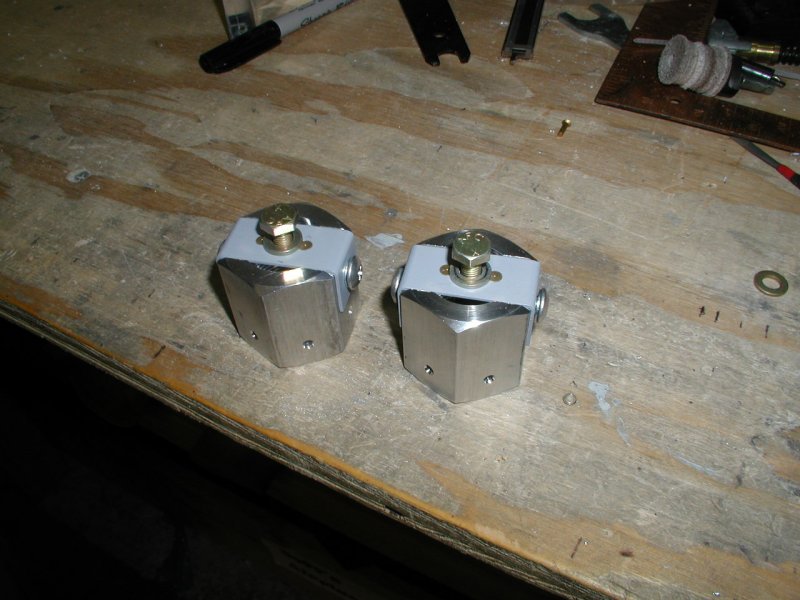
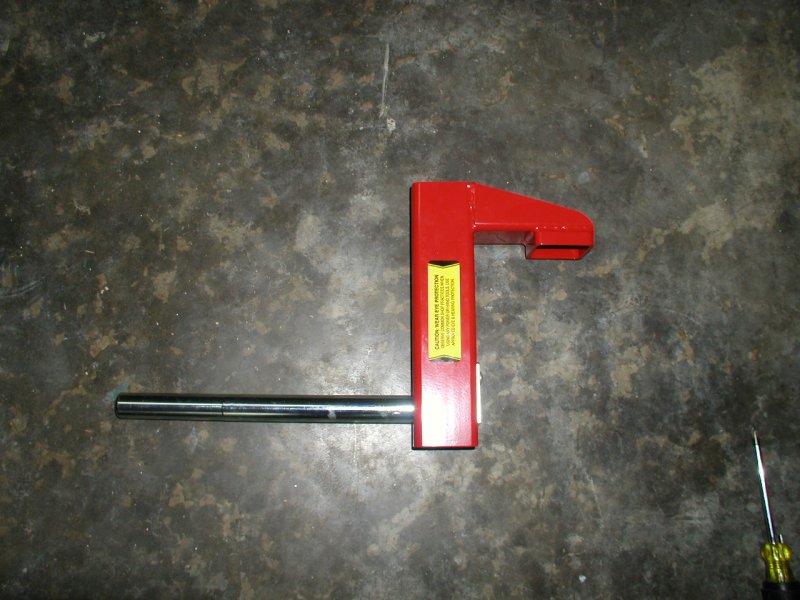
This is all so you can use this style of jack
Here's what it looks like with just the wheel pant removed
Now with the wheel pant brace removed
Now with the wheel pant brace bracket removed
Now you can slide the jack all the way in till it stops. (It is show all the way in.)
Now you can loosen the nut and the whole wheel slides out onto the jack. Now's when you would support the axel, let the jack down, slide it back out, and slide the tire off. Pretty engeniuos really! Seems like a tough way to remove the tire, but there just really isn't a great spot to jack up the plane when it's all said and done.
Back