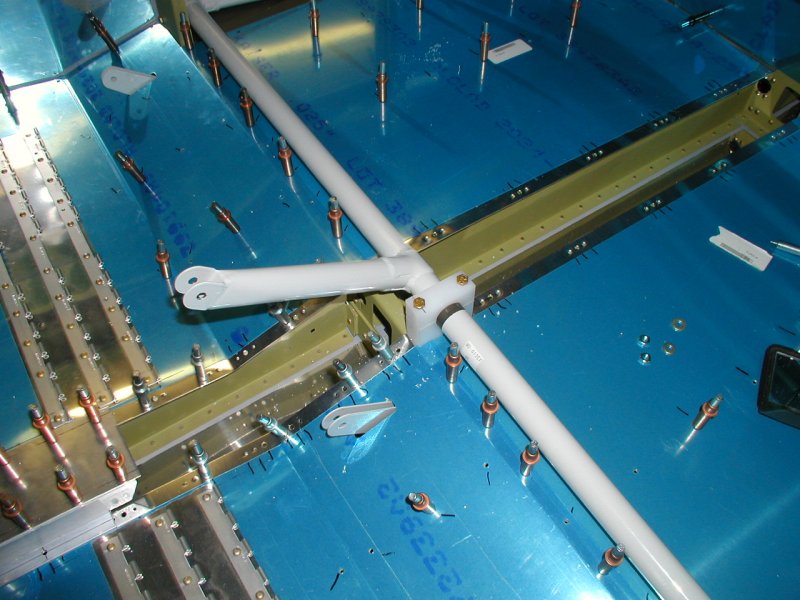
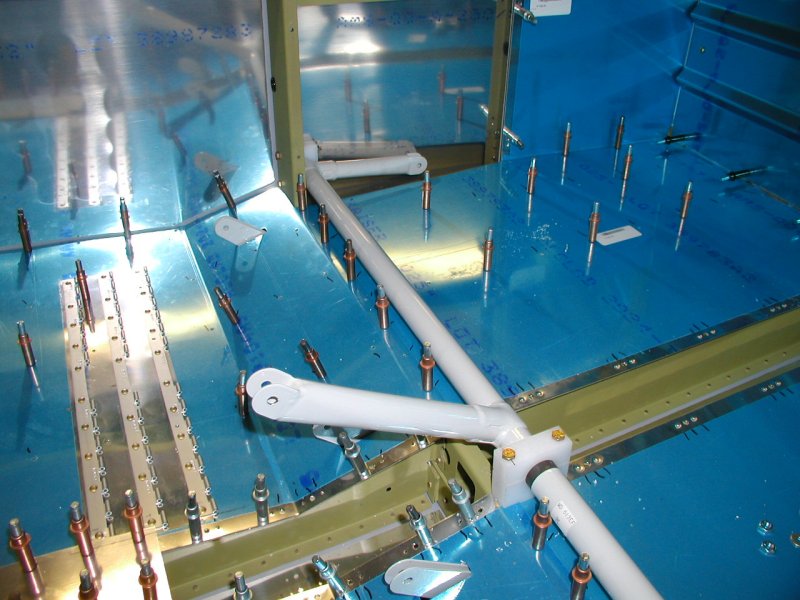
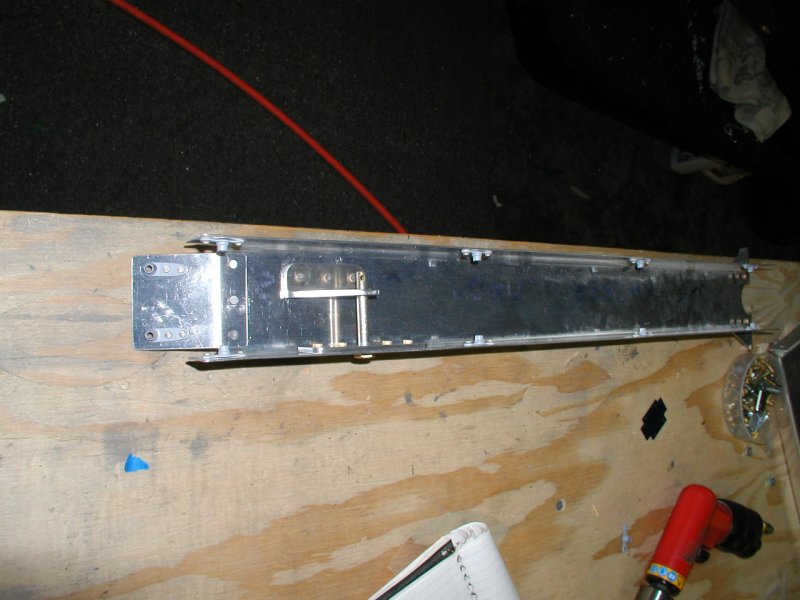
Started on the flap control system.
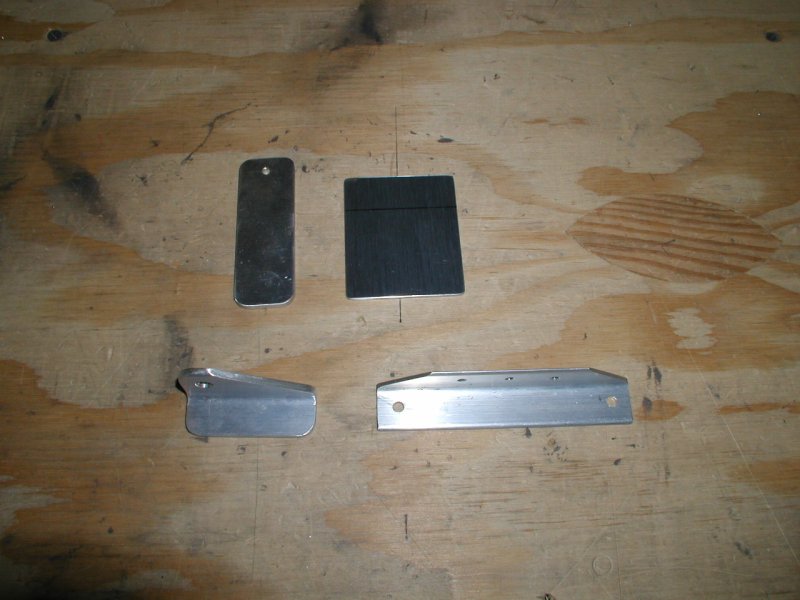
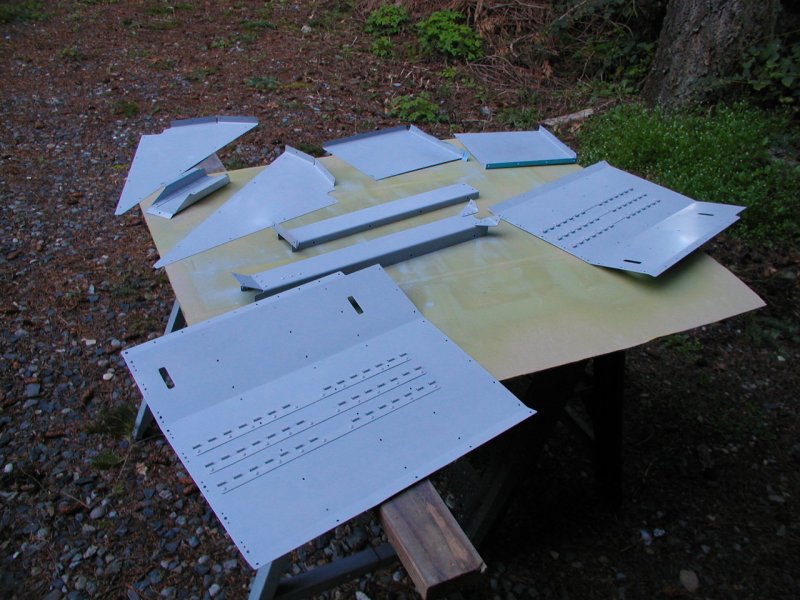
Had to cut these parts out
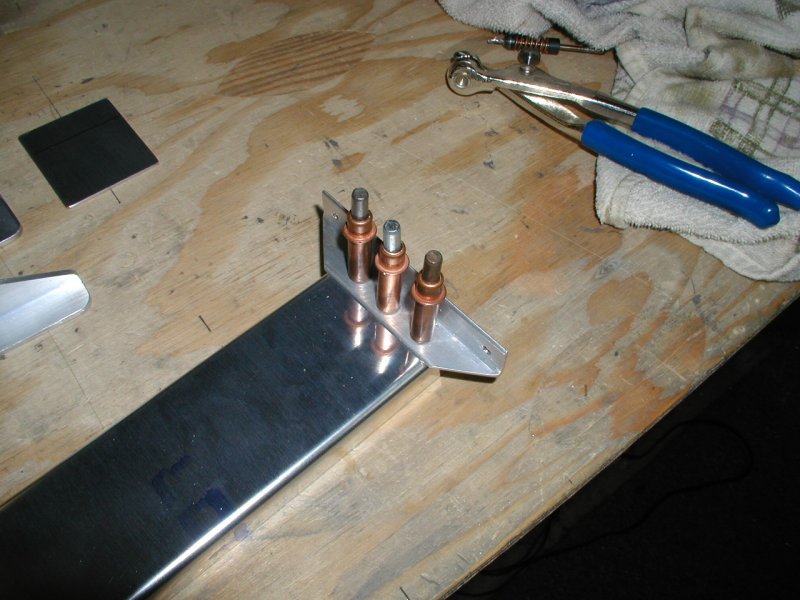
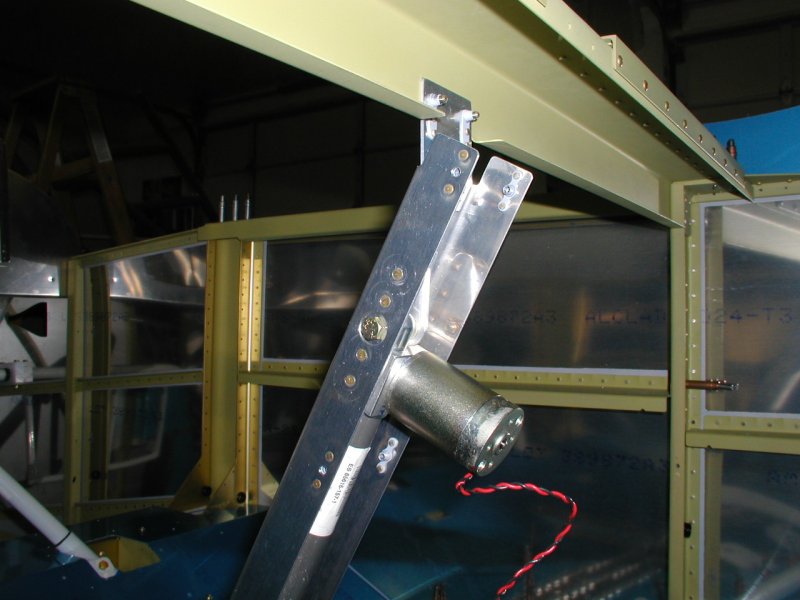
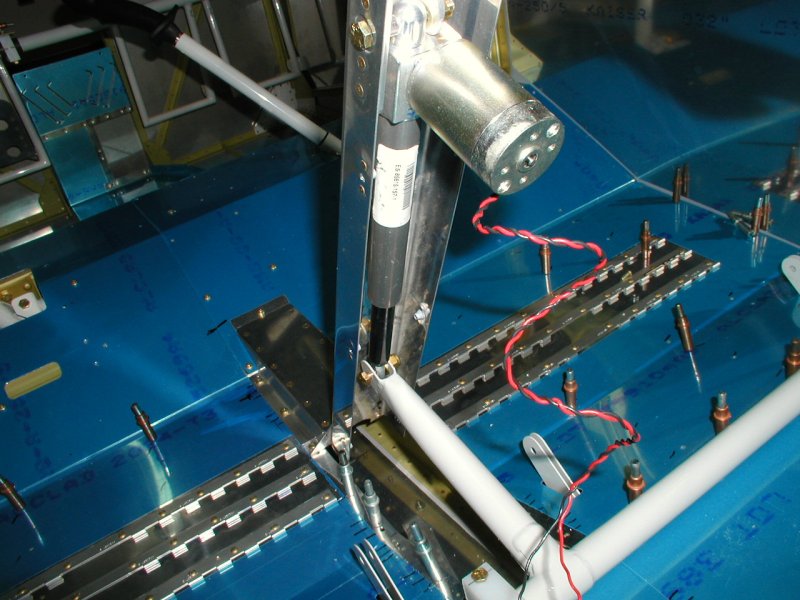
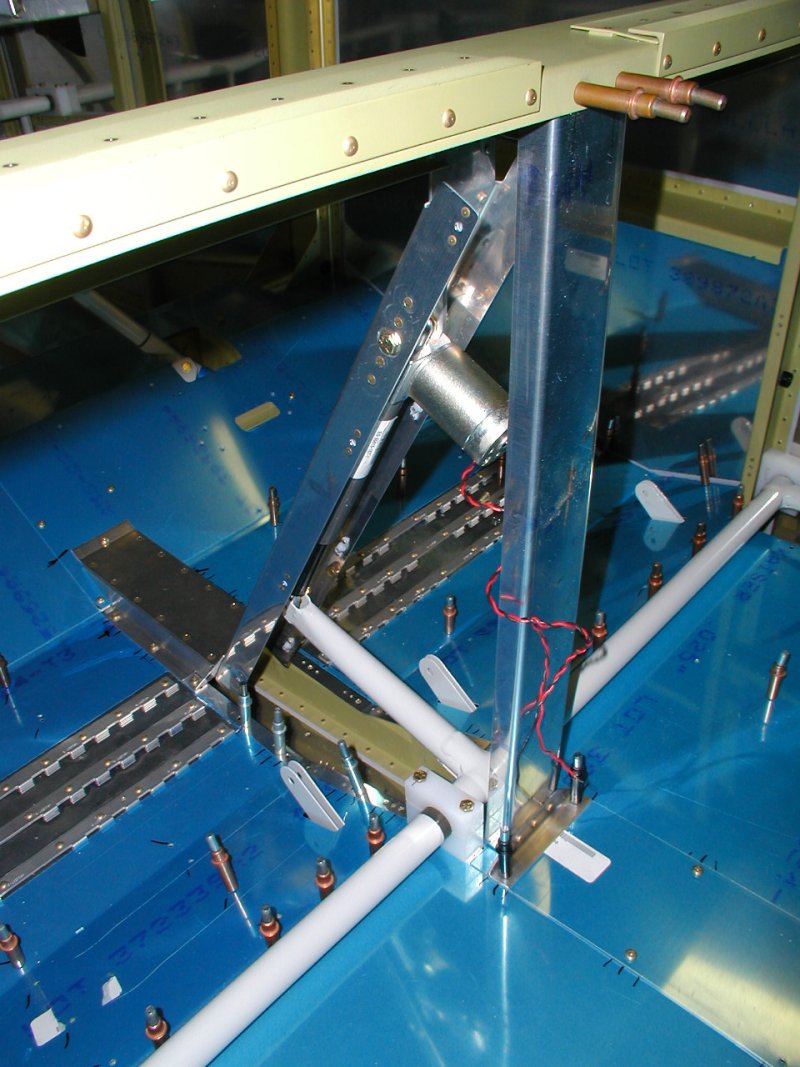
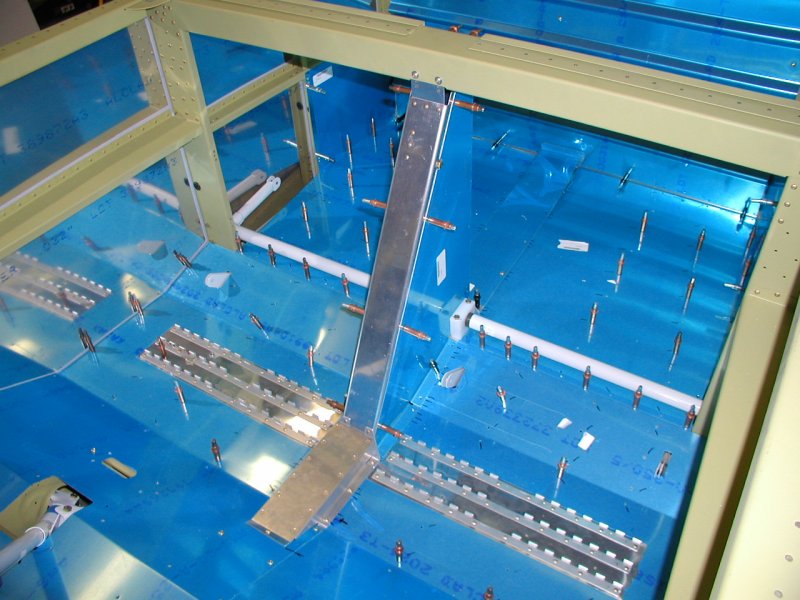
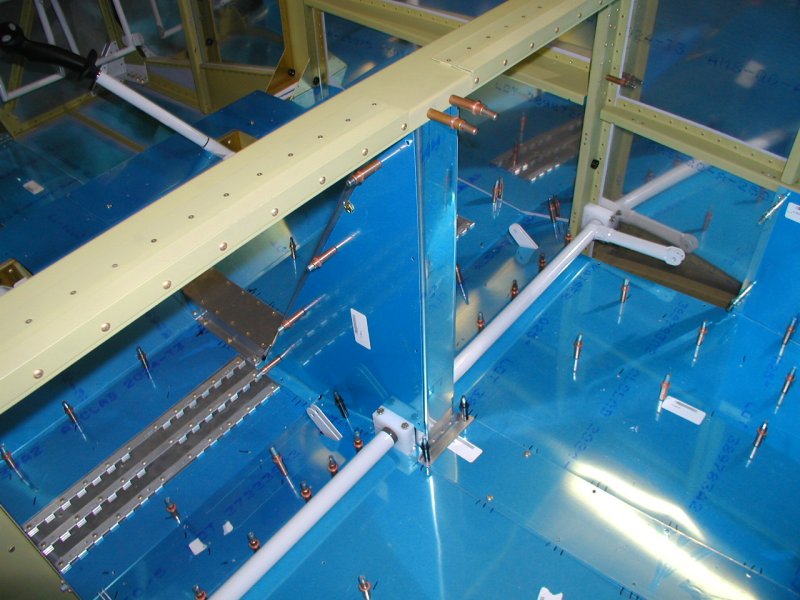
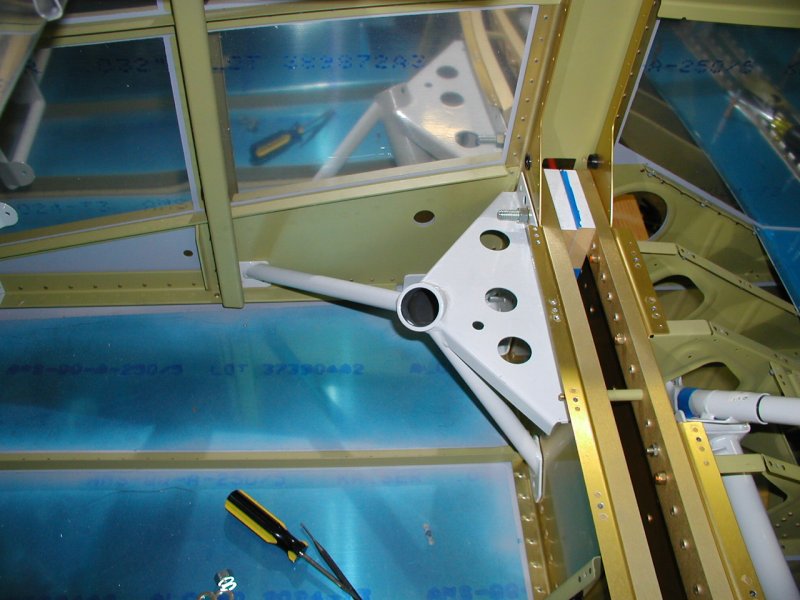
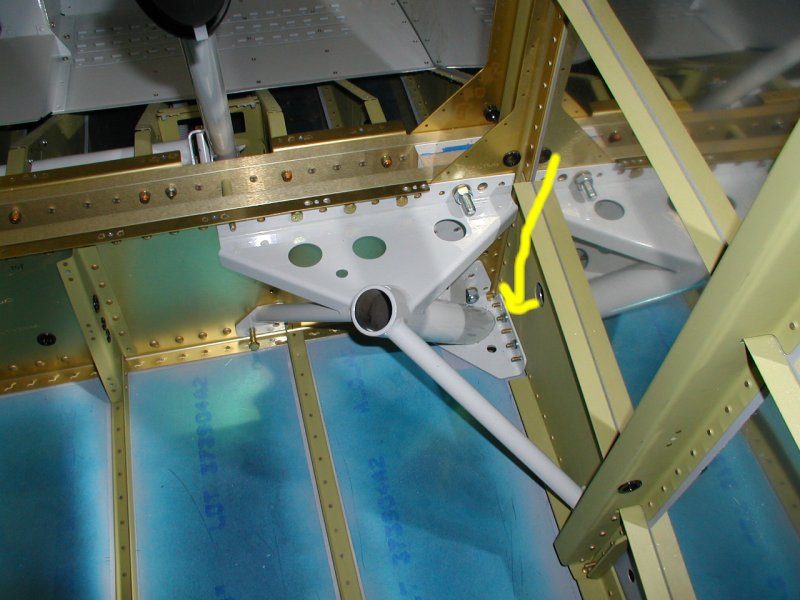
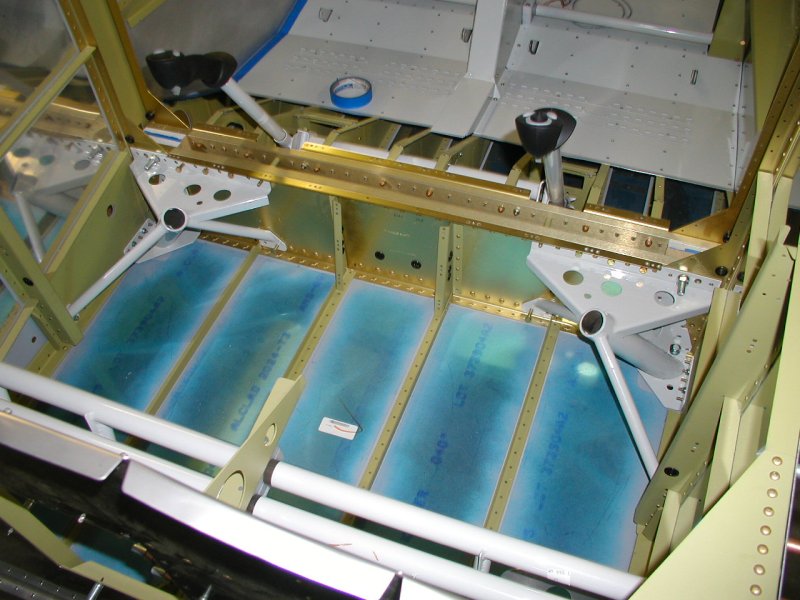
This is the flap motor mount
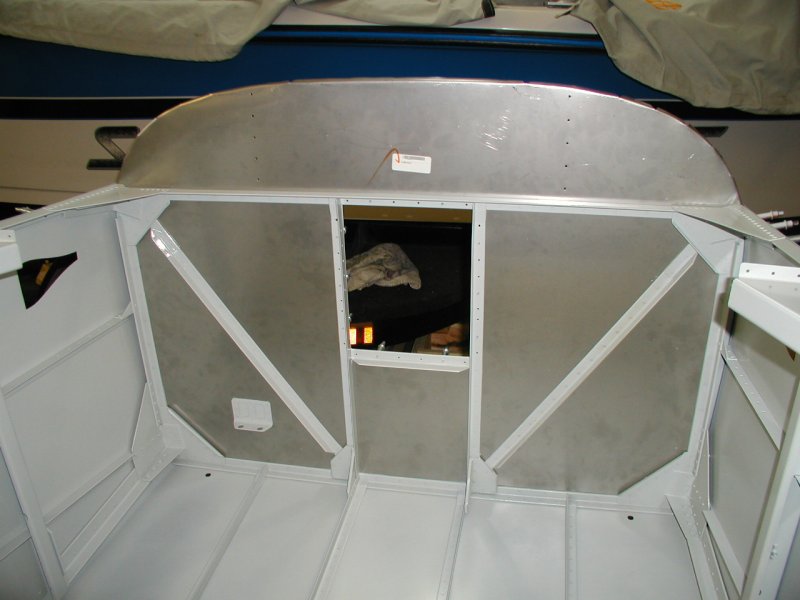
The forward tunnel cover
Here's everything
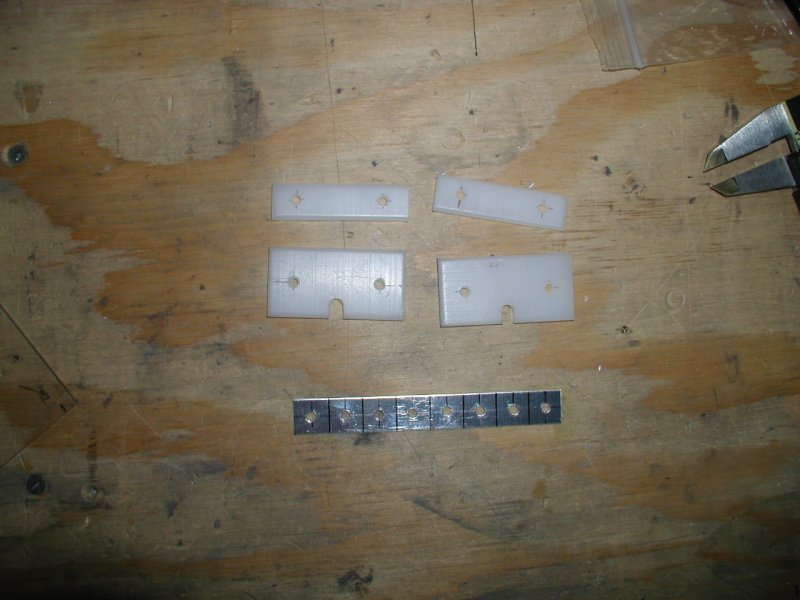
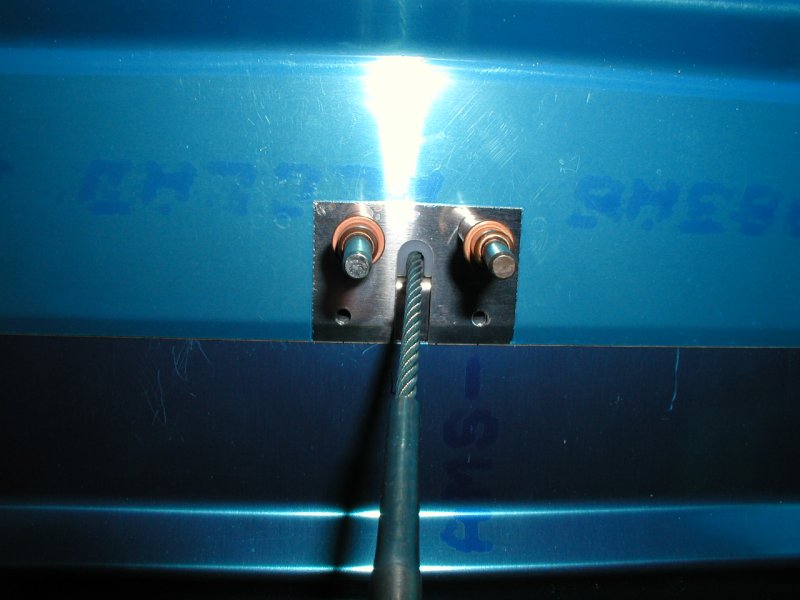
Drilled the seat belt cable wear blocks.
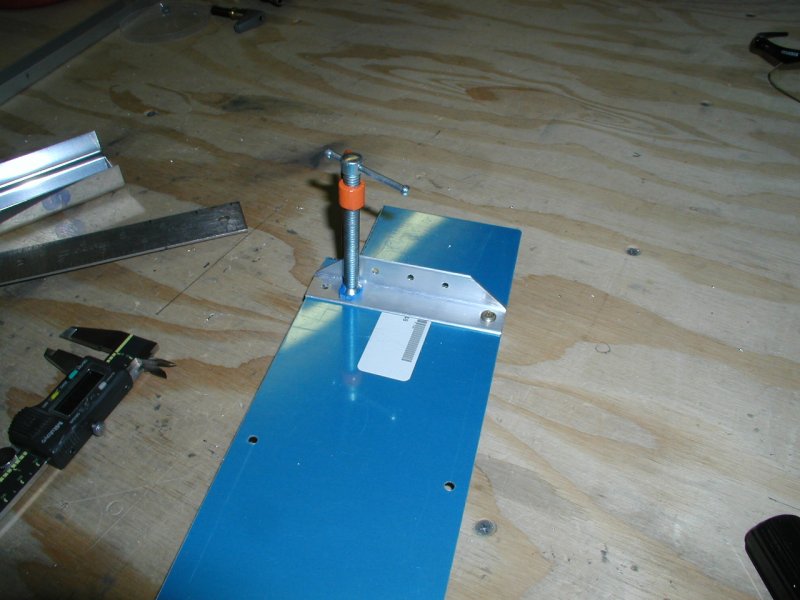
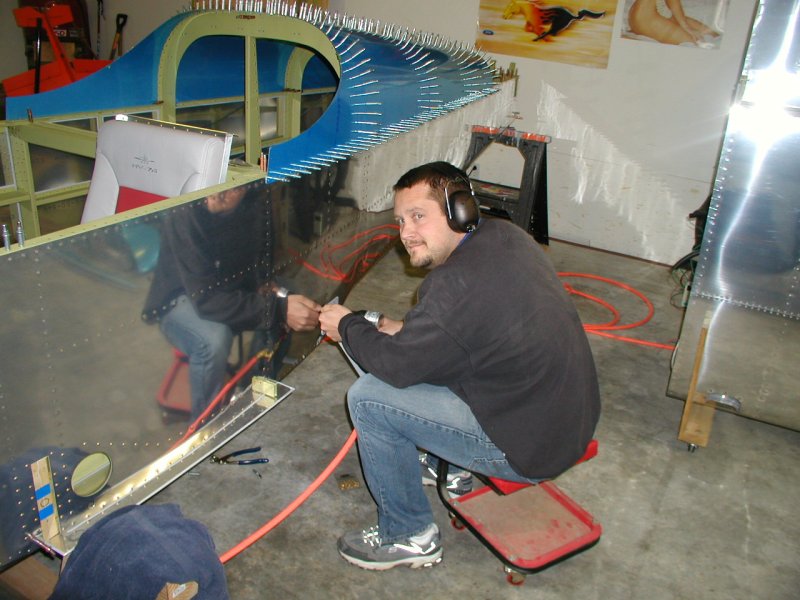
After about 3 hours of filing, I got the right main gear weldmount to fit.
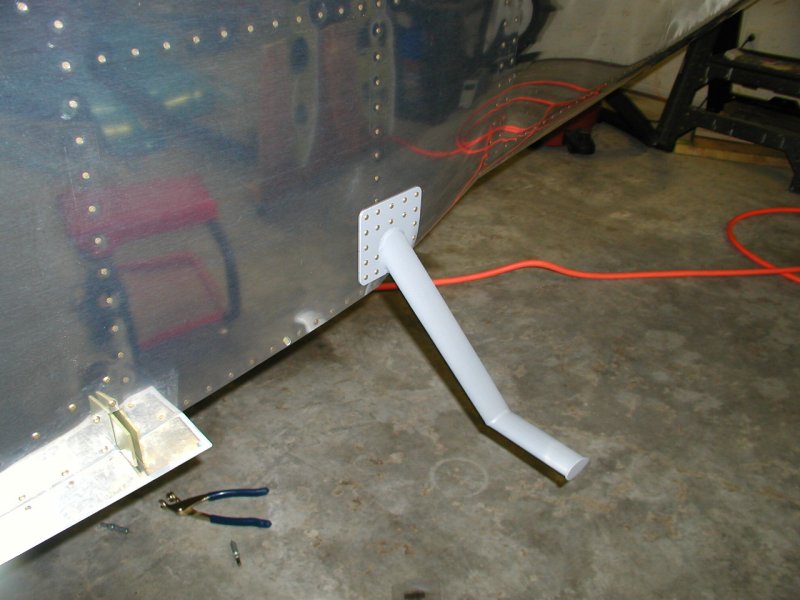
Here's what sticks out the bottom of the fuselage.
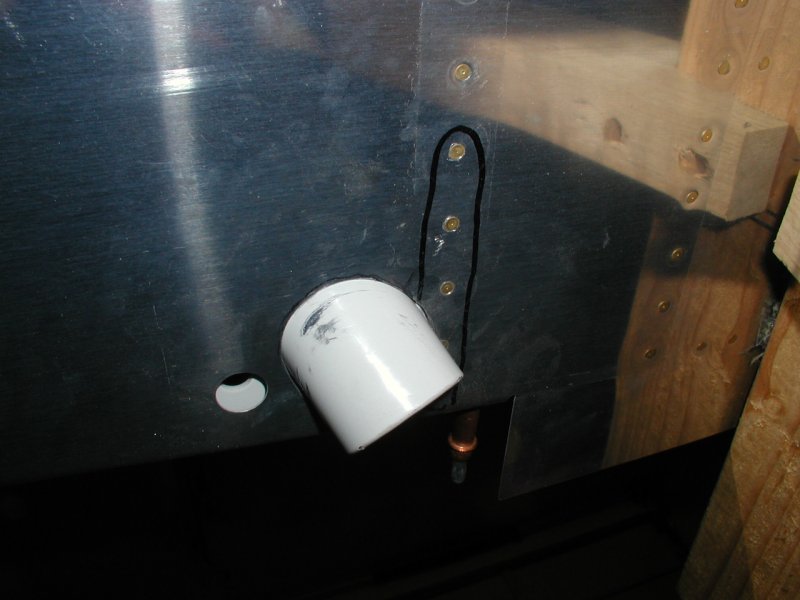
These are the nylon blocks for the seatbelt cables
Heating and bending the lower aft corner of the wing step to match the fuselage
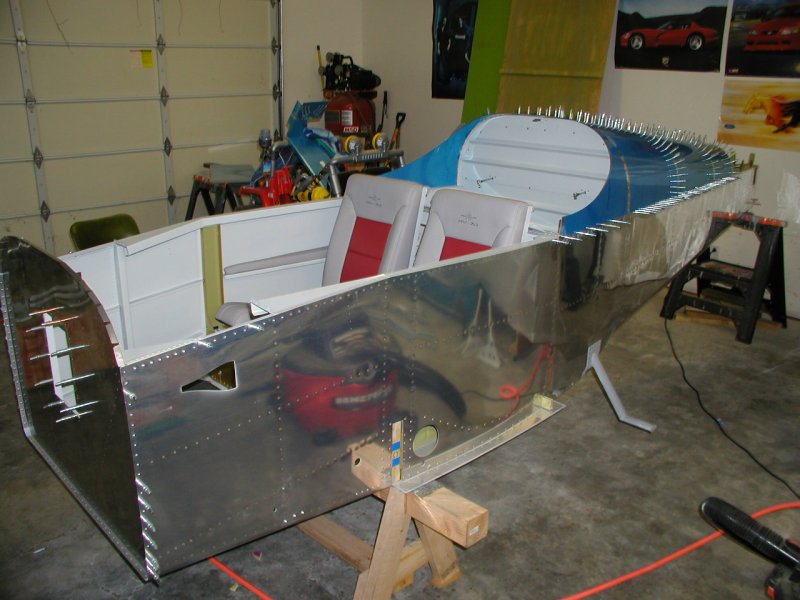
Scott from work came over and we riveted on the steps in a couple of hours
The forward top side rail gussets
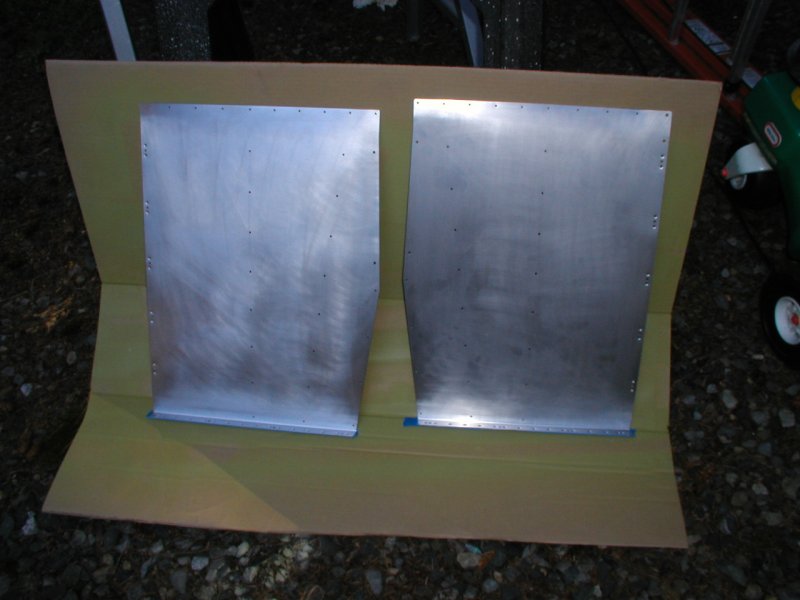
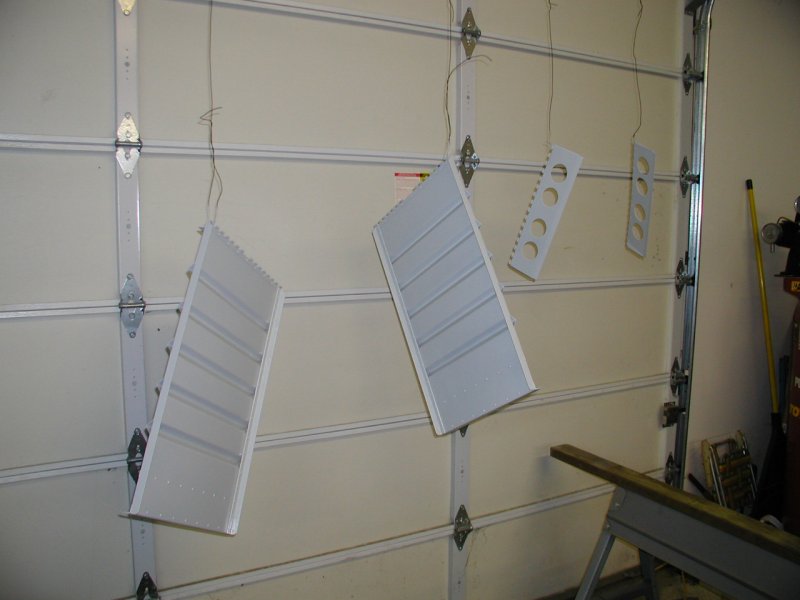
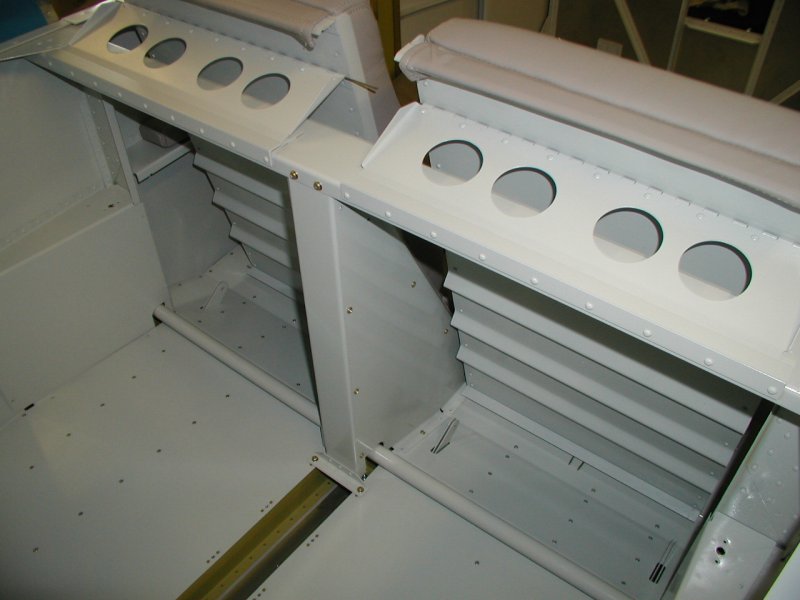
There are quite interior panels that can be painted outside the plane.
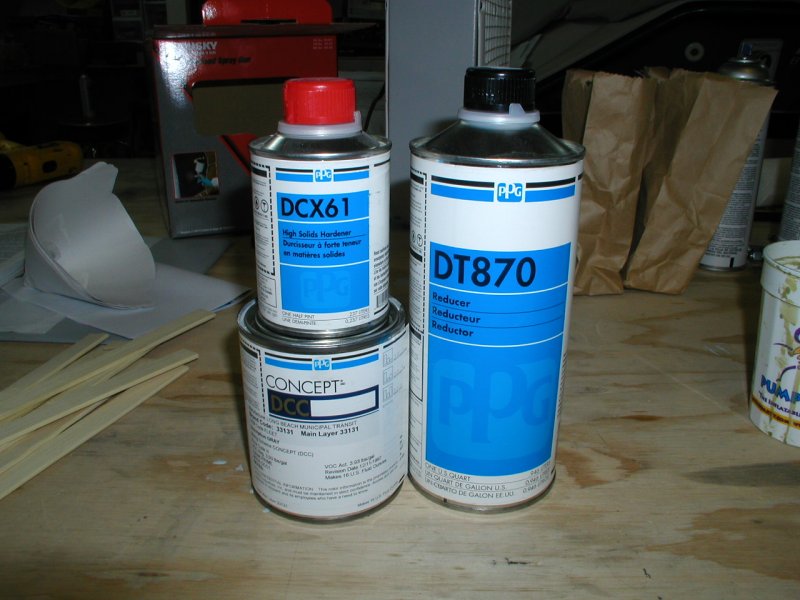
First I primed everything
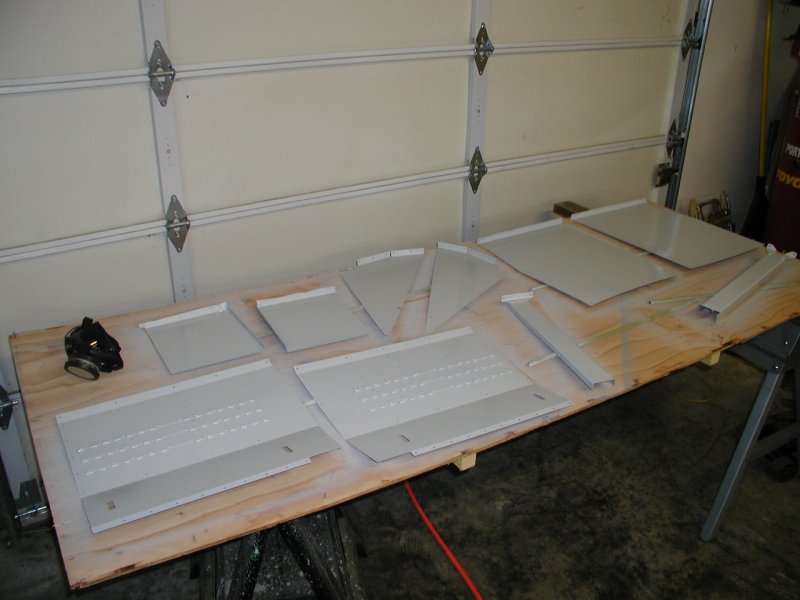
Here is the light grey paint
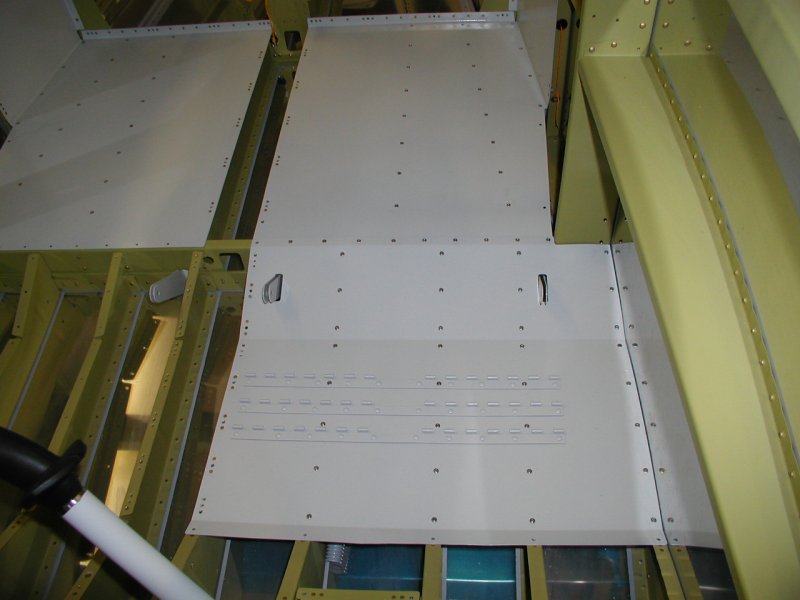
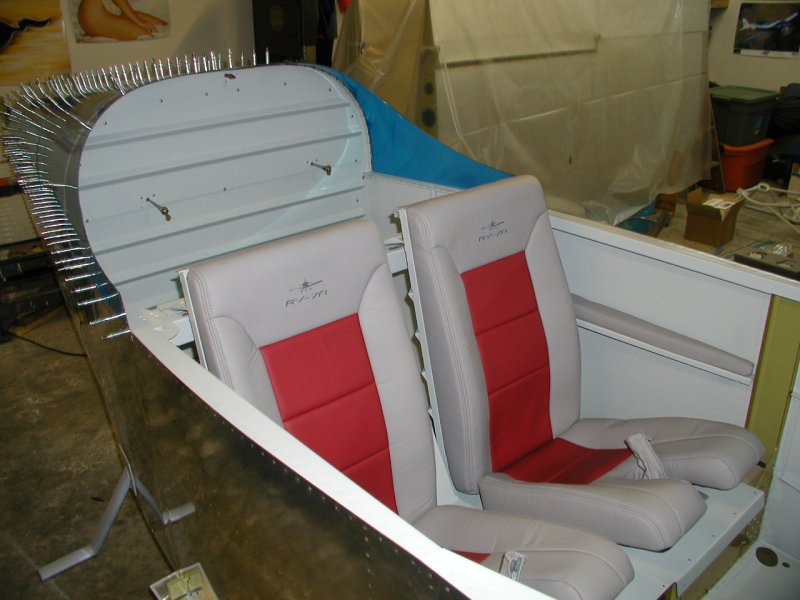
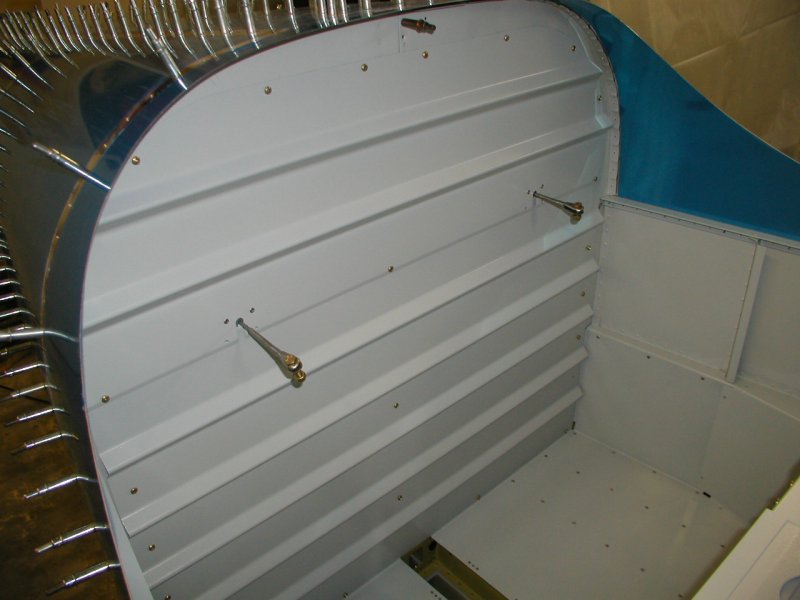
And here they are painted. They turned out great!
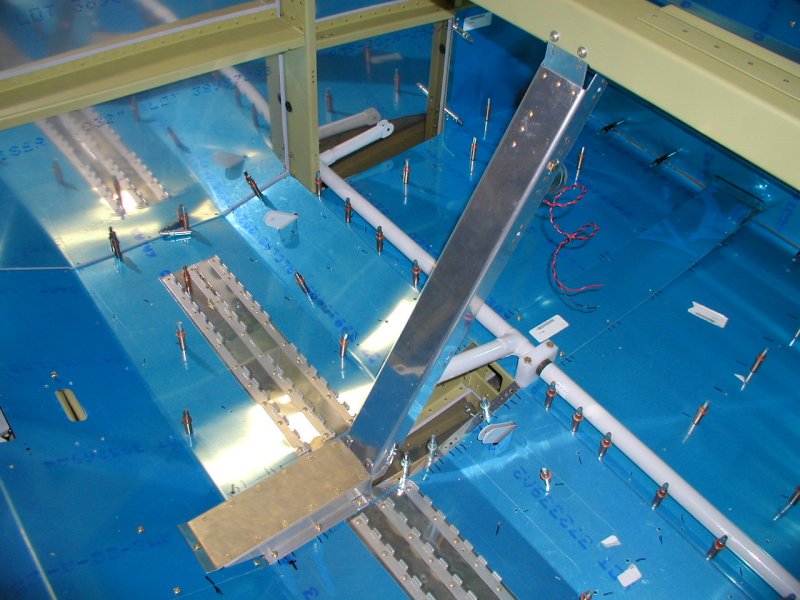
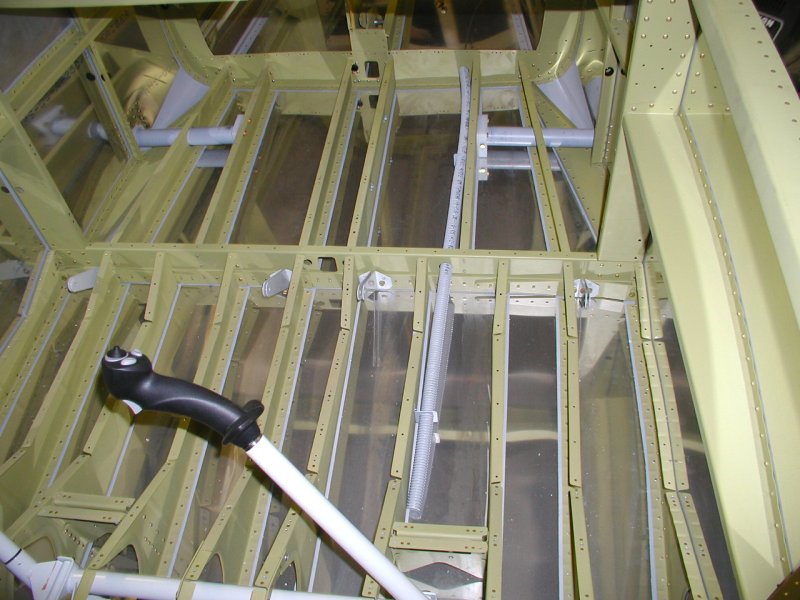
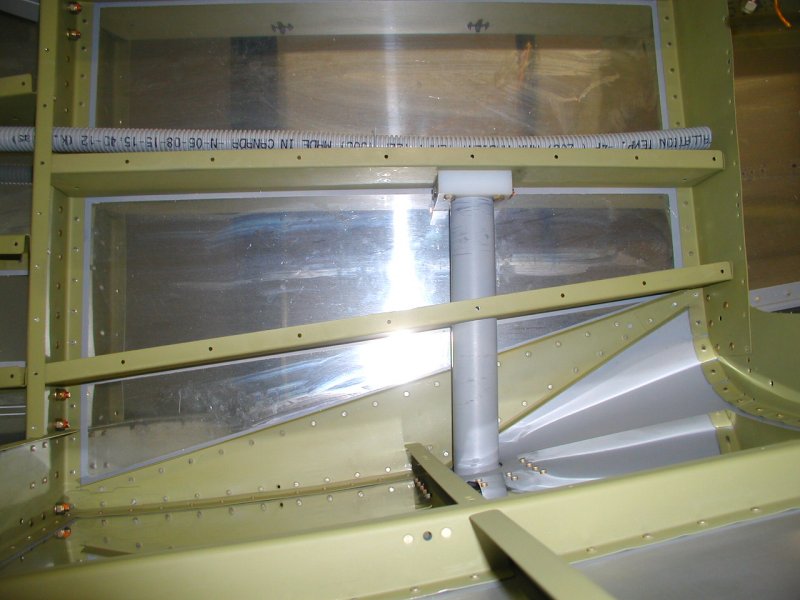
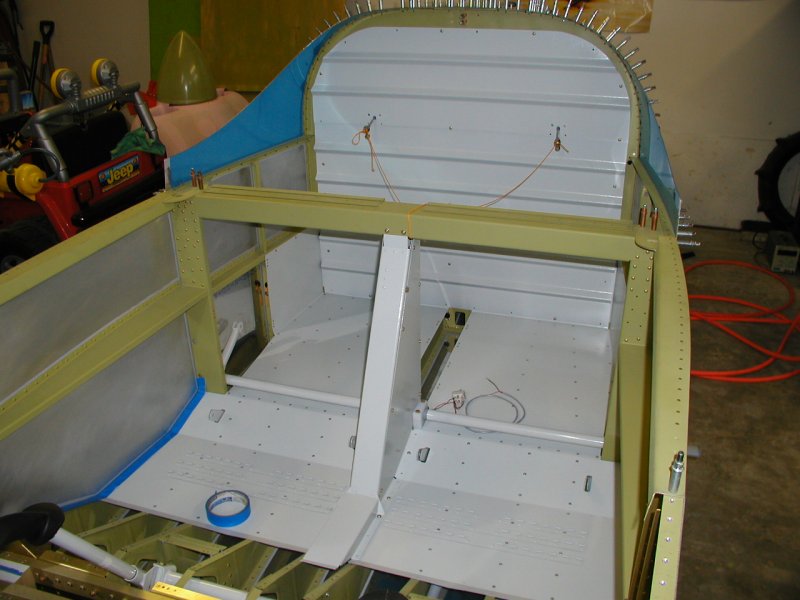
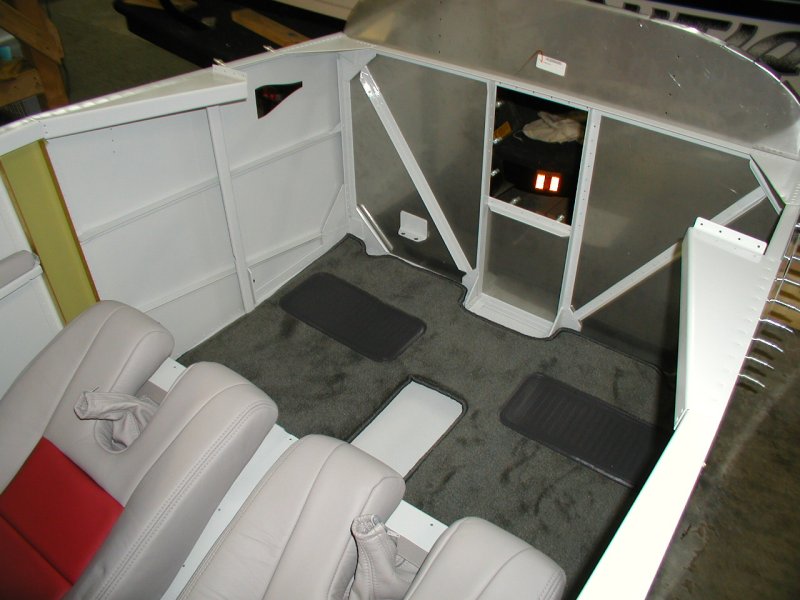
Before I rivet the floors I wanted to add one wiring conduit. Now I have 3 routes, two down the center and the new one.
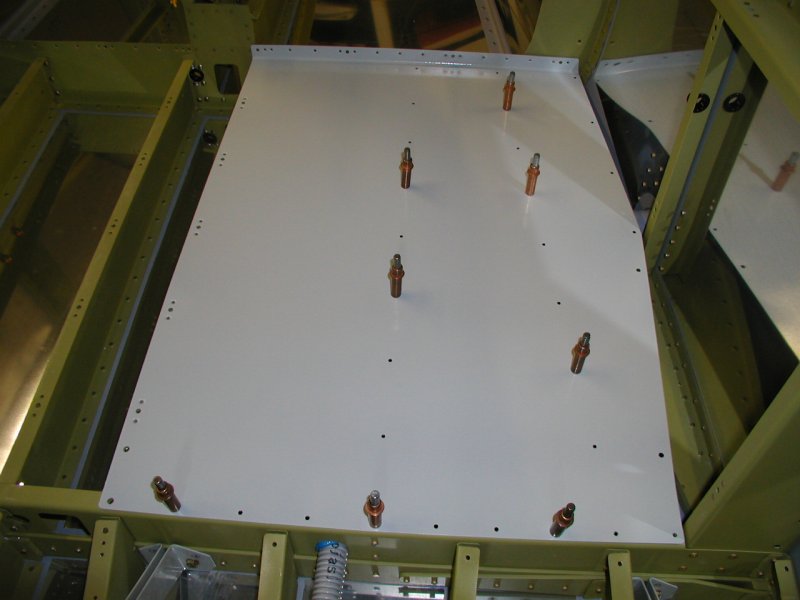
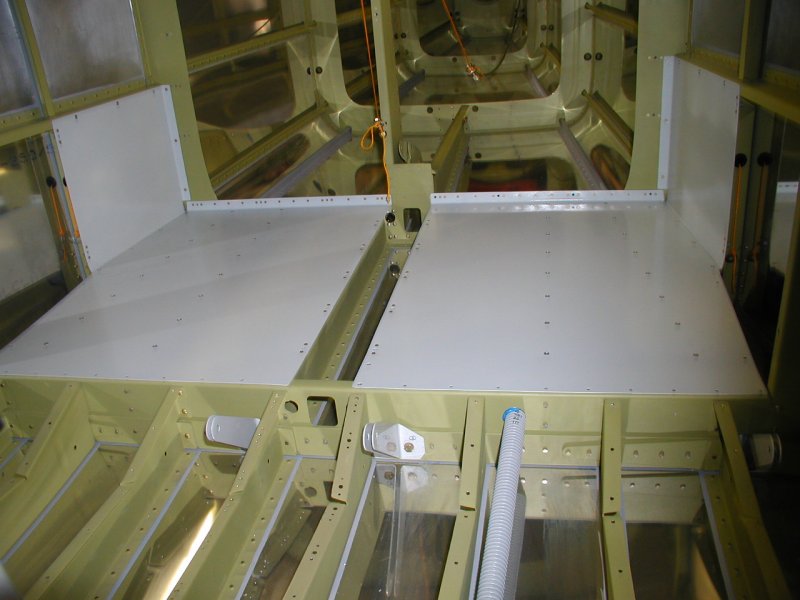
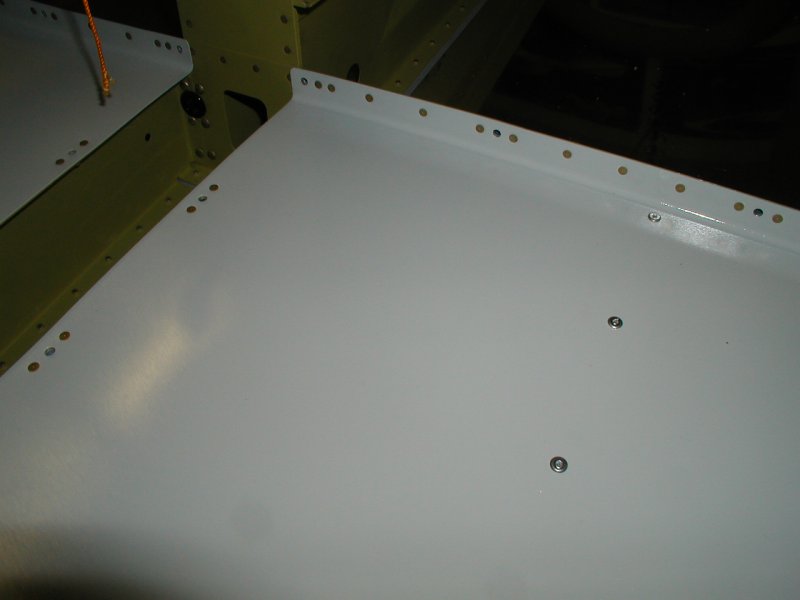
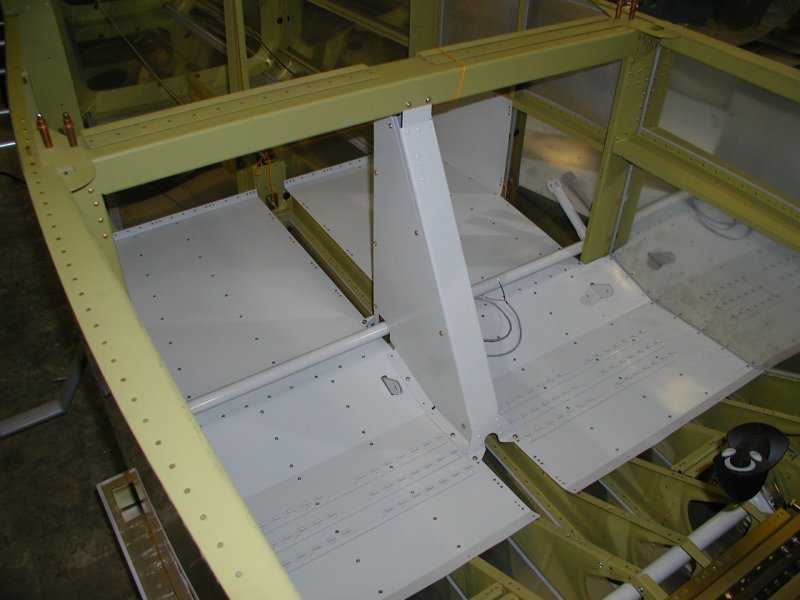
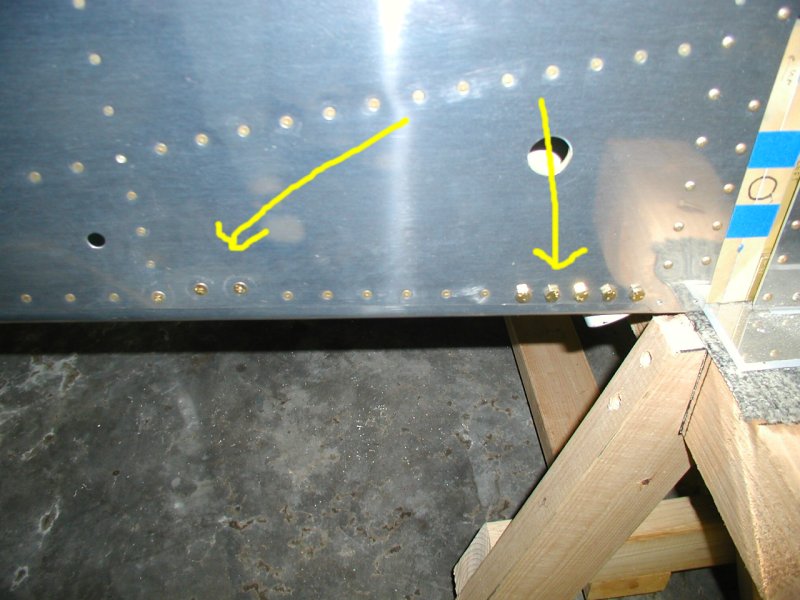
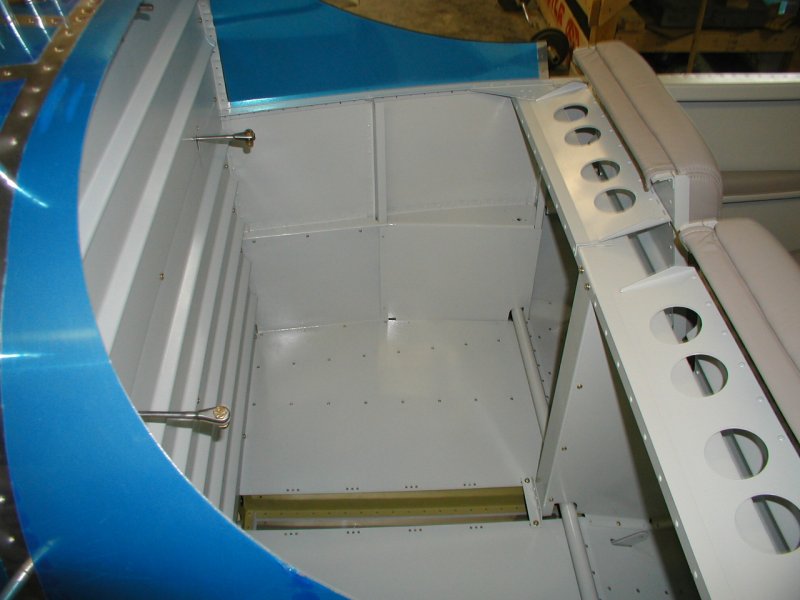
The baggage floors and aft sides are riveted!
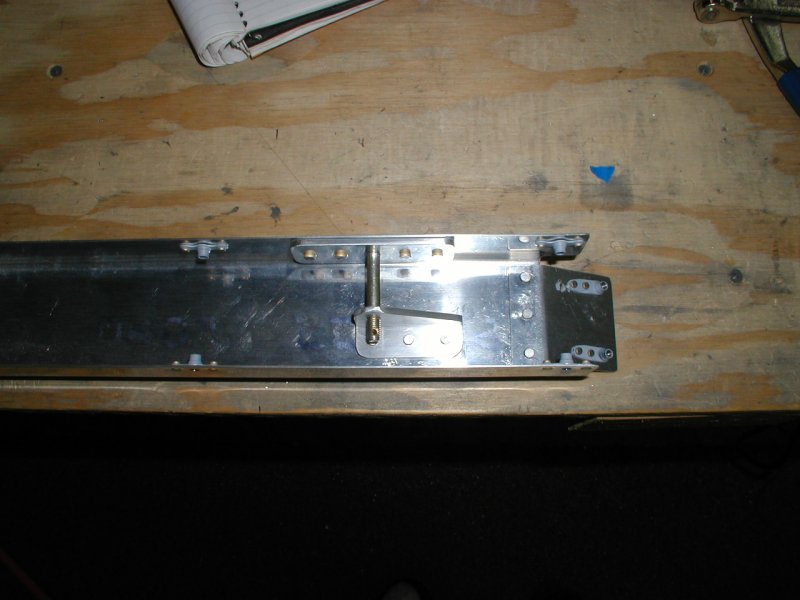
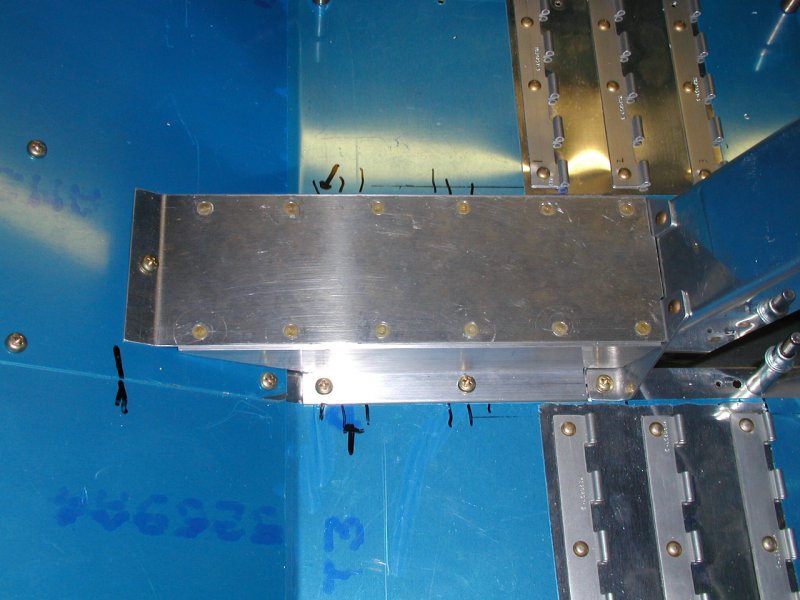
Van's didn't remove quite enough powder coating for the center flap control block so I did.
There's quite a bit of work on these gear leg mounts. You get everything perfect and then you can drill through the side skin and lower longeron. There are 5 bolts in the back and two in the front.
Here are the bolts for the gear leg mounts on the outside. The forward two are flush and needed to be machine countersunk.
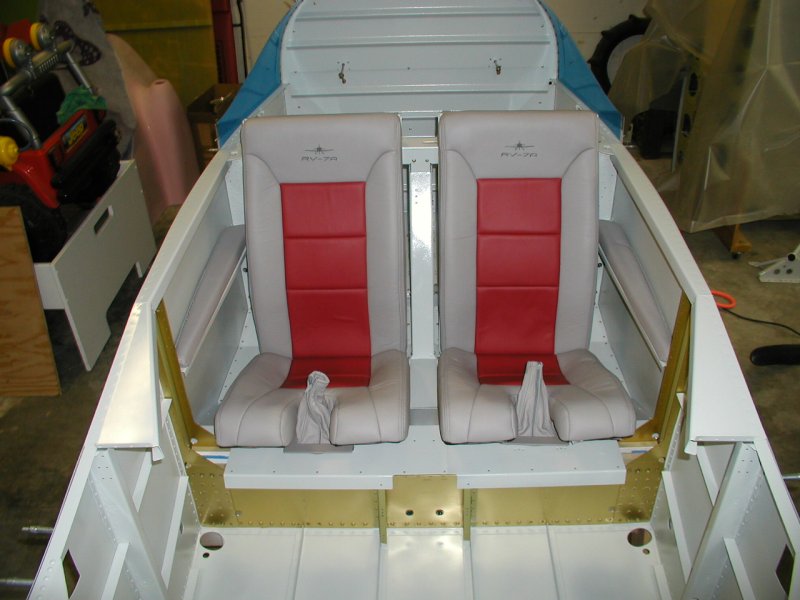
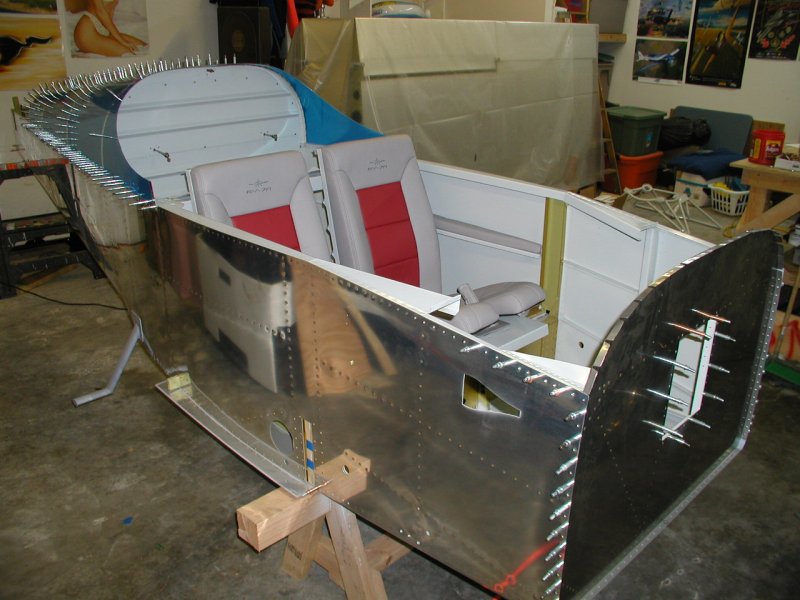
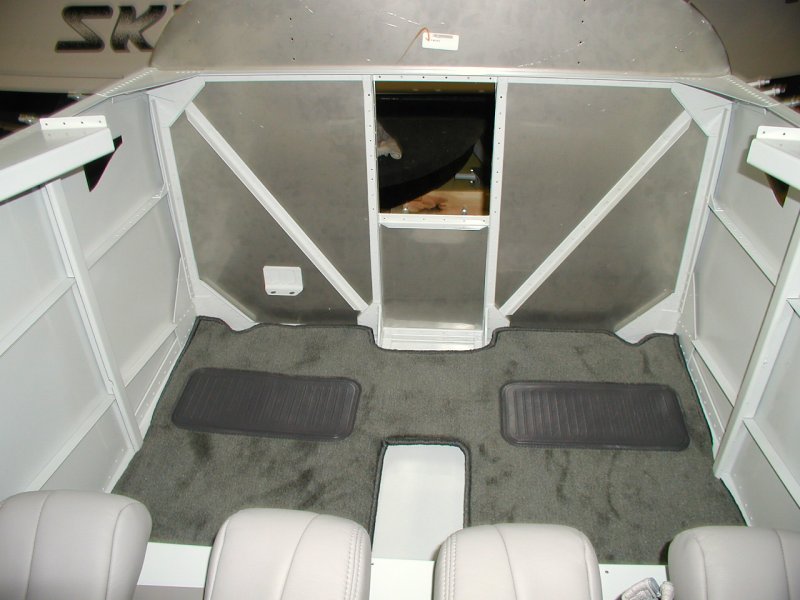
Looking very good!
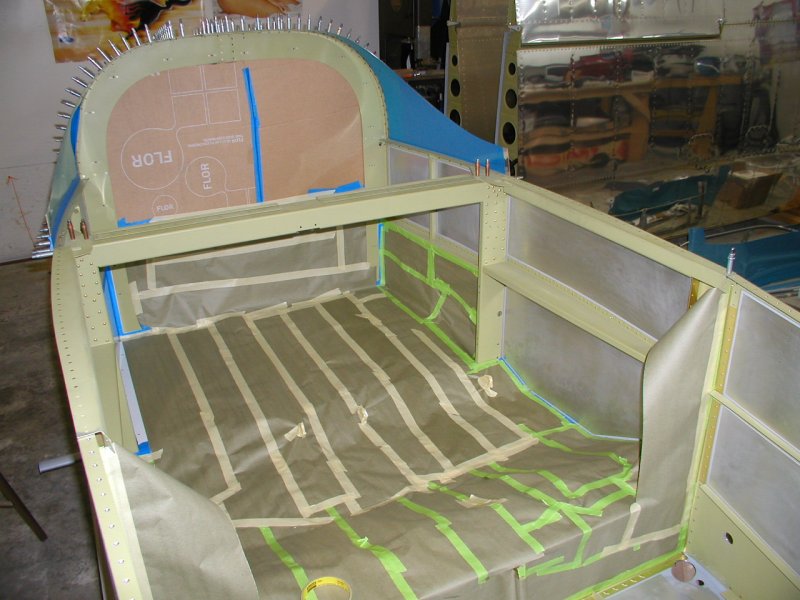
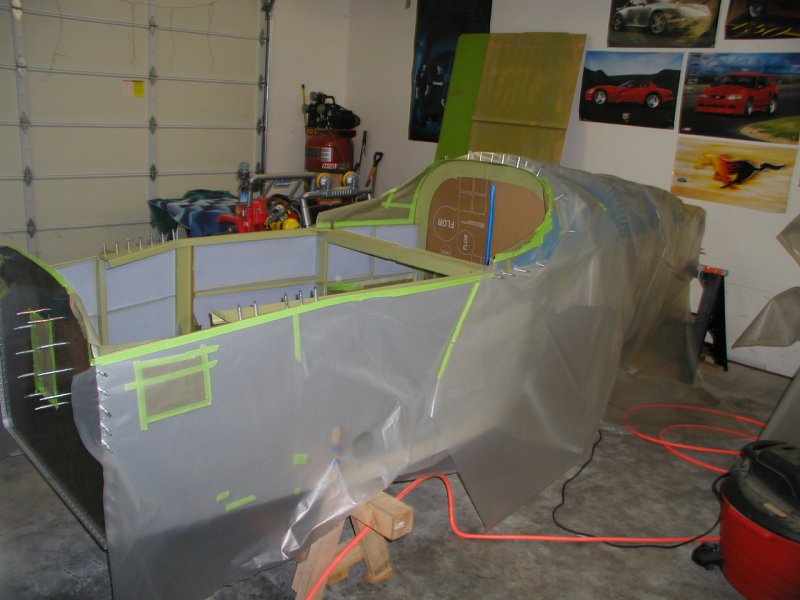
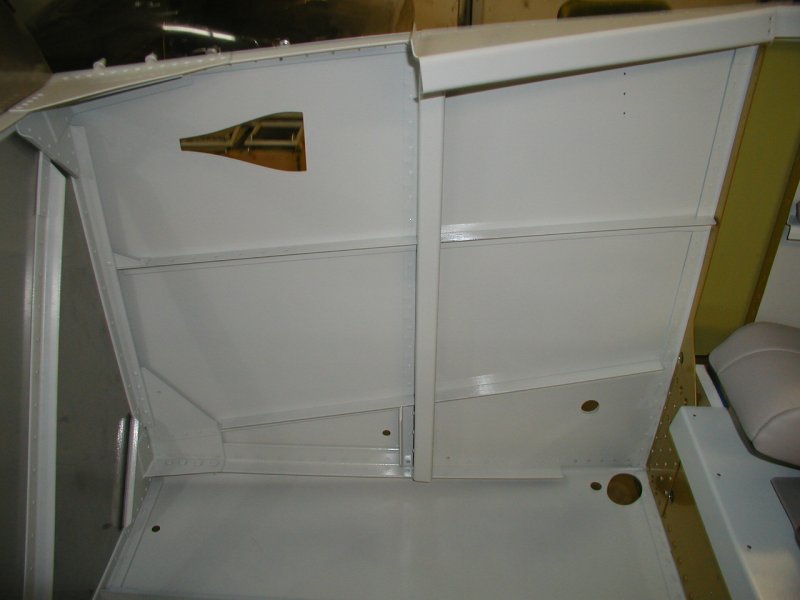
I spent a ton of time taping everything off so I can paint the interior.
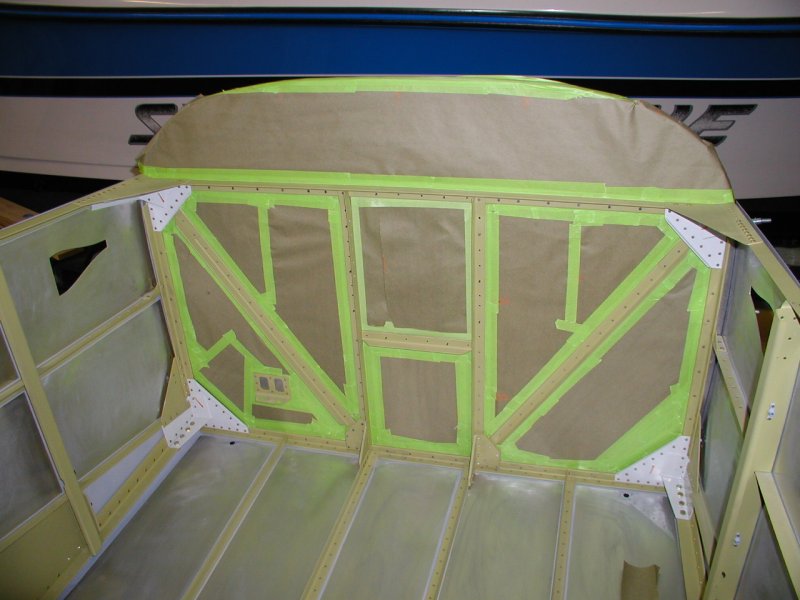
I had to prime the inside skins before painting.
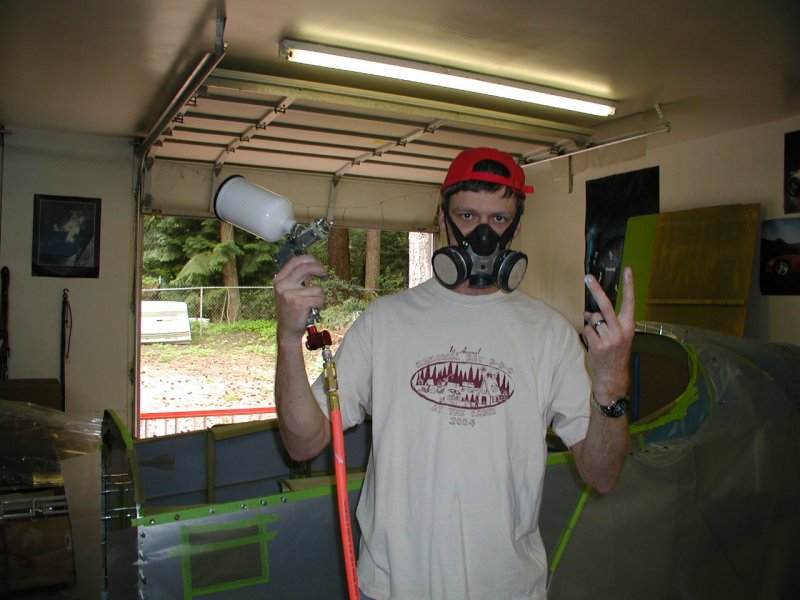
Let's do it!
And there it is. It looks awesome but I'm going to get some more paint tomorrow and hit the nooks and crannys one more time before unveiling.
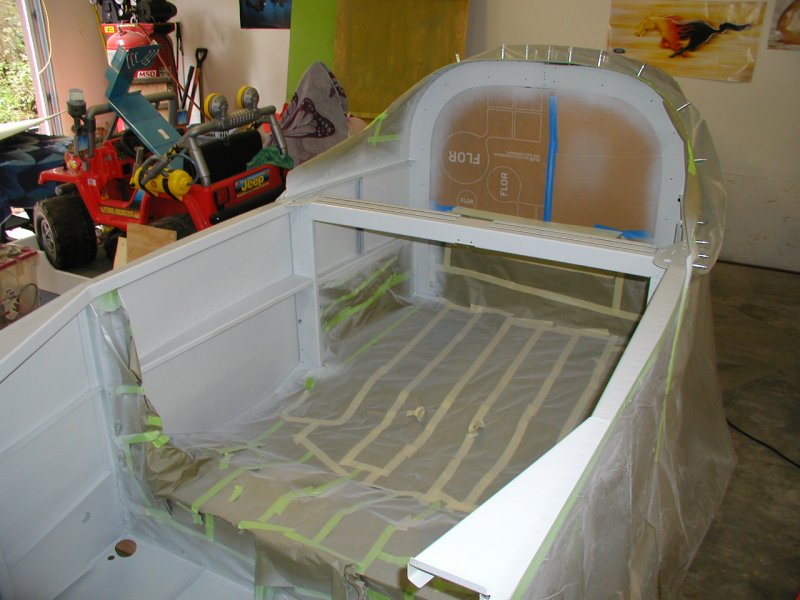
In another day, here it is.
Back